10 Stop Nd Filter How To Use ?
To use a 10-stop ND filter, follow these steps:
1. Attach the filter to your camera lens. Make sure it is securely fastened.
2. Set your camera to manual mode or aperture priority mode.
3. Adjust your camera settings for the desired exposure without the filter. Take note of the shutter speed and aperture values.
4. Calculate the exposure time needed with the 10-stop ND filter. For example, if your initial shutter speed was 1/125th of a second, with the 10-stop filter, you would need to increase the exposure time to 8 seconds (1/125 x 2^10 = 8).
5. Set your camera to the calculated exposure time.
6. Compose your shot and focus as usual.
7. Take the photo while keeping the camera steady to avoid any blurriness.
8. Review the image and make any necessary adjustments to achieve the desired effect.
Using a 10-stop ND filter allows you to achieve long exposure effects, such as smoothing out water or creating motion blur in moving subjects. Experiment with different exposure times and compositions to get the desired results.
1、 Definition and Purpose of a 10 Stop ND Filter
Definition and Purpose of a 10 Stop ND Filter
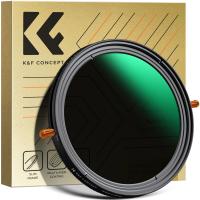
A 10 stop ND (Neutral Density) filter is a type of camera filter that reduces the amount of light entering the lens by 10 stops. It is essentially a dark piece of glass or resin that is placed in front of the lens to block out a significant amount of light. This allows photographers to achieve longer exposure times, even in bright lighting conditions.
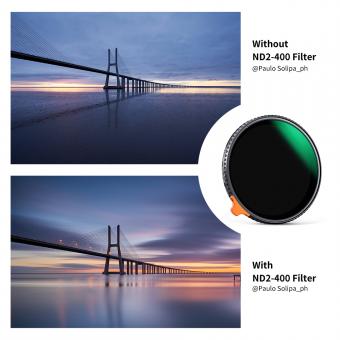
The purpose of using a 10 stop ND filter is to create stunning long exposure effects. By reducing the amount of light entering the lens, it allows for longer shutter speeds, which can result in beautiful motion blur effects. For example, when photographing a waterfall, using a 10 stop ND filter can create a silky smooth effect on the flowing water, giving it a dreamy and ethereal look. Similarly, it can be used to capture streaks of light in traffic or create smooth, misty effects in landscapes.
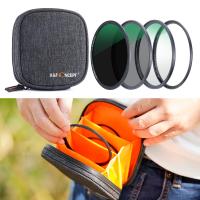
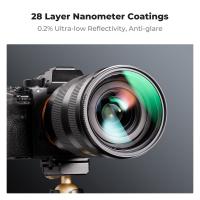
To use a 10 stop ND filter, simply attach it to the front of your lens using a filter holder or screw it directly onto the lens. Set your camera to manual mode and adjust the exposure settings accordingly. Since the filter significantly reduces the amount of light, you will need to compensate by using longer shutter speeds or wider apertures. It is also important to use a tripod to keep the camera steady during the longer exposures.
In recent years, the use of 10 stop ND filters has gained popularity among photographers due to the rise of long exposure photography. It allows for creative experimentation and can add a unique and artistic touch to images. Additionally, advancements in filter technology have made them more accessible and affordable for photographers of all levels.
In conclusion, a 10 stop ND filter is a valuable tool for photographers looking to create long exposure effects. It reduces the amount of light entering the lens, allowing for longer shutter speeds and resulting in stunning motion blur effects. By using this filter, photographers can add a creative and artistic touch to their images, capturing scenes in a unique and captivating way.

2、 Step-by-Step Guide on Using a 10 Stop ND Filter
A 10-stop ND filter is a powerful tool for long exposure photography, allowing you to capture stunning images with motion blur effects. Here is a step-by-step guide on how to use a 10-stop ND filter effectively:
1. Choose the right time and location: Look for scenes with moving elements such as waterfalls, rivers, or clouds. Plan your shoot during the golden hour or blue hour for optimal lighting conditions.
2. Set up your camera on a sturdy tripod: Long exposures require stability, so make sure your camera is securely mounted on a tripod.
3. Compose your shot: Frame your subject and adjust the composition to your liking. Take into consideration the movement of the elements you want to capture.
4. Set your camera to manual mode: This gives you full control over the exposure settings. Start by setting a low ISO (e.g., 100) for maximum image quality.
5. Choose a small aperture: Select a high f-stop (e.g., f/11 or higher) to limit the amount of light entering the lens.
6. Calculate the exposure time: Without the ND filter, take a test shot and note the shutter speed. Multiply that value by 1000 to get the base exposure time.
7. Attach the 10-stop ND filter: Screw the filter onto the front of your lens, ensuring it is securely attached and doesn't cause any vignetting.
8. Adjust the exposure time: Multiply the base exposure time by 1000 (10 stops) to compensate for the reduced light. Use a remote shutter release or the camera's built-in timer to avoid camera shake.
9. Take the shot: Press the shutter button and let the camera capture the long exposure. Be patient and allow enough time for the desired motion blur effect to occur.
10. Review and adjust: Check the image on your camera's LCD screen and make any necessary adjustments to the composition or exposure settings.
Remember, practice makes perfect. Experiment with different subjects, lighting conditions, and exposure times to master the art of using a 10-stop ND filter.
3、 Tips for Achieving the Best Results with a 10 Stop ND Filter
Tips for Achieving the Best Results with a 10 Stop ND Filter
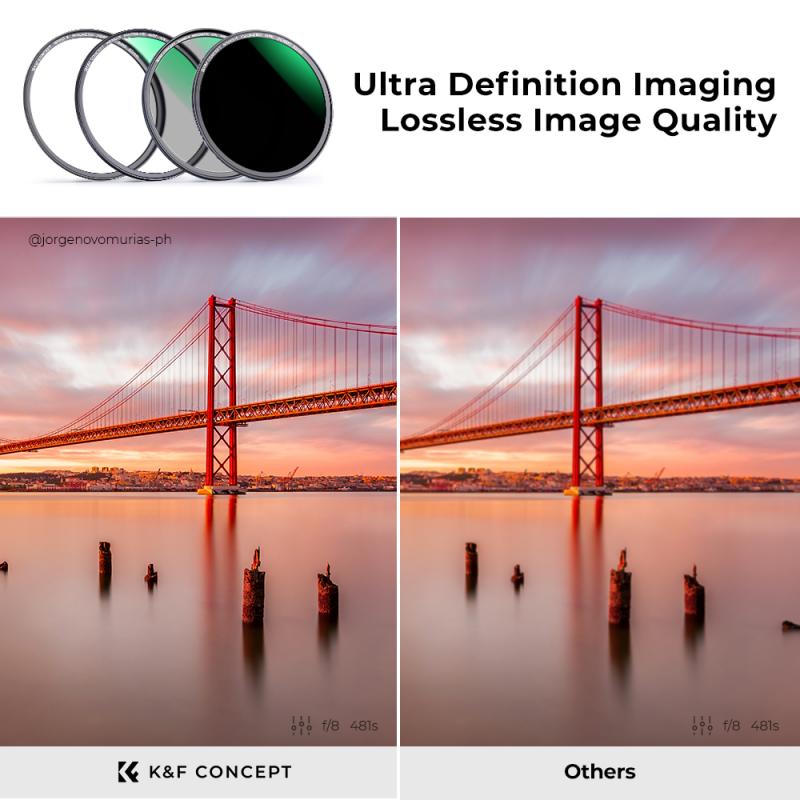
1. Understand the Purpose: A 10 stop ND filter is designed to block out 10 stops of light, allowing you to achieve long exposure effects even in bright conditions. It is commonly used for capturing smooth waterfalls, streaking clouds, or creating motion blur in busy cityscapes.
2. Use a Tripod: Due to the long exposure times required with a 10 stop ND filter, it is essential to use a sturdy tripod to keep your camera steady. This will prevent any unwanted camera shake and ensure sharp images.
3. Calculate Exposure Time: With a 10 stop ND filter, the exposure time will be significantly longer than usual. To calculate the correct exposure time, you can use a smartphone app or an online calculator specifically designed for long exposure photography.
4. Shoot in Manual Mode: To have full control over your exposure settings, switch your camera to manual mode. This will allow you to adjust the aperture, shutter speed, and ISO according to the lighting conditions.
5. Focus Before Attaching the Filter: Since a 10 stop ND filter is extremely dark, it can be challenging for your camera to autofocus. To overcome this, focus on your subject before attaching the filter, and then switch your lens to manual focus to prevent any accidental changes.
6. Use a Remote Shutter Release: To further minimize camera shake, use a remote shutter release or the self-timer function on your camera. This will eliminate the need to physically press the shutter button, reducing the risk of introducing vibrations.
7. Experiment with Different Subjects: While waterfalls and seascapes are popular subjects for long exposure photography, don't be afraid to experiment with other subjects as well. Try capturing moving traffic, bustling crowds, or even star trails to create unique and captivating images.
8. Bracket Your Shots: To ensure you capture the perfect exposure, consider bracketing your shots. Take multiple images at different exposure settings to have more options during post-processing.
9. Be Patient: Long exposure photography requires patience. Waiting for the perfect lighting conditions, composing your shot, and waiting for the exposure to complete can take time. Embrace the process and enjoy the experience.
10. Post-Processing: Once you have captured your images, post-processing can enhance the final result. Adjusting the contrast, saturation, and sharpness can help bring out the details and create a more visually appealing image.
In conclusion, using a 10 stop ND filter can open up a world of creative possibilities in your photography. By following these tips and experimenting with different subjects, you can achieve stunning long exposure effects and capture unique and captivating images.
4、 Common Mistakes to Avoid When Using a 10 Stop ND Filter
Common Mistakes to Avoid When Using a 10 Stop ND Filter
1. Not using a tripod: When using a 10 stop ND filter, it is crucial to use a sturdy tripod to avoid camera shake. The long exposure times required with this filter can easily result in blurry images if the camera is not stable.
2. Forgetting to cover the viewfinder: Light can leak through the viewfinder and affect the exposure when using a 10 stop ND filter. To prevent this, cover the viewfinder with a piece of cloth or use the built-in viewfinder cover if your camera has one.
3. Neglecting to calculate exposure times: With a 10 stop ND filter, the amount of light entering the camera is significantly reduced. This means that exposure times will be much longer than usual. Use a neutral density calculator or smartphone app to determine the correct exposure time.
4. Overexposing the image: It's important to be mindful of the exposure settings when using a 10 stop ND filter. Since the filter reduces the amount of light, it's easy to overexpose the image if the exposure settings are not adjusted accordingly. Check the histogram and make necessary adjustments to avoid blown-out highlights.
5. Not using a remote shutter release: When using long exposure times, even the slightest movement from pressing the shutter button can result in blurry images. Use a remote shutter release or the camera's self-timer function to minimize camera shake.
6. Ignoring composition: Don't get too caught up in the technical aspects of using a 10 stop ND filter that you forget about composition. Take the time to carefully compose your shot and consider how the long exposure will affect the overall image.
7. Not experimenting with different shutter speeds: While a 10 stop ND filter is commonly used for long exposures, don't be afraid to experiment with different shutter speeds. You can create interesting effects by using shorter exposure times with the filter.
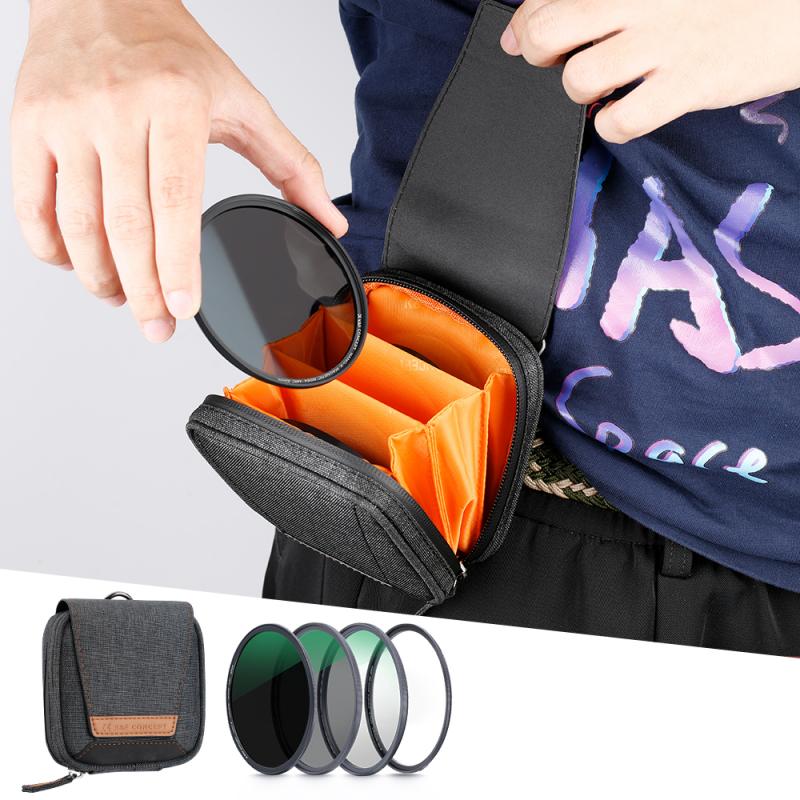
8. Failing to clean the filter: Dust and smudges on the filter can affect image quality. Regularly clean the filter with a microfiber cloth or lens cleaning solution to ensure optimal results.
9. Shooting in bright sunlight: A 10 stop ND filter is typically used in bright conditions to achieve longer exposure times. Shooting in low light or overcast conditions may not yield the desired effect.
10. Not practicing and experimenting: Using a 10 stop ND filter requires practice and experimentation. Don't be discouraged if your first few attempts don't turn out as expected. Keep practicing and trying different techniques to master the use of this filter.
In conclusion, using a 10 stop ND filter can greatly enhance your photography, but it's important to avoid these common mistakes. By following these tips and practicing, you can achieve stunning long exposure images with this powerful filter.
