Compound Microscope How To Use ?
To use a compound microscope, follow these steps:
1. Place the microscope on a stable surface and plug it in.
2. Turn on the light source and adjust the brightness as needed.
3. Place the specimen on the stage and secure it with the stage clips.
4. Use the coarse focus knob to bring the specimen into view.
5. Adjust the focus using the fine focus knob until the specimen is clear and in focus.
6. Use the objective lenses to change the magnification as needed.
7. Adjust the condenser to control the amount of light that passes through the specimen.
8. Use the diaphragm to adjust the size of the aperture and control the amount of light that enters the microscope.
9. Use the eyepiece to view the specimen and make any necessary adjustments to the focus or magnification.
10. When finished, turn off the light source and unplug the microscope.
1、 Parts of a compound microscope
Compound microscope how to use:
1. Place the microscope on a stable surface and adjust the height of the stage to a comfortable level.
2. Turn on the light source and adjust the brightness to a suitable level.
3. Place the specimen on the stage and secure it with the stage clips.
4. Use the coarse focus knob to bring the specimen into rough focus.
5. Use the fine focus knob to bring the specimen into sharp focus.
6. Adjust the magnification by rotating the objective lenses.
7. Use the eyepiece to view the specimen and adjust the focus as necessary.
8. Move the specimen around the stage to view different areas.
9. When finished, turn off the light source and remove the specimen from the stage.
Parts of a compound microscope:
1. Eyepiece: The part of the microscope that you look through to view the specimen. It typically has a magnification of 10x.
2. Objective lenses: The lenses that are closest to the specimen and provide the primary magnification. They typically come in magnifications of 4x, 10x, 40x, and 100x.
3. Coarse focus knob: The knob used to bring the specimen into rough focus.
4. Fine focus knob: The knob used to bring the specimen into sharp focus.
5. Stage: The platform on which the specimen is placed.
6. Stage clips: The clips that hold the specimen in place on the stage.
7. Light source: The source of light that illuminates the specimen.
8. Diaphragm: The part of the microscope that controls the amount of light that reaches the specimen.
9. Arm: The part of the microscope that connects the eyepiece and objective lenses to the base.
10. Base: The bottom of the microscope that provides stability.
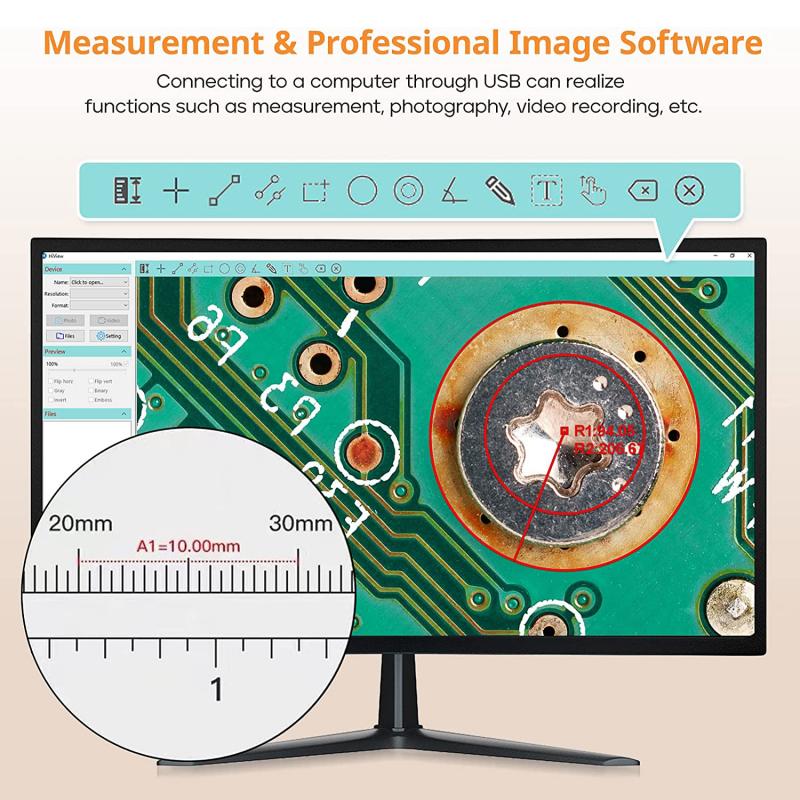
The latest point of view is that modern compound microscopes may have additional features such as digital cameras for capturing images and software for analyzing the images. Additionally, some microscopes may have specialized lenses for specific applications such as polarizing or fluorescence microscopy.
2、 Setting up a compound microscope
Compound microscope how to use:
1. Start by placing the microscope on a flat and stable surface. Make sure that the microscope is properly plugged in and turned on.
2. Adjust the eyepiece to your eye level and focus the microscope by using the coarse adjustment knob. This will bring the specimen into view.
3. Once the specimen is in view, use the fine adjustment knob to sharpen the image. This will help you to see the details of the specimen more clearly.
4. Adjust the objective lenses to increase or decrease the magnification. Start with the lowest magnification and work your way up to the highest magnification.
5. If you need to change the specimen, use the stage clips to hold it in place. Move the stage up or down to bring the specimen into focus.
6. Use the light source to adjust the brightness of the image. If the image is too bright or too dark, adjust the light source accordingly.
7. When you are finished using the microscope, turn it off and unplug it. Clean the lenses and stage with a soft cloth to remove any debris or fingerprints.
The latest point of view on using a compound microscope is to ensure that the microscope is properly maintained and cleaned after each use. This will help to prolong the life of the microscope and ensure that it continues to function properly. Additionally, it is important to use the appropriate magnification for the specimen being viewed, as using too high of a magnification can result in a blurry image. Finally, it is important to handle the microscope with care, as it is a delicate instrument that can be easily damaged if mishandled.

3、 Focusing techniques for a compound microscope
Compound microscope how to use:
1. Place the microscope on a stable surface and plug it in.
2. Turn on the light source and adjust the brightness as needed.
3. Place the specimen on the stage and secure it with the stage clips.
4. Select the lowest magnification objective lens and position it over the specimen.
5. Use the coarse focus knob to bring the specimen into rough focus.
6. Use the fine focus knob to bring the specimen into sharp focus.
7. Adjust the stage and/or the focus knobs as needed to view different areas of the specimen.
8. To change magnification, rotate the objective turret to select a higher magnification lens and refocus using the coarse and fine focus knobs.
Focusing techniques for a compound microscope:
1. Start with the lowest magnification objective lens and use the coarse focus knob to bring the specimen into rough focus.
2. Use the fine focus knob to bring the specimen into sharp focus.
3. If the specimen is not in focus, adjust the stage height or move the slide slightly to bring it into focus.
4. When changing to a higher magnification objective lens, use the fine focus knob to bring the specimen into focus before adjusting the stage or focus knobs.
5. Use the fine focus knob to make small adjustments to the focus as needed.
6. Avoid using the coarse focus knob at high magnifications as it can damage the specimen or the lens.
7. Use the condenser and diaphragm to adjust the amount and angle of light entering the microscope for optimal viewing.
8. Clean the lenses and stage after use to prevent damage or contamination of future specimens.
The latest point of view on using a compound microscope emphasizes the importance of proper technique and care to ensure accurate and safe viewing of specimens. It is recommended to start with the lowest magnification lens and work up gradually to avoid damaging the specimen or lens. Additionally, using the fine focus knob for small adjustments and avoiding the coarse focus knob at high magnifications can prevent damage and improve the quality of the image. Proper cleaning and maintenance of the microscope is also important to prevent contamination and ensure longevity of the equipment.

4、 Adjusting the magnification on a compound microscope
Compound microscope how to use:
1. Place the microscope on a stable surface and plug it in.
2. Turn on the light source and adjust the brightness to a comfortable level.
3. Place the specimen on the stage and secure it with the stage clips.
4. Use the coarse focus knob to bring the specimen into view. Start with the lowest magnification objective lens.
5. Adjust the focus using the fine focus knob until the specimen is in sharp focus.
6. Once the specimen is in focus, switch to a higher magnification objective lens. Use the fine focus knob to bring the specimen back into focus.
7. Repeat step 6 for each higher magnification objective lens.
8. To change the magnification, rotate the objective turret to select a different objective lens.
9. Adjust the focus as necessary using the fine focus knob.
10. When finished, turn off the light source and unplug the microscope.
It is important to note that when using a compound microscope, it is best to start with the lowest magnification objective lens and work your way up to higher magnifications. This will help prevent damage to the specimen and ensure that you are able to focus properly at each magnification level. Additionally, it is important to keep the microscope clean and properly maintained to ensure accurate and clear images.
