How Do I Add Filter To Camera ?
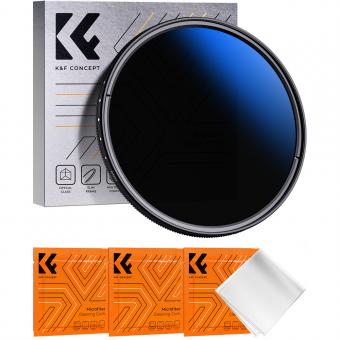
To add a filter to a camera, you can typically attach it to the lens of the camera. Filters come in various types, such as UV filters, polarizing filters, neutral density filters, and color filters. Each filter serves a different purpose and can enhance or modify the image captured by the camera. To attach a filter, you need to determine the correct size of the filter thread on your camera lens and purchase a filter that matches that size. Once you have the filter, simply screw it onto the front of the lens. Make sure to align it properly and tighten it securely to avoid any light leaks or movement during shooting.
1、 Software-based filters for smartphone cameras
To add filters to your smartphone camera, you can utilize software-based filters that are available on most modern smartphones. These filters allow you to enhance your photos with various effects and adjustments, giving you the ability to create unique and visually appealing images.
To begin, open your smartphone's camera app and look for the option to add filters. This is usually represented by an icon that resembles three overlapping circles or a wand. Tap on this icon to access the filter options.
Once you have accessed the filters, you will typically see a range of options to choose from. These can include filters that adjust the color saturation, contrast, brightness, and even add artistic effects such as black and white, vintage, or sepia tones. Some camera apps also offer more advanced filters like HDR (High Dynamic Range) or portrait mode, which can blur the background and create a professional-looking depth of field effect.
To apply a filter, simply tap on the desired option and the camera app will automatically adjust the image accordingly. You can preview the effect in real-time before capturing the photo, allowing you to experiment and find the perfect filter for your shot.
It's worth noting that different smartphone models and camera apps may offer varying filter options and functionalities. Therefore, it's recommended to explore your specific camera app's settings and features to fully utilize the available filters.
In conclusion, adding filters to your smartphone camera is a simple and effective way to enhance your photos. By utilizing software-based filters, you can easily transform your images and add a touch of creativity to your photography.
2、 Physical lens filters for DSLR and mirrorless cameras
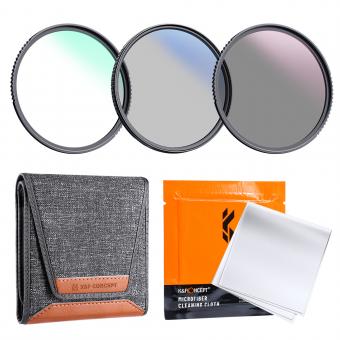
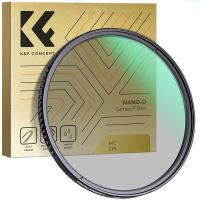
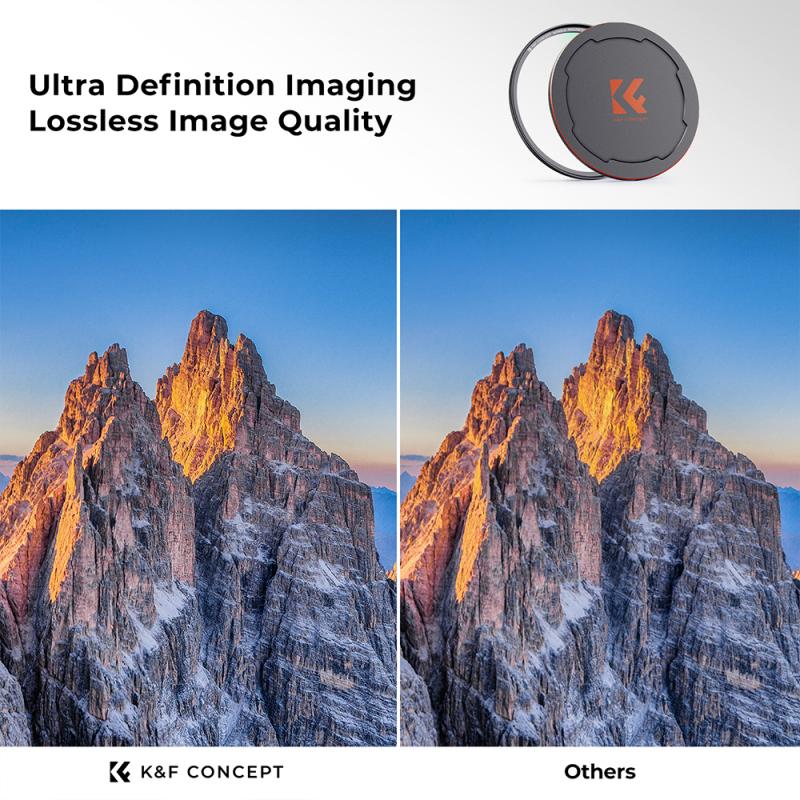
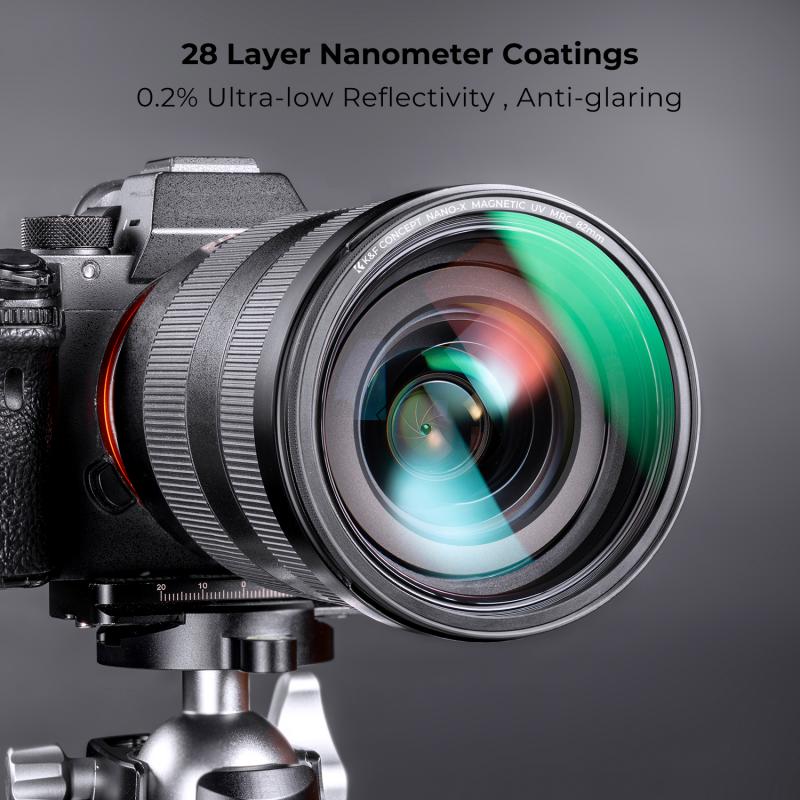
To add a filter to your camera, you will need physical lens filters specifically designed for DSLR and mirrorless cameras. These filters are typically made of high-quality glass or resin and come in various shapes and sizes to fit different lenses.
To attach a filter, follow these steps:
1. Determine the filter size: Check the front of your camera lens for the filter thread size, which is usually indicated by a symbol like "Ø" followed by a number (e.g., Ø52mm). This number represents the diameter of the filter thread.
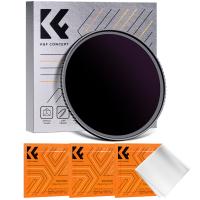
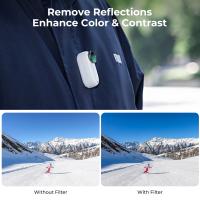
2. Choose the appropriate filter: There are different types of filters available, each serving a specific purpose. For example, a UV filter helps reduce haze and protect the lens, a polarizing filter reduces reflections and enhances colors, and a neutral density (ND) filter reduces the amount of light entering the lens for long exposure photography.
3. Screw on the filter: Once you have the correct filter size and type, simply screw it onto the front of your camera lens. Make sure it is securely attached but be careful not to overtighten it.
4. Adjust the filter: Depending on the type of filter, you may need to adjust its settings. For instance, a polarizing filter can be rotated to achieve the desired effect, while an ND filter may require adjusting the camera's exposure settings to compensate for the reduced light.
It's worth noting that some cameras may have built-in digital filters that can be applied in-camera, but these are different from physical lens filters and may not offer the same level of control or image quality.
In recent years, there has been a rise in software-based filters and editing tools that can be applied after capturing the image. These digital filters can mimic the effects of physical lens filters, providing photographers with more flexibility and convenience in post-processing. However, physical lens filters still offer certain advantages, such as reducing glare and reflections directly at the time of capture, which cannot be replicated digitally.
Ultimately, the choice between physical lens filters and digital filters depends on personal preference, shooting conditions, and desired results.
3、 Adding filters to action cameras and drones
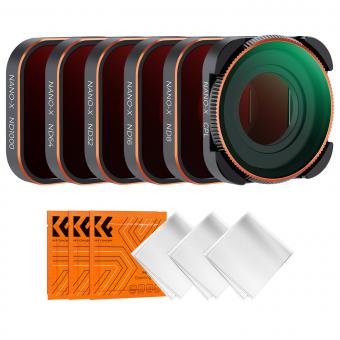
To add filters to your action camera or drone, you will need to follow a few steps. First, determine the type of filter you want to add. There are various filters available, such as polarizing filters, neutral density filters, and color filters. Each filter serves a different purpose, so choose the one that suits your needs.
Once you have chosen the filter, check if it is compatible with your camera or drone. Some cameras and drones have specific filter attachments or filter threads that allow you to easily attach filters. If your device doesn't have a built-in filter attachment, you may need to purchase an adapter or mounting bracket that is compatible with your camera or drone.
Next, carefully attach the filter to your camera or drone. Make sure to follow the instructions provided with the filter to ensure proper installation. Some filters simply screw onto the filter thread, while others may require additional steps.
After attaching the filter, you may need to adjust the camera settings to optimize the filter's effect. For example, if you are using a neutral density filter to reduce the amount of light entering the camera, you may need to adjust the exposure settings accordingly.
It's important to note that adding filters to your camera or drone can affect the balance and stability of the device. Make sure to test the camera or drone with the filter attached before using it in a critical situation.
In conclusion, adding filters to your action camera or drone can enhance your photography and videography by allowing you to capture unique and creative shots. Just make sure to choose the right filter, ensure compatibility, and follow the proper installation steps for your specific device.
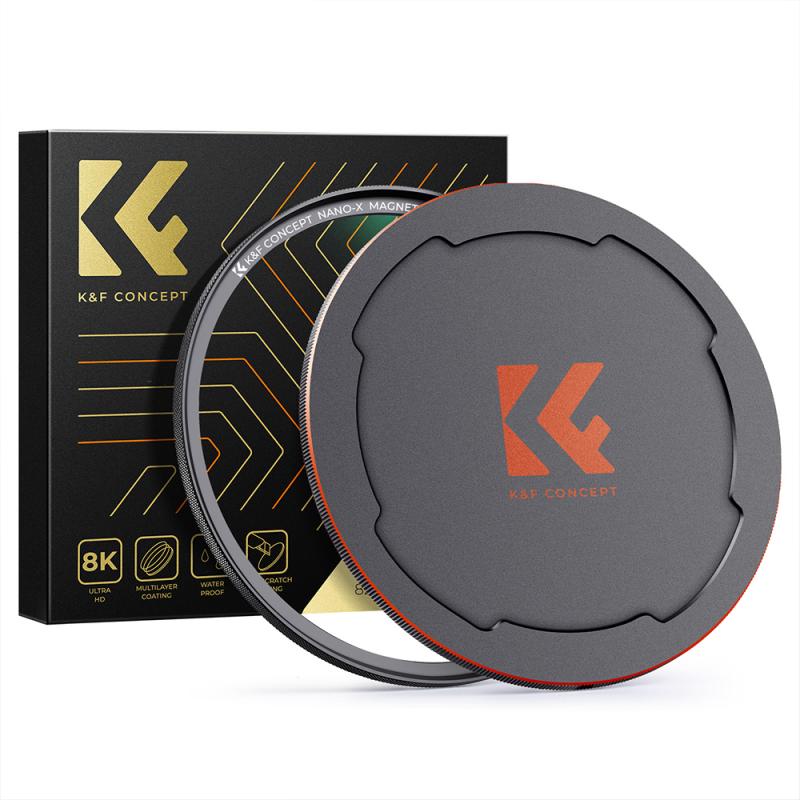
4、 Filter options for webcam and video conferencing cameras
To add filters to your camera, you have a few options depending on the device you are using. Here are some common methods:
1. Smartphone cameras: Most smartphones come with built-in camera apps that offer various filter options. Open your camera app, and you should see a filter icon or an option to access filters. Tap on it, and you'll be presented with a range of filters to choose from. Simply select the one you like, and it will be applied to your camera feed.
2. Webcam software: If you are using a webcam on your computer, you can use software applications like OBS Studio or ManyCam to add filters. These programs allow you to apply filters, effects, and overlays to your camera feed. They offer a wide range of options, including color correction, image adjustments, and even face tracking filters.
3. Video conferencing platforms: Some video conferencing platforms, such as Zoom, Microsoft Teams, and Skype, offer built-in filter options. When you join a meeting or start a video call, you can access the settings or preferences menu and look for the video options. Here, you may find a section dedicated to filters or video effects. You can then choose and apply filters to your camera feed during the call.
It's worth noting that the availability of filters may vary depending on the device or software you are using. Additionally, some filters may require a higher-end camera or specific hardware capabilities.
