How Do I Connect My Chromebook To Endoscope ?
To connect your Chromebook to an endoscope, you will need to follow these steps:
1. Check if your endoscope has a USB connection. If it does, proceed to the next step. If not, you may need an adapter to connect it to your Chromebook.
2. Plug the USB end of the endoscope into the USB port on your Chromebook.
3. Open the Chrome browser on your Chromebook.
4. Type "chrome://settings" in the address bar and press Enter.
5. Scroll down and click on "Advanced" to expand the settings.
6. Under the "Privacy and security" section, click on "Site settings."
7. Scroll down and click on "USB devices."
8. In the list of USB devices, you should see your endoscope listed. Click on it to allow access.
9. Open an application or website that supports endoscope functionality, such as a camera app or video conferencing platform.
10. Your Chromebook should now be connected to the endoscope, and you should be able to view the live feed from the endoscope on your Chromebook's screen.
Note: The specific steps may vary slightly depending on the model of your Chromebook and the endoscope you are using.
1、 Check compatibility of endoscope with Chromebook's operating system.
To connect your Chromebook to an endoscope, you need to ensure compatibility between the endoscope and the Chromebook's operating system. Chromebooks typically run on Chrome OS, which is a lightweight operating system based on the Google Chrome browser.
Firstly, check the compatibility of the endoscope with Chromebook's operating system. Most endoscopes are designed to work with Windows or Mac operating systems, so it's important to verify if the endoscope is compatible with Chrome OS. Check the endoscope's user manual or manufacturer's website for information on supported operating systems. If the endoscope is not compatible with Chrome OS, you may need to consider alternative options or use a different device to connect the endoscope.
If the endoscope is compatible with Chrome OS, you can connect it to your Chromebook using a USB connection. Chromebooks usually have USB ports that allow you to connect external devices. Simply plug the endoscope's USB cable into the USB port on your Chromebook. Once connected, the Chromebook should recognize the endoscope as a USB device.
However, it's important to note that not all endoscopes are supported by Chrome OS. Chromebooks have limited compatibility with external devices compared to Windows or Mac systems. Therefore, it's recommended to check user reviews or forums to see if other Chromebook users have successfully connected the specific endoscope model you have.
In conclusion, before attempting to connect your endoscope to a Chromebook, it is crucial to check the compatibility of the endoscope with Chrome OS. If the endoscope is compatible, you can connect it via USB. However, it's important to be aware that Chromebooks have limited compatibility with external devices, so it's advisable to research and ensure that other users have successfully connected the same endoscope model to a Chromebook.
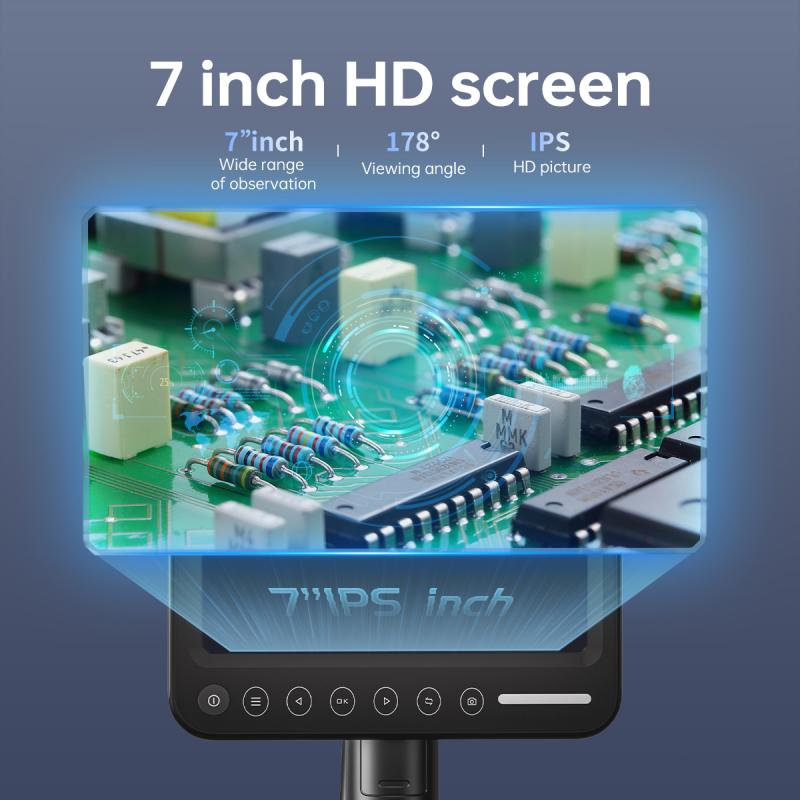
2、 Install necessary software or app for endoscope connectivity.
To connect your Chromebook to an endoscope, you will need to install the necessary software or app for endoscope connectivity. Unfortunately, Chromebooks do not have a built-in app for endoscope connectivity, so you will need to find a compatible app from the Chrome Web Store.
Start by opening the Chrome Web Store on your Chromebook and search for "endoscope app" or "endoscope software." Look for apps that are specifically designed for endoscope connectivity and have good user reviews. Some popular options include CameraFi, USB Camera, and Endoscope Camera.
Once you find a suitable app, click on it to open the app's page. Read the app's description, reviews, and check if it is compatible with your endoscope model. If everything looks good, click on the "Add to Chrome" button to install the app on your Chromebook.
After the installation is complete, connect your endoscope to your Chromebook using the appropriate USB or wireless connection. Open the newly installed app and follow the on-screen instructions to establish a connection between your Chromebook and the endoscope.
It's important to note that the availability and compatibility of endoscope apps for Chromebooks may vary, so it's always a good idea to check the latest options and reviews on the Chrome Web Store. Additionally, make sure to keep your Chromebook's operating system up to date to ensure compatibility with the latest apps and software.
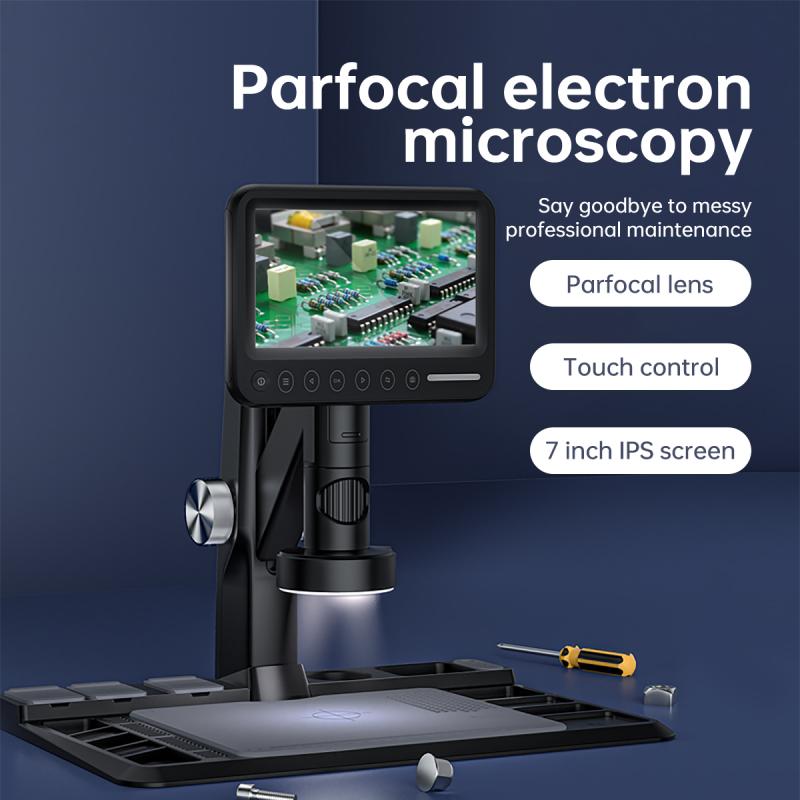
3、 Connect endoscope to Chromebook using appropriate USB or wireless method.
To connect an endoscope to a Chromebook, you can use either a USB or wireless method, depending on the type of endoscope you have.
If your endoscope has a USB connection, you can simply connect it to your Chromebook using an appropriate USB cable. Most endoscopes come with a USB adapter that allows you to connect it to different devices. Once connected, your Chromebook should recognize the endoscope as a USB device, and you can access the images or videos captured by the endoscope through the file manager or a compatible application.
On the other hand, if your endoscope supports wireless connectivity, you can connect it to your Chromebook using Wi-Fi or Bluetooth. Some endoscopes have built-in Wi-Fi capabilities, allowing you to connect them directly to your Chromebook's Wi-Fi network. Others may require you to install a companion app on your Chromebook to establish a wireless connection.
It's worth noting that the specific steps to connect an endoscope to a Chromebook may vary depending on the brand and model of the endoscope. Therefore, it's always a good idea to consult the user manual or the manufacturer's website for detailed instructions.
As technology continues to evolve, new methods of connecting endoscopes to Chromebooks may emerge. Therefore, it's important to stay updated with the latest advancements and follow the manufacturer's recommendations for the best connectivity options.
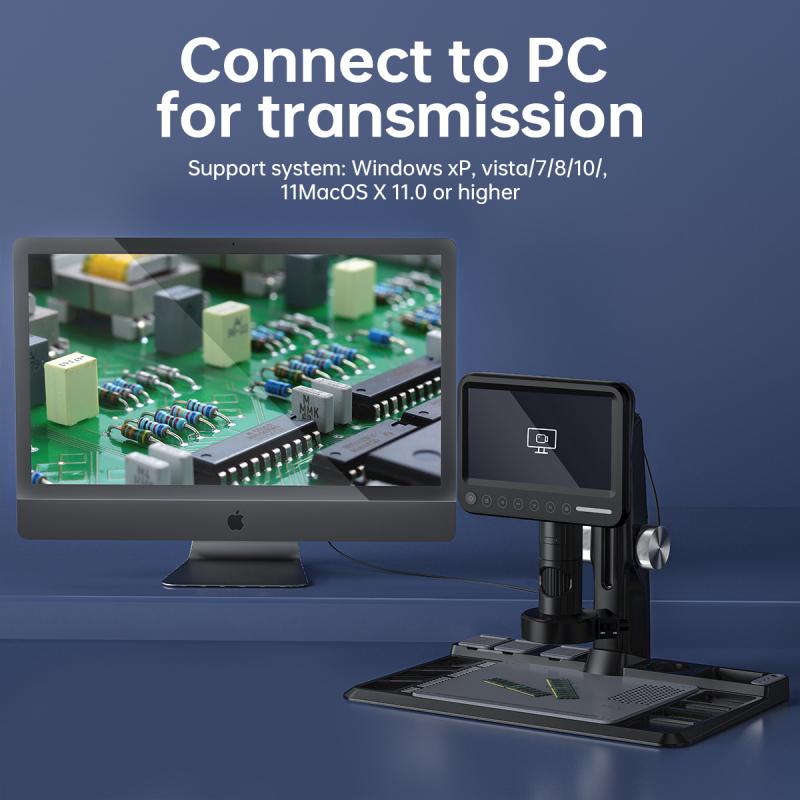
4、 Adjust Chromebook settings to recognize and access endoscope.
To connect your Chromebook to an endoscope, you need to adjust the Chromebook settings to recognize and access the device. Here's how you can do it:
1. Connect the endoscope to your Chromebook using the appropriate USB or wireless connection. Make sure the endoscope is properly powered on.
2. Open the Chrome browser on your Chromebook and click on the menu icon in the top-right corner (three vertical dots). From the dropdown menu, select "Settings."
3. In the Settings tab, scroll down and click on "Advanced" to expand the advanced settings options.
4. Under the "Privacy and security" section, click on "Site settings."
5. In the Site settings menu, scroll down and click on "USB devices."
6. Enable the option that says "Allow sites to access USB devices."
7. Close the Settings tab and open a new tab in the Chrome browser.
8. Type in the URL or open the web application that is compatible with your endoscope. The website or application should provide instructions on how to connect and use the endoscope.
9. Follow the instructions provided by the website or application to establish a connection with the endoscope. This may involve installing additional software or drivers.
It's important to note that the steps may vary slightly depending on the specific model of your Chromebook and the endoscope you are using. It's always a good idea to consult the user manual or the manufacturer's website for detailed instructions.
As technology evolves, newer Chromebook models may have built-in support for endoscope devices, making the connection process even more seamless.







There are no comments for this blog.