How Do I Use A Video Camcorder ?
To use a video camcorder, first, ensure that the battery is charged or that it is connected to a power source. Then, insert a blank video cassette or memory card into the camcorder, depending on the type of recording media it uses. Next, turn on the camcorder by pressing the power button. Adjust the settings such as resolution, focus, and exposure as desired. To start recording, press the record button. To stop recording, press the stop button. Some camcorders may have additional features like zoom, image stabilization, or special effects that can be accessed through the menu or dedicated buttons. After recording, you can connect the camcorder to a computer or TV to transfer and view your videos. Remember to follow the manufacturer's instructions for specific details on using your particular camcorder model.
1、 Powering on and off the camcorder
To use a video camcorder, the first step is to power it on and off. This is a basic function that allows you to start and stop recording, as well as conserve battery life when not in use.
To power on the camcorder, locate the power button, usually located on the side or top of the device. Press and hold the power button until the camcorder turns on. Some camcorders may have a separate switch for powering on and off, so make sure to check the user manual for specific instructions.
When you're ready to power off the camcorder, press and hold the power button again until the device shuts down. It's important to properly power off the camcorder to avoid any potential data loss or damage to the device.
In recent years, camcorders have become more advanced and may offer additional features related to powering on and off. For example, some camcorders have a quick start mode that allows you to power on and start recording almost instantly. Others may have a sleep mode that puts the camcorder into a low-power state when not in use, allowing for quick wake-up and recording.
Always refer to the user manual that comes with your specific camcorder model for detailed instructions on powering on and off, as well as any additional features or settings that may be available.

2、 Adjusting camera settings and modes
To use a video camcorder, you need to familiarize yourself with its various features and settings. Here's a step-by-step guide on how to use a video camcorder, including adjusting camera settings and modes:
1. Familiarize yourself with the camcorder: Read the user manual to understand the different buttons, ports, and functions of your specific camcorder model. This will help you navigate through the settings more effectively.
2. Power on the camcorder: Ensure that the battery is fully charged or connect the camcorder to a power source. Press the power button to turn it on.
3. Adjust camera settings: Most camcorders have a menu button that allows you to access various settings. Use the menu button to navigate through options such as resolution, frame rate, white balance, exposure, and audio settings. Adjust these settings according to your preferences and the shooting conditions.
4. Select a shooting mode: Camcorders often offer different shooting modes like auto, manual, sports, portrait, and night mode. Choose the appropriate mode based on the scene you want to capture. Auto mode is suitable for beginners as it automatically adjusts settings for optimal results.
5. Focus and zoom: Use the focus ring or autofocus feature to ensure your subject is sharp and clear. Additionally, utilize the zoom control to get closer or further away from your subject.
6. Stabilize the camcorder: To avoid shaky footage, hold the camcorder with both hands and keep your elbows close to your body. Alternatively, use a tripod or any stabilizing equipment for more professional-looking shots.
7. Start recording: Press the record button to start capturing video. Keep an eye on the recording time and available storage space.
Remember, technology is constantly evolving, so it's essential to stay updated with the latest features and advancements in video camcorders. Always refer to the user manual for specific instructions related to your camcorder model.
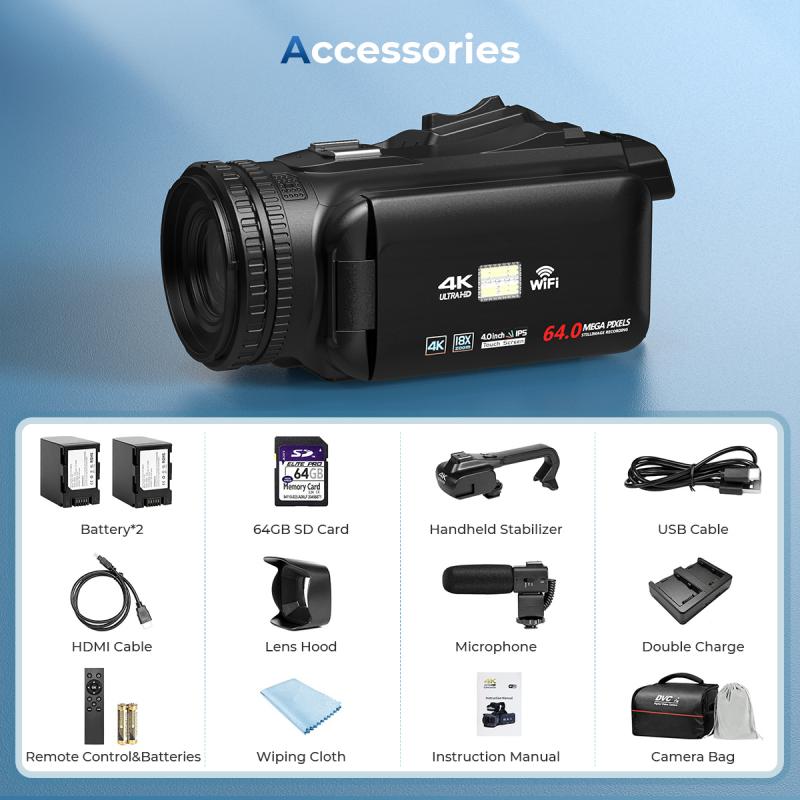
3、 Framing and composing shots
To use a video camcorder effectively, there are several key steps to consider. One of the most important aspects is framing and composing shots. This involves positioning your subject within the frame and creating a visually appealing composition.
Firstly, it's crucial to understand the rule of thirds. Imagine dividing your frame into a grid of nine equal parts using two horizontal and two vertical lines. The points where these lines intersect are known as the "power points." Placing your subject along these lines or at the power points can create a more balanced and visually pleasing shot.
Additionally, consider the background and foreground elements. Ensure that there are no distracting objects or clutter that may take away from the main subject. Pay attention to the lighting conditions as well, as it can greatly impact the overall composition. Experiment with different angles and perspectives to add depth and interest to your shots.
With the latest advancements in technology, many camcorders now offer features like autofocus and image stabilization. These can help you achieve sharper and more professional-looking shots. Take advantage of these features to enhance the quality of your videos.
Furthermore, it's essential to practice and experiment with different framing techniques. Try capturing wide shots to establish the scene, medium shots to focus on the subject, and close-ups to highlight details or emotions. Don't be afraid to get creative and think outside the box.
Lastly, remember that practice makes perfect. The more you use your video camcorder and experiment with framing and composing shots, the better you will become at capturing visually stunning videos. So, grab your camcorder, go out, and start exploring the world of videography!
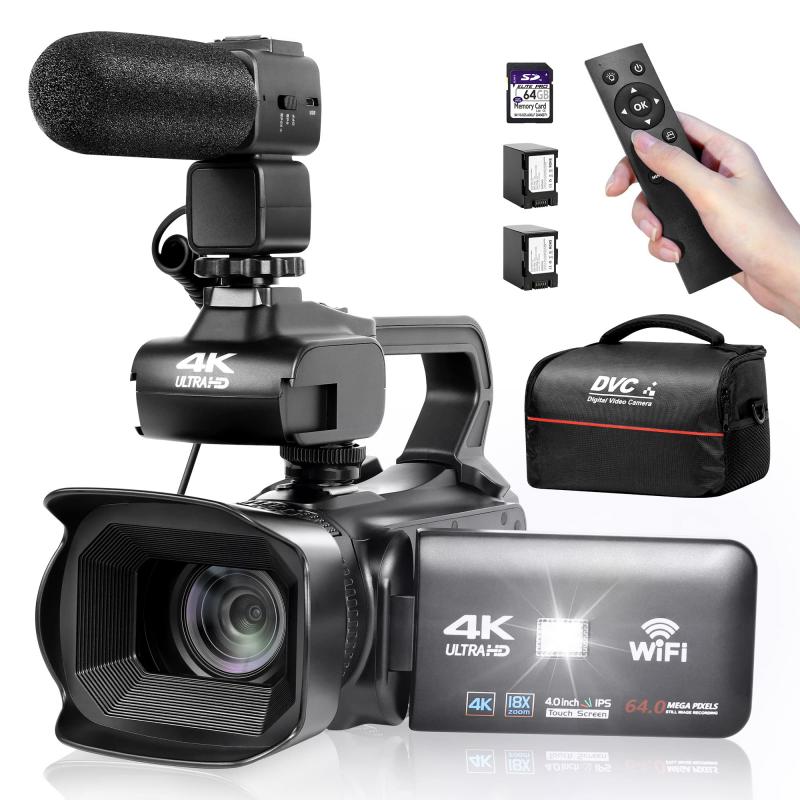
4、 Recording videos and capturing audio
To use a video camcorder, the first step is to familiarize yourself with the device. Read the user manual thoroughly to understand its features and functions. Once you have a good understanding, follow these steps:
1. Power on the camcorder: Ensure the battery is charged or connect it to a power source. Turn on the device by pressing the power button.
2. Adjust settings: Set the desired video quality, resolution, and frame rate. You may also need to adjust the focus, exposure, and white balance settings based on the lighting conditions.
3. Insert a memory card: Most camcorders use memory cards to store videos. Insert a compatible memory card into the designated slot.
4. Frame your shot: Look through the viewfinder or use the LCD screen to compose your shot. Make sure the subject is in focus and properly framed.
5. Start recording: Press the record button to start capturing video. Keep the camera steady and avoid unnecessary movements for a smoother recording.
6. Capture audio: Camcorders have built-in microphones to record audio. Ensure the microphone is not obstructed and position yourself close to the subject for clear sound.
7. Stop recording: Press the stop button to end the recording. Review the footage on the camcorder's screen to ensure it meets your expectations.
8. Transfer and edit: Connect the camcorder to a computer using a USB cable or remove the memory card and insert it into a card reader. Transfer the videos to your computer for editing or sharing.
It's worth noting that with advancements in technology, many camcorders now offer additional features like image stabilization, Wi-Fi connectivity, and touchscreen controls. Always stay updated with the latest firmware and software updates to make the most of your camcorder's capabilities.
