How Do You Hook Up A Surveillance Camera ?
To hook up a surveillance camera, you typically need to follow these steps:
1. Choose the location: Determine where you want to install the camera and ensure it has a clear view of the area you want to monitor.
2. Mount the camera: Use the appropriate mounting hardware to securely attach the camera to a wall, ceiling, or other suitable surface.
3. Connect the camera to power: Plug the camera into a power outlet using the provided power adapter or use a PoE (Power over Ethernet) connection if supported.
4. Connect the camera to a recording device: Depending on the camera type, you may need to connect it to a digital video recorder (DVR), network video recorder (NVR), or a computer with surveillance software installed.
5. Configure the camera: Follow the manufacturer's instructions to set up the camera, including adjusting the viewing angle, configuring any necessary settings, and connecting it to your network if applicable.
6. Test the camera: Ensure that the camera is functioning properly by checking the live feed on your recording device or software.
7. Fine-tune the setup: Make any necessary adjustments to the camera's position or settings to optimize its performance.
Note: The specific steps may vary depending on the camera model and the recording device you are using. It is recommended to consult the camera's user manual for detailed instructions.
1、 Camera Placement and Field of View
Camera placement and field of view are crucial factors when it comes to setting up a surveillance camera. To ensure optimal coverage and effectiveness, it is important to consider the following steps:
1. Determine the purpose: Identify the specific areas you want to monitor and the objectives of your surveillance system. This will help you decide the number and type of cameras required.
2. Conduct a site survey: Assess the location where you plan to install the cameras. Consider factors such as lighting conditions, potential obstructions, and the distance between the camera and the target area.
3. Choose the right camera: Select a camera that suits your needs. There are various types available, including dome cameras, bullet cameras, and PTZ (pan-tilt-zoom) cameras. Each has different features and capabilities, so choose one that aligns with your requirements.
4. Mounting the camera: Install the camera at an appropriate height and angle to capture the desired field of view. Ensure it is securely mounted to prevent tampering or damage.
5. Adjust the field of view: Position the camera to cover the intended area effectively. Consider the camera's focal length, lens type, and viewing angle to achieve the desired coverage.
6. Test and adjust: Once the camera is installed, test its functionality and adjust the settings as needed. Ensure that the camera captures clear images and videos, and that the field of view covers the desired area adequately.
The latest point of view in surveillance camera placement emphasizes the importance of considering privacy concerns. It is essential to respect individuals' privacy rights and comply with local laws and regulations. Additionally, advancements in technology have introduced features like motion detection, facial recognition, and remote access, which enhance the effectiveness and convenience of surveillance systems.
2、 Power and Connectivity Setup
To hook up a surveillance camera, you need to consider two main aspects: power and connectivity setup. Let's delve into each of these aspects to understand the process better.
Power Setup:
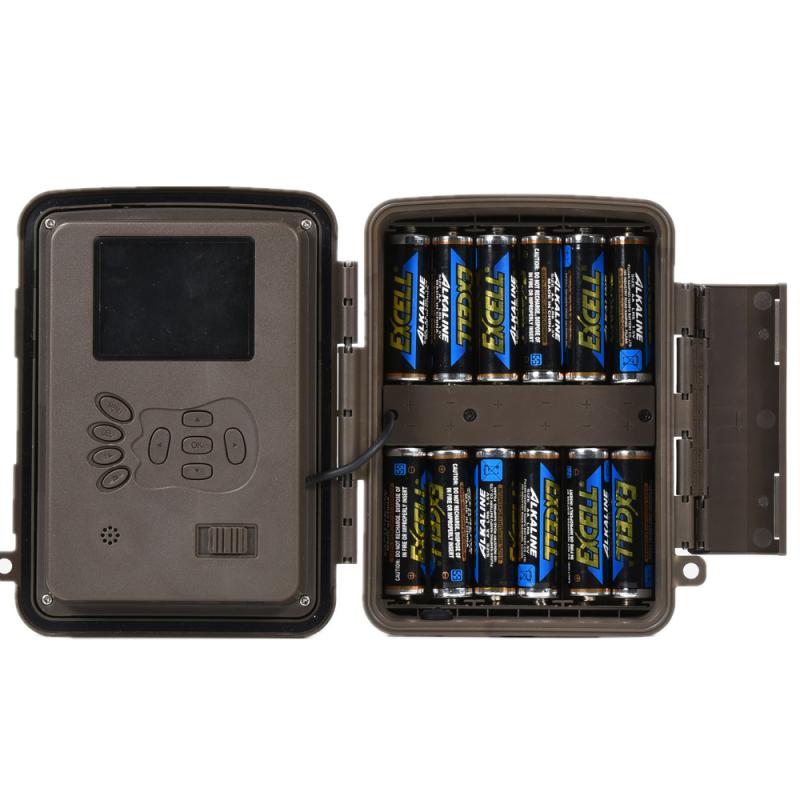
Firstly, you need to ensure a reliable power source for your surveillance camera. Most cameras can be powered using either a direct electrical connection or through Power over Ethernet (PoE) technology. If you opt for a direct electrical connection, you will need to locate a nearby power outlet and connect the camera using the provided power adapter. On the other hand, PoE cameras can be powered through an Ethernet cable, which simplifies the setup process by combining power and data transmission.
Connectivity Setup:
Once the power is sorted, you need to establish a connection between the camera and your monitoring device. This can be done using either a wired or wireless connection. For a wired setup, you will need to run an Ethernet cable from the camera to your router or network switch. This ensures a stable and reliable connection, especially for high-resolution cameras or when dealing with large distances.
Alternatively, wireless cameras offer more flexibility in terms of installation. These cameras connect to your Wi-Fi network, eliminating the need for physical cables. However, it's important to ensure a strong and stable Wi-Fi signal in the camera's location to avoid connectivity issues.
In recent years, advancements in surveillance technology have introduced features like cloud storage, remote access, and smart integration. These advancements have made it easier to set up and manage surveillance cameras. Many cameras now come with user-friendly mobile apps that allow you to monitor your property remotely and receive notifications in case of any suspicious activity.
In conclusion, hooking up a surveillance camera involves ensuring a reliable power source and establishing a connection to your monitoring device. With the latest advancements in technology, setting up and managing surveillance cameras has become more convenient and accessible to users.
3、 Mounting and Installation
Mounting and installation are key steps in setting up a surveillance camera system. To begin, you will need to select the appropriate location for your camera. Consider areas that require monitoring, such as entrances, parking lots, or high-traffic areas. Once you have determined the location, follow these steps to hook up your surveillance camera:
1. Choose the right camera: Select a camera that suits your needs, whether it's a wired or wireless camera, indoor or outdoor, and with the desired resolution and features.
2. Prepare the necessary equipment: Gather the camera, mounting brackets, screws, power supply, and cables required for installation.
3. Mount the camera: Use the mounting brackets to secure the camera in the desired location. Ensure it is positioned correctly for optimal coverage and adjust the angle as needed.
4. Connect the cables: If using a wired camera, connect the video cable from the camera to the DVR or monitor. For wireless cameras, follow the manufacturer's instructions to establish a connection.
5. Power the camera: Connect the camera to a power source using the provided power supply. Ensure the power source is reliable and protected from weather conditions if installing an outdoor camera.
6. Adjust camera settings: Once the camera is powered on, access its settings to configure features such as motion detection, recording schedules, and video quality. Consult the camera's user manual for specific instructions.
7. Test the camera: Verify that the camera is functioning properly by checking the live feed on a monitor or through a mobile app if applicable. Adjust the camera's position or settings if necessary.
It's worth noting that advancements in technology have made surveillance camera installation more user-friendly. Many cameras now offer plug-and-play functionality, simplified wireless connections, and intuitive setup processes. Always refer to the manufacturer's instructions for specific guidance on hooking up your surveillance camera.
4、 Network Configuration and IP Addressing
To hook up a surveillance camera, you need to consider both the physical installation and the network configuration, including IP addressing.
First, let's discuss the physical installation. Start by selecting an appropriate location for the camera, ensuring it covers the desired area. Mount the camera securely using brackets or other mounting equipment. Connect the camera to a power source, either through a power adapter or by using Power over Ethernet (PoE) technology if supported. PoE allows both power and data to be transmitted over a single Ethernet cable, simplifying the installation process.
Now, let's move on to the network configuration and IP addressing. Most modern surveillance cameras are IP-based, meaning they connect to a network using an Ethernet cable or wirelessly through Wi-Fi. To configure the camera, you typically need to access its web interface using a computer or mobile device connected to the same network.
To assign an IP address to the camera, you have a few options. One common method is to use Dynamic Host Configuration Protocol (DHCP), which automatically assigns IP addresses to devices on the network. If DHCP is not available or not desired, you can manually assign a static IP address to the camera. Ensure the IP address you choose is within the same subnet as your network and does not conflict with any other devices.
Once the camera is connected and configured, you can access its live feed and recordings through a web browser or dedicated surveillance software. Some cameras also offer cloud storage options for remote access and backup.
It's worth noting that the latest advancements in surveillance technology include features like artificial intelligence (AI) for object recognition, facial recognition, and advanced analytics. These technologies enhance the camera's capabilities and provide more accurate and efficient surveillance.
In conclusion, hooking up a surveillance camera involves both physical installation and network configuration, including IP addressing. By following the appropriate steps and considering the latest advancements, you can ensure a successful setup and enjoy the benefits of a reliable surveillance system.














There are no comments for this blog.