How To Arrange Tripod Stand ?
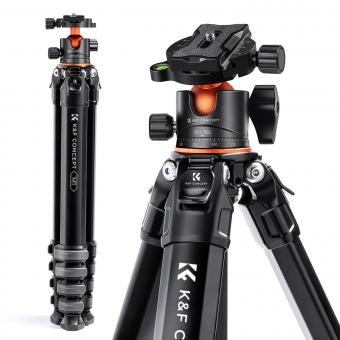
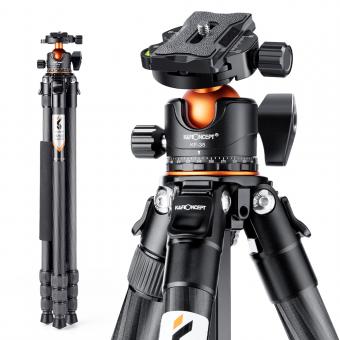
To arrange a tripod stand, start by extending the legs of the tripod fully. Make sure the legs are evenly spread apart for stability. Adjust the height of the tripod by loosening the leg locks and extending or retracting the legs as needed. Once you have set the desired height, tighten the leg locks to secure the legs in place. Attach the camera or equipment to the tripod head using the appropriate mounting plate or attachment. Ensure that the camera is securely fastened to the tripod head. Adjust the position and angle of the camera by loosening the tripod head controls and moving it accordingly. Once you have positioned the camera as desired, tighten the tripod head controls to lock it in place. Finally, check the stability of the tripod stand and make any necessary adjustments to ensure a secure and level setup.
1、 Adjusting the height of the tripod legs
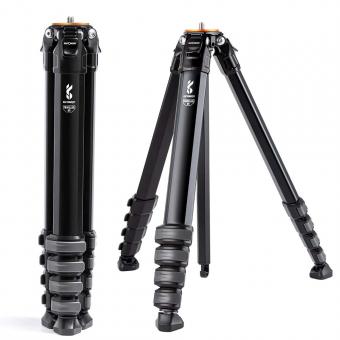
To arrange a tripod stand, the first step is to unfold the tripod legs. Most tripod stands have three legs that can be extended or retracted to adjust the height. To do this, locate the leg locks on each leg and release them. Then, extend the legs to the desired height by pulling them outwards. Once the legs are extended, lock them in place by tightening the leg locks.
Adjusting the height of the tripod legs is an important step in setting up the stand. It allows you to position the camera at the desired height and angle for capturing stable and balanced shots. To adjust the height, loosen the leg locks and extend or retract the legs accordingly. Make sure to adjust all three legs to the same height to maintain stability.
The latest point of view on adjusting the height of tripod legs is to consider the specific requirements of your shot. If you are shooting at a low angle, you may want to keep the legs shorter to achieve a stable and close-to-the-ground position. On the other hand, if you need to capture shots from a higher perspective, extending the legs to their maximum height would be ideal. Additionally, some tripods come with a center column that can be raised or lowered to further adjust the height. This feature can be useful when you need to fine-tune the height of the camera.
In conclusion, arranging a tripod stand involves unfolding the legs and adjusting their height. By following these steps and considering the specific requirements of your shot, you can ensure a stable and balanced setup for your camera.
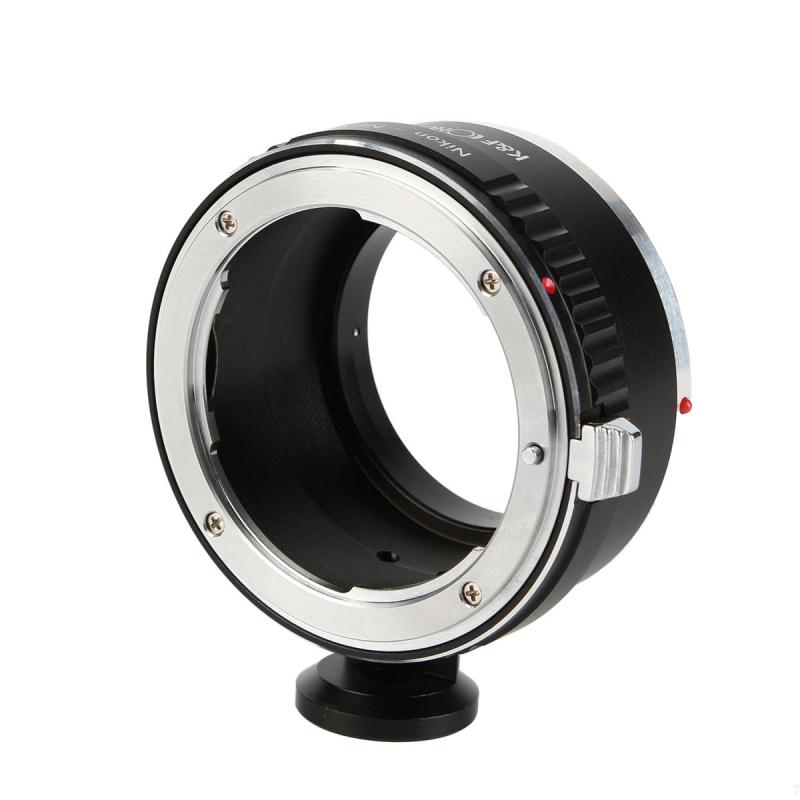
2、 Securing the tripod head
Securing the tripod head is an essential step in setting up a tripod stand. It ensures that your camera or other equipment remains stable and secure during use. Here's a step-by-step guide on how to arrange a tripod stand and properly secure the tripod head:
1. Start by extending the tripod legs to your desired height. Most tripods have adjustable legs that can be locked into place at different lengths. Make sure all the leg locks are securely tightened to prevent any wobbling or instability.
2. Once the legs are extended, spread them out evenly to create a stable base. Adjust the leg angles if necessary to accommodate uneven terrain or to achieve the desired shooting angle.
3. Locate the tripod head, which is the part that holds your camera or equipment. It is usually attached to the top of the tripod legs and can be adjusted for different angles and orientations.
4. Before attaching your camera or equipment, ensure that the tripod head is securely fastened to the tripod legs. Most tripod heads have a locking mechanism that needs to be tightened to prevent any movement or slippage.
5. Once the tripod head is securely attached, mount your camera or equipment onto the head. Make sure it is properly aligned and balanced to avoid any tilting or shifting during use.
6. Use the tripod head controls to adjust the position and angle of your camera or equipment as needed. This may include panning, tilting, or rotating the head to achieve the desired composition.
7. Finally, double-check that all the tripod head locks and knobs are tightened to secure your camera or equipment in place. Give the tripod a gentle shake to ensure everything is stable before starting your shoot.
In recent years, there have been advancements in tripod head technology, such as the introduction of quick-release plates. These plates allow for faster and easier attachment and detachment of cameras or equipment. Additionally, some tripod heads now come with built-in levels or bubble indicators to help ensure that your camera is perfectly level.
Remember, securing the tripod head is crucial for achieving sharp and stable images or videos. Taking the time to properly arrange and secure your tripod stand will greatly enhance the quality of your shots and prevent any accidents or damage to your equipment.
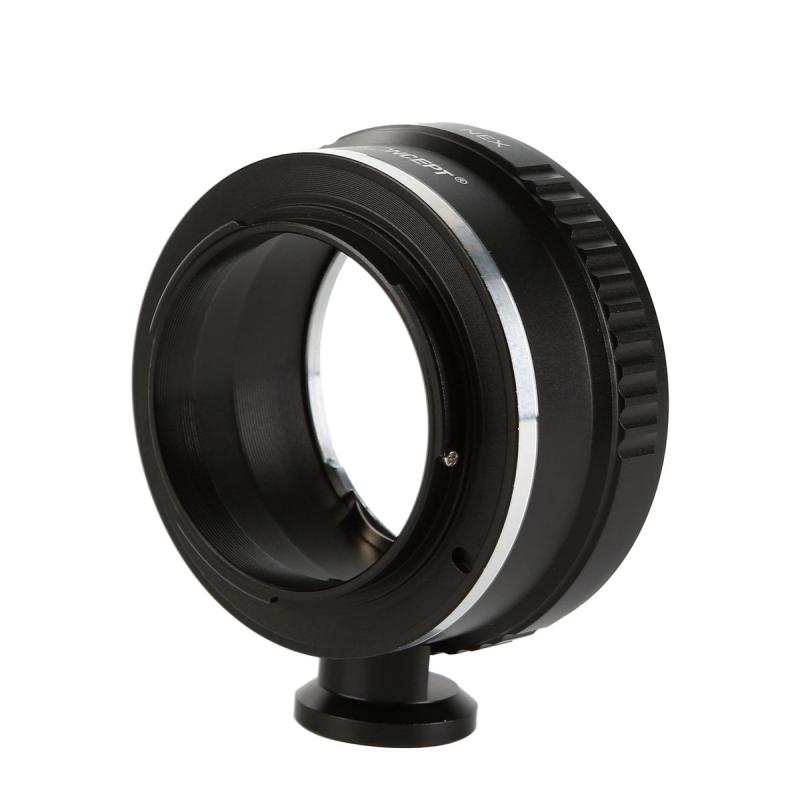
3、 Leveling the tripod
To arrange a tripod stand, follow these steps:
1. Unfold the tripod legs: Start by unlocking the leg locks and extending each leg to its desired height. Make sure the legs are evenly spread apart for stability.
2. Adjust the height: Most tripods have a central column that can be raised or lowered. Adjust the column to your desired height by loosening the column lock and sliding it up or down. Ensure the column is securely locked in place.
3. Level the tripod: Leveling the tripod is crucial for capturing stable and straight images. Use a bubble level or the built-in level on the tripod head to ensure the tripod is perfectly level. Adjust the leg lengths or the central column as needed to achieve a level position.
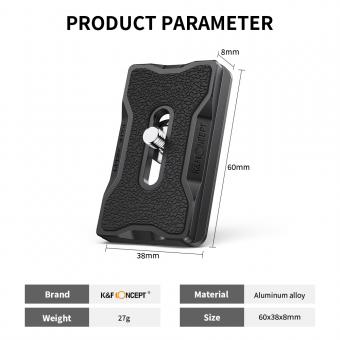
4. Attach the camera: Most tripods have a quick-release plate that attaches to the camera. Securely attach the plate to the camera's tripod mount and then slide it into the tripod head's quick-release mechanism. Tighten the plate's locking mechanism to ensure the camera is securely attached.
5. Fine-tune the position: Once the camera is attached, use the tripod's pan and tilt controls to adjust the camera's position. This allows you to frame your shot precisely and make any necessary adjustments for composition.
6. Lock the tripod: Once you have the camera in the desired position, tighten all the tripod locks to secure the legs, central column, and camera in place. This ensures stability during shooting.
From a latest point of view, some tripods now come with advanced features like built-in levels, adjustable leg angles for shooting on uneven terrain, and lightweight materials for easy portability. Additionally, some tripods offer quick-release mechanisms that allow for faster camera attachment and detachment. These advancements make setting up and using tripods more convenient and efficient for photographers.
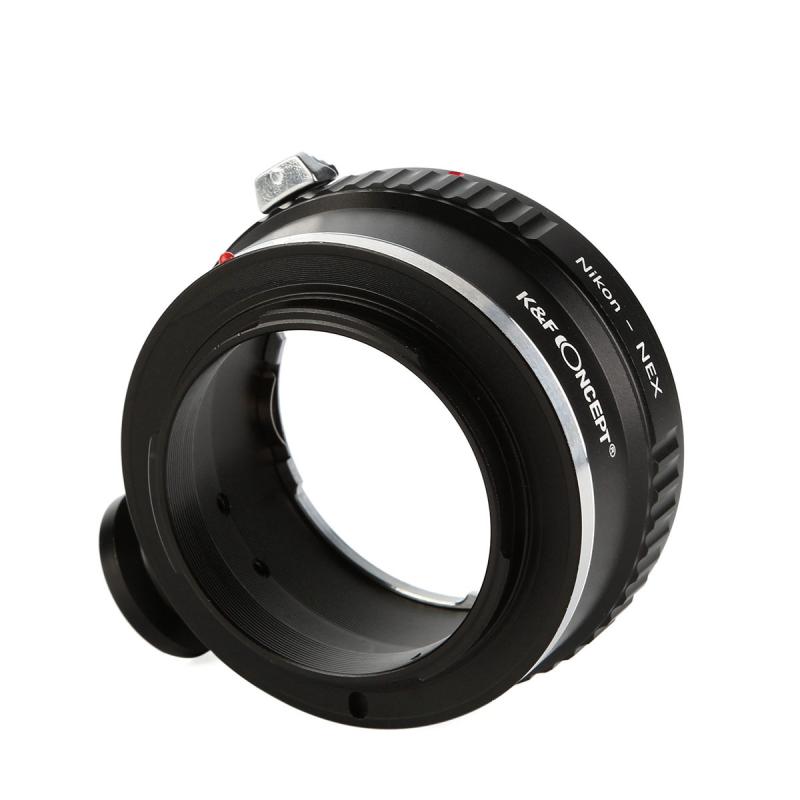
4、 Attaching the camera to the tripod
To arrange a tripod stand, follow these steps:
1. Unfold the tripod legs: Start by unlocking the tripod legs and extending them to the desired height. Most tripods have adjustable legs that can be extended or retracted to achieve the desired stability and height.
2. Adjust the center column: If your tripod has a center column, adjust it to the desired height. The center column allows for additional height adjustment and can be useful when shooting from a higher perspective.
3. Lock the legs and center column: Once you have set the desired height, lock the legs and center column in place. This will ensure that the tripod remains stable during use.
4. Attach the camera mounting plate: Most tripods come with a camera mounting plate that needs to be attached to the camera. This plate usually screws into the bottom of the camera and then attaches to the tripod head.
5. Attach the camera to the tripod head: Once the mounting plate is securely attached to the camera, place the camera onto the tripod head and tighten the screw to secure it in place. Make sure the camera is balanced and level on the tripod head.
6. Adjust the camera position: Use the tripod head controls to adjust the camera's position. This includes panning left or right, tilting up or down, and rotating the camera to achieve the desired composition.
7. Secure the camera: Once you have positioned the camera, tighten the tripod head controls to secure the camera in place. This will prevent any unwanted movement or vibrations during shooting.
Remember to always check the stability of the tripod and ensure that it is on a level surface before attaching the camera. Additionally, be mindful of the weight capacity of your tripod to avoid any damage or accidents.
From a latest point of view, some tripods now come with quick-release plates that allow for faster and easier attachment and detachment of the camera. These plates have a lever or button that releases the camera from the tripod head, making it convenient for photographers who frequently switch between handheld and tripod shooting. Additionally, some tripods now offer built-in levels or bubble indicators to help ensure that the camera is perfectly level. This can be particularly useful when shooting landscapes or architectural subjects where a level horizon is important.
