How To Attach A Camera To A Microscope ?
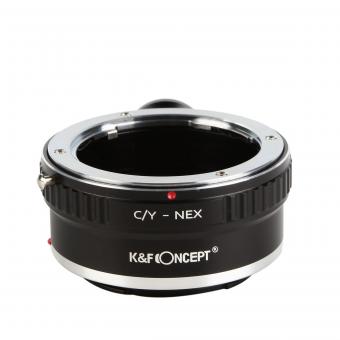
To attach a camera to a microscope, you will need a microscope camera adapter. This adapter is designed to connect the camera to the eyepiece tube of the microscope. The specific adapter you need will depend on the type of microscope and camera you are using.
First, remove the eyepiece from the microscope and attach the camera adapter to the eyepiece tube. Make sure it is securely fastened. Next, attach the camera to the adapter using the appropriate mounting mechanism. This may involve screwing the camera onto the adapter or using a clamp or bracket to hold it in place.
Once the camera is attached, adjust the focus and position of the camera to ensure that it is aligned with the microscope's optical path. You may need to adjust the camera settings, such as exposure and focus, to capture clear images.
It is also important to note that some microscopes may require additional accessories, such as a trinocular head or a beam splitter, to attach a camera. These accessories allow simultaneous viewing through the eyepieces and capturing images with the camera.
1、 Camera Mounting Options for Microscopes
Camera Mounting Options for Microscopes
Attaching a camera to a microscope can greatly enhance the capabilities of the microscope and allow for documentation, analysis, and sharing of images. There are several camera mounting options available, each with its own advantages and considerations.
One common method is to use a camera adapter, which connects the camera to the eyepiece of the microscope. This allows for easy attachment and detachment of the camera, making it a versatile option. However, it may result in a loss of image quality due to the additional optics involved.
Another option is to use a trinocular microscope, which has a third eyepiece specifically designed for attaching a camera. This eliminates the need for additional adapters and provides a direct connection between the camera and the microscope. Trinocular microscopes are often preferred for professional applications where image quality is crucial.
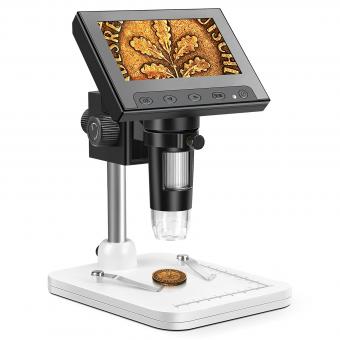
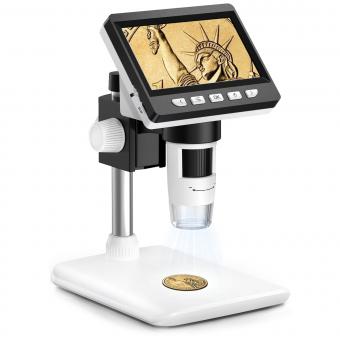
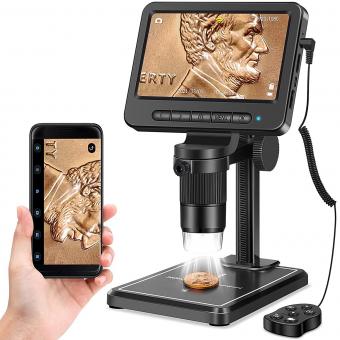
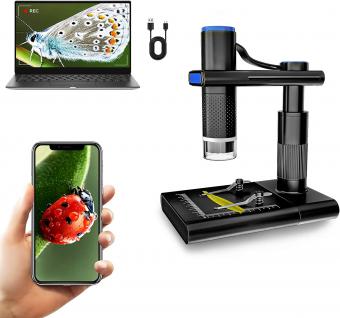
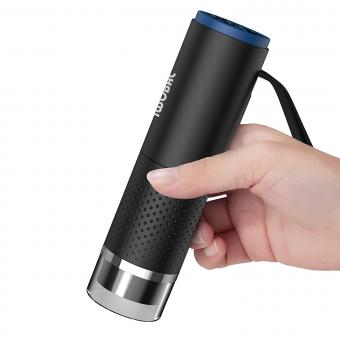
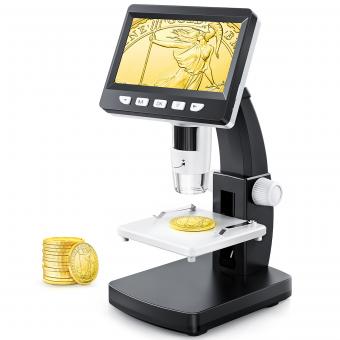
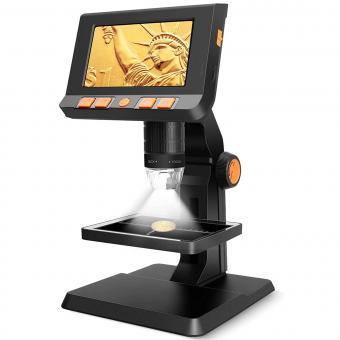
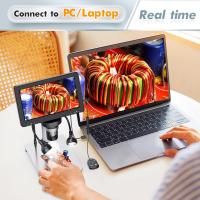
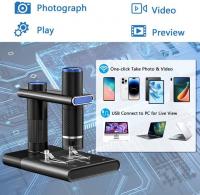
In recent years, digital microscope cameras have become increasingly popular. These cameras can be directly connected to the microscope's imaging system, bypassing the need for eyepieces altogether. They offer high-resolution imaging and the ability to capture and store images directly on a computer. Additionally, some digital microscope cameras come with software that allows for advanced image analysis and measurement.
It is important to consider the compatibility of the camera with the microscope when choosing a mounting option. Different microscopes may require specific adapters or connectors, so it is advisable to consult the microscope manufacturer or a knowledgeable supplier for guidance.
In conclusion, there are various camera mounting options available for microscopes, each with its own advantages and considerations. The choice depends on factors such as image quality requirements, ease of use, and compatibility with the microscope. With the advancements in digital imaging technology, digital microscope cameras have become a popular choice for their convenience and advanced features.
2、 Direct Camera Attachment to Microscope Eyepiece
Direct Camera Attachment to Microscope Eyepiece:
Attaching a camera to a microscope allows for capturing high-quality images and videos of microscopic specimens. There are several methods to achieve this, but one of the most common and straightforward approaches is direct camera attachment to the microscope eyepiece.
To begin, you will need a camera that is compatible with your microscope. Many modern digital cameras have the option to attach directly to a microscope eyepiece. Ensure that your camera has the necessary adapter or mount to connect to the eyepiece.
First, remove the eyepiece from the microscope. The eyepiece is the part you typically look through to observe the specimen. Next, attach the camera to the eyepiece adapter or mount. This may involve screwing or sliding the camera into place, depending on the specific design.
Once the camera is securely attached, position it in a way that aligns the camera lens with the microscope's optical path. This alignment is crucial to ensure accurate and focused imaging. Adjust the camera's position and focus until you achieve a clear view of the specimen on the camera's display or viewfinder.
It is important to note that the quality of the images captured will depend on the camera's specifications, such as resolution and sensor size. Therefore, using a camera with higher megapixels and a larger sensor will generally result in better image quality.
Additionally, advancements in technology have led to the development of digital microscope cameras specifically designed for direct attachment to microscopes. These cameras often offer features like live video streaming, image capture, and advanced image analysis software.
In conclusion, attaching a camera directly to a microscope eyepiece is a simple and effective method for capturing images and videos of microscopic specimens. With the right equipment and proper alignment, this technique allows for detailed documentation and analysis of microscopic samples.
3、 Camera Adapters for Microscope Photography
Camera Adapters for Microscope Photography
Attaching a camera to a microscope allows for capturing high-quality images and videos of microscopic specimens. There are several ways to achieve this, but one of the most common methods is by using camera adapters specifically designed for microscope photography.
Camera adapters are devices that connect a camera to the eyepiece of a microscope, enabling the camera to capture the magnified image seen through the microscope. These adapters come in various designs and sizes to fit different camera models and microscope types.
To attach a camera to a microscope using a camera adapter, follow these general steps:
1. Choose the appropriate camera adapter: Select a camera adapter that is compatible with your camera model and microscope. There are universal adapters available, as well as adapters designed for specific camera brands.
2. Remove the eyepiece: Unscrew or remove the eyepiece from the microscope's eyepiece tube. This creates a space for the camera adapter to be inserted.
3. Attach the camera adapter: Insert the camera adapter into the eyepiece tube, ensuring a secure fit. Some adapters may require additional adjustments or tightening mechanisms to ensure stability.
4. Connect the camera: Attach your camera to the camera adapter using the appropriate mounting mechanism. This may involve screwing the camera onto the adapter or using a quick-release plate.
5. Adjust camera settings: Set your camera to manual mode and adjust the focus, exposure, and other settings as needed. It is recommended to use a remote shutter release or a timer to minimize camera shake.
6. Capture images: Look through the camera's viewfinder or use the camera's live view function to compose and focus the image. Capture images or record videos as desired.
It is worth noting that with advancements in technology, there are now digital microscope cameras available that directly connect to the microscope's imaging system, eliminating the need for camera adapters. These cameras offer real-time imaging and often come with software for image analysis and documentation.
In conclusion, attaching a camera to a microscope can be achieved using camera adapters designed for microscope photography. These adapters provide a stable connection between the camera and microscope, allowing for the capture of high-quality images and videos of microscopic specimens. However, it is important to ensure compatibility between the camera, microscope, and adapter for optimal results.
4、 Tethered Camera Connection to Microscope
To attach a camera to a microscope, there are a few different methods you can use. One common method is through a tethered camera connection. This involves connecting the camera directly to the microscope using a cable or adapter.
First, you will need to determine the type of camera you have and the type of microscope you are using. Different cameras and microscopes may require different adapters or cables. It is important to ensure compatibility between the camera and microscope before proceeding.
Once you have the necessary equipment, you can begin the process of attaching the camera to the microscope. Start by locating the camera port on the microscope. This is typically located on the eyepiece tube or the trinocular port. Insert the appropriate adapter or cable into the camera port.
Next, connect the other end of the adapter or cable to the camera. This may involve plugging it into a USB port or another designated camera port. Make sure the connection is secure.
Once the camera is connected to the microscope, you may need to adjust the camera settings to ensure proper image capture. This may involve adjusting the focus, exposure, or other camera settings.
It is worth noting that advancements in technology have led to the development of digital microscope cameras, which can be directly attached to the microscope without the need for additional adapters or cables. These cameras offer high-resolution imaging and often come with software that allows for easy image capture and analysis.
In conclusion, attaching a camera to a microscope can be done through a tethered camera connection. However, it is important to ensure compatibility between the camera and microscope and to follow the specific instructions provided by the manufacturer.
