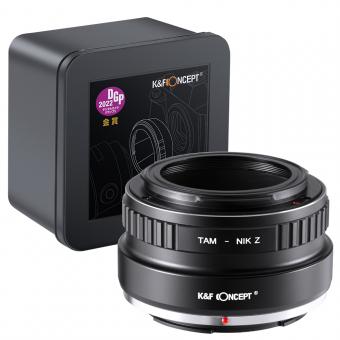
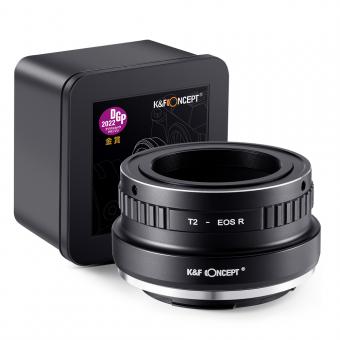
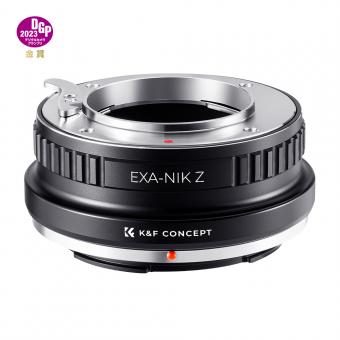
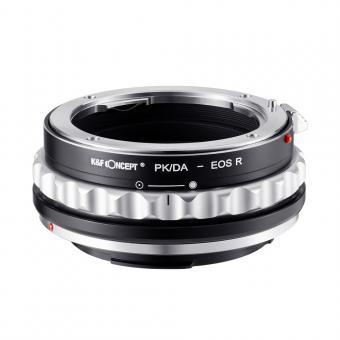
How To Attach Lens Adapter ?
To attach a lens adapter, first, ensure that the adapter is compatible with your camera and lens. Then, remove the lens from your camera by pressing the lens release button and twisting it counterclockwise. Next, align the lens adapter with the camera's lens mount and gently twist it clockwise until it locks into place. Once the adapter is securely attached, you can mount your desired lens onto the adapter by aligning the lens's mounting point with the adapter's inner ring and twisting it clockwise until it locks. Make sure the lens is properly seated and secure before using it.
1、 Selecting the appropriate lens adapter for your camera model.
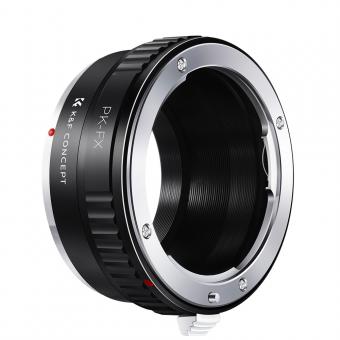
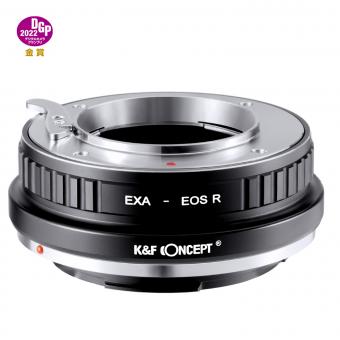
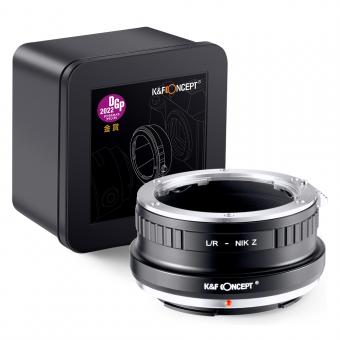
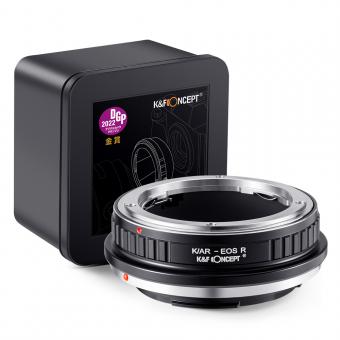
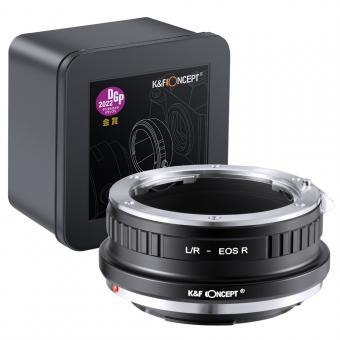
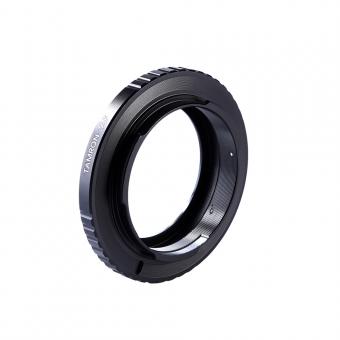
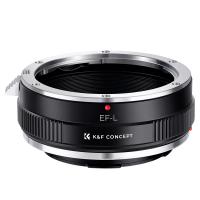
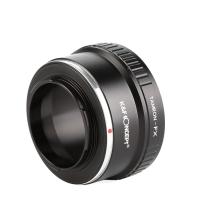
Selecting the appropriate lens adapter for your camera model is crucial when it comes to attaching lenses to your camera. Lens adapters are used to connect lenses with different mounts to your camera body, allowing you to use lenses that are not originally designed for your camera.
To attach a lens adapter, follow these steps:
1. Identify the lens mount of your camera: Before selecting a lens adapter, you need to know the lens mount of your camera. Different camera brands have different lens mounts, such as Canon EF, Nikon F, Sony E, etc.
2. Determine the lens mount of the lens you want to attach: Once you know the lens mount of your camera, you need to identify the lens mount of the lens you want to use. This can usually be found on the lens itself or in the lens specifications.
3. Select the appropriate lens adapter: Once you know both the camera and lens mounts, you can select the appropriate lens adapter. Lens adapters come in various combinations, such as Canon EF to Sony E, Nikon F to Canon EF, etc. Make sure to choose the adapter that matches your camera and lens mounts.
4. Attach the lens adapter: To attach the lens adapter, simply align the adapter's mount with the camera mount and twist it clockwise until it locks into place. Then, align the lens with the adapter's mount and twist it clockwise until it locks as well.
5. Test the connection: Once the lens is attached, test the connection by turning on your camera and checking if the lens functions properly. Ensure that autofocus, aperture control, and other features work as expected.
It's important to note that while lens adapters allow you to use lenses from different brands, there may be limitations in terms of autofocus speed, image stabilization, and compatibility with certain features. Additionally, using a lens adapter may affect the overall image quality, so it's advisable to do thorough research and read reviews before purchasing a lens adapter.
In conclusion, attaching a lens adapter involves selecting the appropriate adapter for your camera and lens mounts, aligning and twisting the adapter and lens into place, and testing the connection. Keep in mind the potential limitations and impact on image quality when using a lens adapter.
2、 Removing the lens from your camera.
To attach a lens adapter to your camera, you first need to remove the lens from your camera body. Here's a step-by-step guide on how to do it:
1. Turn off your camera: Before removing the lens, make sure your camera is turned off to prevent any damage to the lens or camera sensor.
2. Locate the lens release button: On most cameras, there is a button near the lens mount that you need to press to release the lens. It is usually marked with a lens icon or labeled "L".
3. Press the lens release button: While holding the camera with one hand, press the lens release button with your other hand. This will unlock the lens from the camera body.
4. Twist and remove the lens: With the lens release button pressed, twist the lens counterclockwise until it detaches from the camera body. Be careful not to force it or apply excessive pressure.
Now that you have removed the lens, you can proceed with attaching the lens adapter. A lens adapter allows you to use lenses that are not native to your camera system. Here's how to attach it:
1. Align the lens adapter: Take the lens adapter and align it with the camera mount. The adapter should have a specific orientation that matches the camera mount.
2. Twist and lock the adapter: Once aligned, twist the adapter clockwise until it locks into place. Ensure that it is securely attached to the camera body.
3. Attach the lens: Now, you can attach the lens to the lens adapter. Align the lens with the adapter's mount and twist it clockwise until it locks into place.
4. Test the connection: Turn on your camera and check if the lens is properly attached. Take a few test shots to ensure that the lens is functioning correctly.
It's important to note that the specific steps may vary slightly depending on the camera and lens adapter you are using. Always refer to your camera and lens adapter's user manual for detailed instructions.

3、 Aligning and attaching the lens adapter to the camera body.
To attach a lens adapter to your camera body, follow these steps:
1. Start by ensuring that both the lens adapter and camera body are powered off. This will prevent any accidental damage to the camera or lens.
2. Remove the lens cap from the camera body and the rear cap from the lens adapter. Set them aside in a safe place.
3. Locate the lens mount on the camera body. It is usually a metal ring with a series of electrical contacts.
4. Align the lens adapter with the lens mount on the camera body. The lens adapter should have a corresponding mount that matches the camera's lens mount.
5. Gently slide the lens adapter onto the camera body, making sure that the electrical contacts on both the camera and adapter are aligned. Be careful not to force the adapter onto the camera, as this could cause damage.
6. Once the lens adapter is securely attached, rotate it clockwise until it locks into place. You may hear a click or feel a slight resistance when the adapter is properly locked.
7. Now, you can attach your desired lens to the lens adapter. Remove the rear cap from the lens and align the lens mount with the adapter's front mount. Rotate the lens clockwise until it locks into place.
8. Finally, power on your camera and test the connection between the lens and camera body. Ensure that the lens functions properly and that the camera recognizes it.
It's important to note that the specific steps for attaching a lens adapter may vary slightly depending on the camera and adapter model. Always refer to the user manual for your specific equipment for detailed instructions.
In recent years, lens adapters have become increasingly popular due to their ability to expand lens compatibility across different camera systems. They allow photographers to use lenses from different manufacturers or even vintage lenses on modern camera bodies. This versatility opens up new creative possibilities and can save money by utilizing existing lenses. However, it's essential to research and choose a high-quality lens adapter that maintains proper electrical connections and ensures optimal image quality.
4、 Securing the lens adapter in place.
To attach a lens adapter, follow these steps:
1. Start by removing the lens cap from your camera and the rear cap from the lens adapter. Ensure that both surfaces are clean and free from any dust or debris.
2. Align the lens adapter with the camera's lens mount. The lens adapter should have a specific orientation that matches the camera's mount. Make sure the adapter is properly aligned before proceeding.
3. Gently twist the lens adapter clockwise onto the camera's lens mount. Apply even pressure and avoid forcing it. The adapter should smoothly thread onto the mount. Once it is securely attached, you will feel a slight click or resistance.
4. After attaching the lens adapter, you can now attach your desired lens to the adapter. Remove the rear cap from the lens and align the lens with the adapter's front mount. Rotate the lens counterclockwise until it locks into place.
Securing the lens adapter in place is crucial to ensure a stable connection between the camera and lens. This prevents any wobbling or movement that could affect image quality. It is important to note that different lens adapters may have specific locking mechanisms or additional features to enhance stability.
Some lens adapters have a locking pin or screw that can be tightened to secure the adapter firmly in place. This additional step provides extra stability and prevents accidental detachment. Refer to the specific instructions provided with your lens adapter to determine if it has any additional securing mechanisms.
Always handle the lens adapter and lens with care to avoid any damage. When removing the lens or adapter, reverse the steps by rotating the lens counterclockwise and the adapter counterclockwise to detach them from the camera.
