How To Attach Nd Filter?
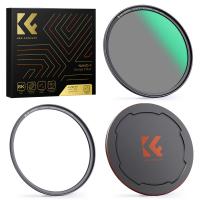
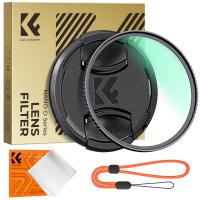
Attaching an ND filter to a camera lens involves screwing the filter onto the front of the lens. Ensure that the filter size matches the diameter of the lens, and then carefully align the threads of the filter with those of the lens before gently twisting it into place. Be cautious not to overtighten the filter to avoid damaging the lens or the filter itself.
1、 Types of ND filters
ND filters, or neutral density filters, are essential tools for photographers and videographers to control the amount of light entering the camera. There are several types of ND filters available in the market, each with its unique features and applications.
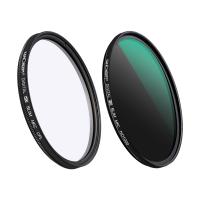
1. Screw-on ND filters: These are the most common type of ND filters and are attached directly to the lens via the filter thread. They are convenient and easy to use, making them popular among photographers and videographers.
2. Square/rectangular ND filters: These filters are designed to be used with filter holder systems, allowing for greater flexibility in positioning and adjusting the filter. They are popular among landscape photographers and videographers who require precise control over the composition and exposure.
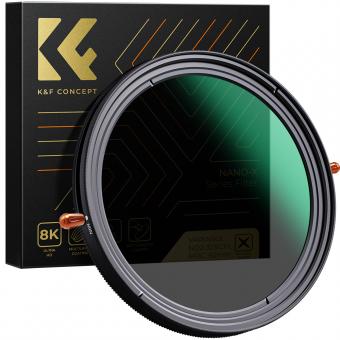
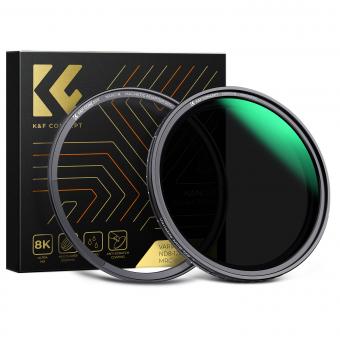
3. Variable ND filters: These filters offer adjustable density, allowing users to vary the amount of light reduction by rotating the filter. They are popular for video work, as they provide a convenient way to adjust exposure on the fly.
4. Built-in ND filters: Some high-end cameras and camcorders come with built-in ND filters, allowing users to reduce light without the need for external filters. This feature is particularly useful for shooting in bright conditions or when using large apertures.
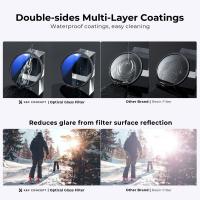
The latest point of view on ND filters emphasizes the importance of high-quality materials and coatings to maintain image quality and color accuracy. Additionally, there is a growing demand for ND filters with higher density levels to accommodate the increasing capabilities of modern cameras and lenses. As technology advances, we can expect to see further innovations in ND filter design and materials to meet the evolving needs of photographers and videographers.
2、 Attaching ND filter to the lens
Attaching an ND filter to a lens is a relatively simple process, but it's important to handle the filter and the lens with care to avoid any damage. Here's how to attach an ND filter to a lens:
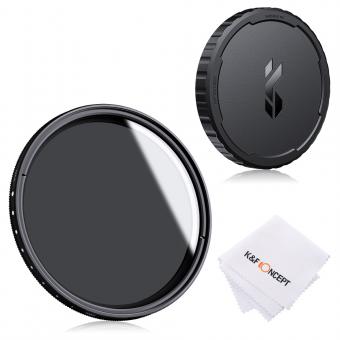
1. First, ensure that the filter is clean and free from any dust or smudges. Use a microfiber cloth to gently wipe the filter if necessary.
2. Hold the lens securely in one hand and carefully screw the ND filter onto the front of the lens using the filter's threading. Be sure to align the threads properly to avoid cross-threading, which could damage the filter or the lens.
3. Once the filter is securely attached, double-check to ensure that it is straight and properly aligned with the lens. This will help to avoid any vignetting or image distortion caused by a misaligned filter.
4. If using a variable ND filter, adjust the filter to the desired density by rotating the outer ring. This will allow you to control the amount of light entering the lens, giving you greater flexibility in various lighting conditions.
5. After attaching the filter, it's important to be mindful of the additional weight and size added to the front of the lens. This may affect the balance of the camera, especially when using a larger or heavier filter.
As of the latest point of view, ND filters continue to be an essential tool for photographers and videographers, allowing them to control exposure and achieve creative effects in various lighting conditions. With advancements in filter technology, there are now more options available, including magnetic attachment systems and slim-profile filters that minimize vignetting on wide-angle lenses. These innovations have made the process of attaching ND filters even more convenient and user-friendly.
3、 Using step-up or step-down rings
To attach an ND filter using step-up or step-down rings, follow these steps:
1. Determine the filter thread size of your lens: Look for the diameter symbol (Ø) followed by a number on the front of your lens. This number indicates the filter thread size in millimeters.
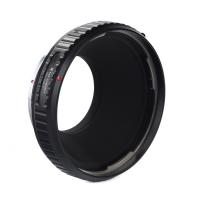
2. Choose the appropriate step-up or step-down ring: If the filter thread size of your lens is larger than the ND filter, use a step-down ring to adapt the filter to the smaller size. If the filter thread size is smaller, use a step-up ring to attach the filter.
3. Screw the ring onto the lens: Attach the step-up or step-down ring onto the filter thread of your lens by screwing it on in a clockwise direction. Ensure that it is securely attached.
4. Attach the ND filter: Once the ring is in place, you can then screw the ND filter onto the ring in the same manner. Make sure it is securely fastened to prevent any light leakage.
5. Check for vignetting: After attaching the ND filter, check for any vignetting or darkening around the edges of the image. If vignetting occurs, consider using a different combination of rings or a different filter size.
From a current perspective, using step-up or step-down rings to attach an ND filter is a cost-effective and versatile solution, especially when working with multiple lenses of different filter thread sizes. It allows photographers to use the same ND filter across various lenses, reducing the need to purchase multiple filters. Additionally, step-up and step-down rings are lightweight and easy to carry, making them convenient for photographers on the go. However, it's important to ensure that the rings and filter are securely attached to prevent any potential damage to the lens or filter.
4、 Adjusting the filter for desired effect
Attaching an ND filter to your camera lens is a relatively simple process. First, you need to ensure that you have the correct size of ND filter for your lens. Once you have the right size, you can simply screw the filter onto the front of your lens. Make sure to align the threads properly and gently tighten the filter to avoid any damage to the lens or the filter itself.
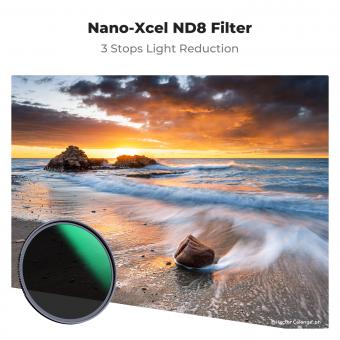
After attaching the ND filter, you can adjust it for the desired effect. ND filters come in different strengths, usually denoted by the number of stops they reduce the light by (e.g., ND2, ND4, ND8, etc.). You can choose the strength of the filter based on the amount of light you want to block and the effect you want to achieve in your photos or videos.
When adjusting the filter, consider the specific lighting conditions and the creative effect you want to achieve. For example, if you want to capture long exposure shots in bright daylight, you may need a stronger ND filter to reduce the amount of light entering the lens. On the other hand, if you want to achieve a subtle blurring effect in low light conditions, a lighter ND filter may be more suitable.
From a latest point of view, advancements in ND filter technology have led to the development of variable ND filters, which allow you to adjust the strength of the filter by rotating it, providing greater flexibility and convenience in achieving the desired effect. These filters are particularly useful for videographers and photographers who need to quickly adapt to changing light conditions without having to switch between different filters.


