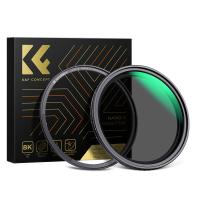
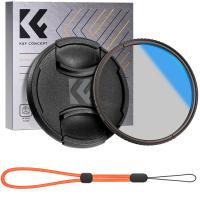
How To Attach Polarizer Filter ?
To attach a polarizer filter, follow these steps:
1. Identify the front of your camera lens. This is the side that faces the subject you are photographing.
2. Check the size of your lens filter thread. It is usually indicated by a symbol like "Ø" followed by a number (e.g., Ø58mm). This number represents the diameter of the lens thread.
3. Purchase a polarizer filter that matches the size of your lens thread. Make sure it is a circular polarizer (CPL) filter, as linear polarizers are not suitable for autofocus cameras.
4. Hold the polarizer filter with the front element facing you and the filter thread facing the lens.
5. Align the filter thread with the lens thread and gently screw it onto the lens in a clockwise direction.
6. Rotate the filter to achieve the desired effect. Polarizer filters can be rotated to adjust the amount of polarization and control reflections, glare, and saturation in your photos.
Remember to remove the polarizer filter when not needed to avoid any unnecessary reduction in light transmission or image quality.
1、 Screw-on Attachment Method
The screw-on attachment method is one of the most common ways to attach a polarizer filter to a camera lens. This method involves screwing the filter directly onto the front of the lens using the filter's threading and the lens's filter thread.
To attach a polarizer filter using the screw-on method, follow these steps:
1. Determine the filter thread size: Check the front of your camera lens for the filter thread size, which is usually indicated by a symbol like "ø" followed by a number (e.g., ø58mm). This number represents the diameter of the filter thread.
2. Choose the correct filter size: Purchase a polarizer filter that matches the filter thread size of your lens. It is important to get the right size to ensure a secure fit.
3. Align the filter: Hold the polarizer filter with the front element facing you. Align the filter's threading with the lens's filter thread.
4. Screw on the filter: Gently rotate the filter clockwise until it starts to catch the threads. Continue rotating until the filter is securely attached to the lens. Be careful not to overtighten, as this can make it difficult to remove later.
The screw-on attachment method provides a secure and stable connection between the filter and the lens, ensuring that the filter stays in place during use. It is a straightforward and reliable method that is widely used by photographers.
It is worth noting that some lenses may have a different attachment method, such as a bayonet mount or a drop-in filter system. In such cases, refer to the lens's manual or consult with the manufacturer for specific instructions on attaching a polarizer filter.
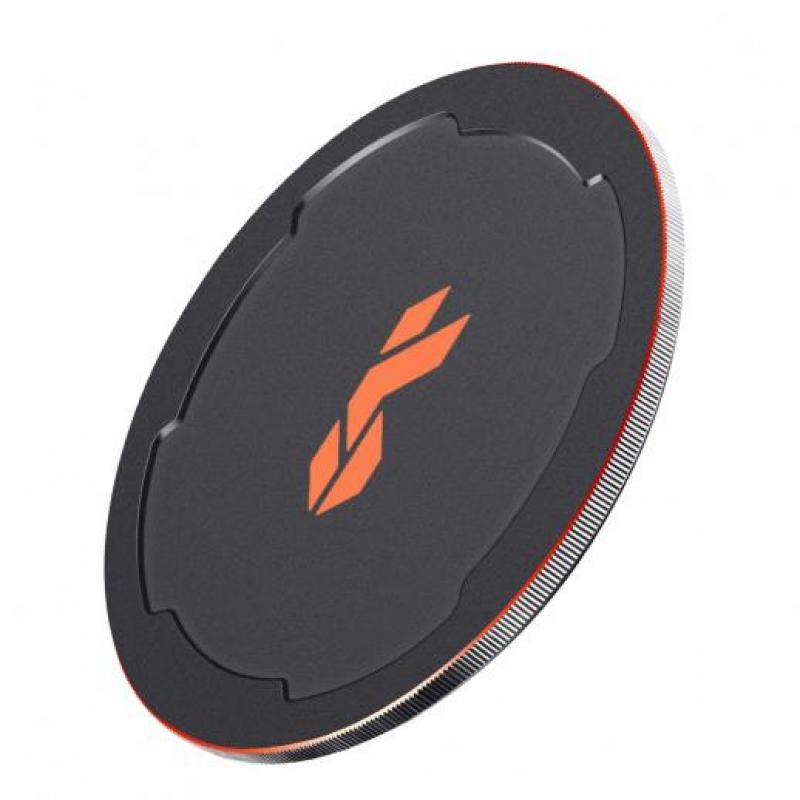
2、 Magnetic Attachment Method
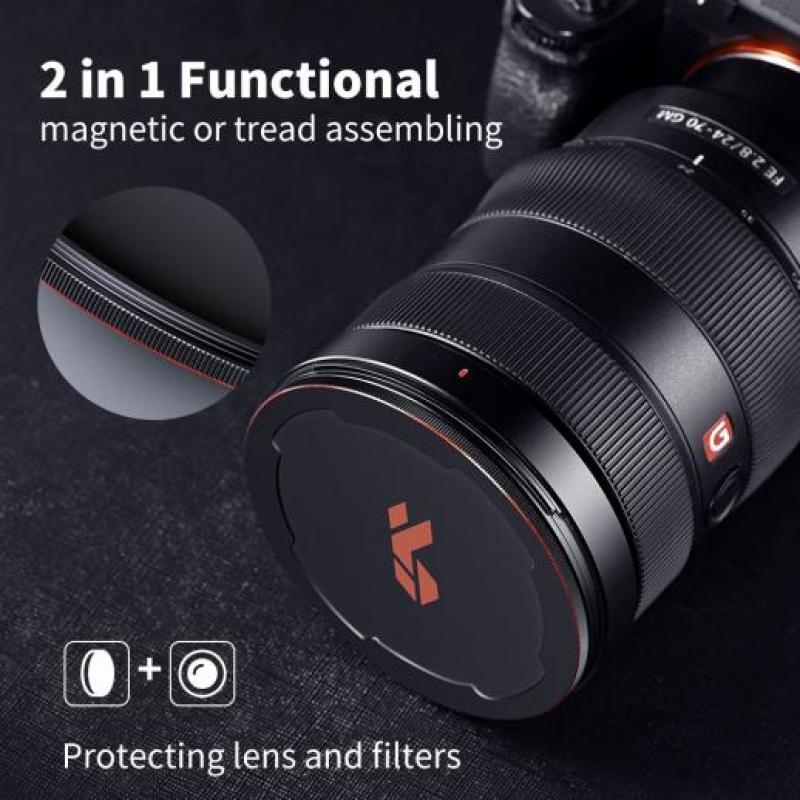
The Magnetic Attachment Method is a popular and convenient way to attach a polarizer filter to your camera lens. This method involves using a magnetic ring that is attached to the front of your lens, allowing you to easily and securely attach and detach the polarizer filter as needed.
To attach a polarizer filter using the Magnetic Attachment Method, follow these steps:
1. Start by ensuring that your lens is clean and free from any dust or debris. This will help to prevent any unwanted particles from getting trapped between the filter and the lens.
2. Take the magnetic ring and carefully attach it to the front of your lens. The ring should fit snugly around the lens barrel, ensuring a secure attachment.
3. Once the magnetic ring is in place, take the polarizer filter and align it with the ring. The filter will have a corresponding magnetic attachment point that will easily connect to the ring.
4. Gently bring the filter close to the ring, allowing the magnets to attract and securely attach the filter to the lens. Ensure that the filter is aligned properly and sits flush against the ring.
5. Once attached, you can rotate the filter to achieve the desired polarization effect. This will help to reduce glare, enhance colors, and improve overall image quality.
The Magnetic Attachment Method offers several advantages. It provides a quick and easy way to attach and detach the filter, allowing for efficient use in various shooting conditions. Additionally, the magnetic attachment is secure, ensuring that the filter stays in place during use.
It is important to note that not all lenses are compatible with the Magnetic Attachment Method. Some lenses may have a front element that extends during focusing, which can interfere with the magnetic ring. Therefore, it is recommended to check the compatibility of your lens before using this attachment method.
In conclusion, the Magnetic Attachment Method is a convenient and reliable way to attach a polarizer filter to your camera lens. It offers ease of use and secure attachment, allowing photographers to enhance their images with improved color and reduced glare.

3、 Clip-on Attachment Method
To attach a polarizer filter using the clip-on attachment method, follow these steps:
1. Choose a polarizer filter that is compatible with your camera lens diameter. Most filters come in various sizes, so make sure to select the correct one.
2. Remove the lens cap from your camera lens and check the front of the lens for any threads or grooves. Some lenses have a built-in thread, while others may require an adapter ring.
3. If your lens has a built-in thread, simply align the filter with the thread and screw it on clockwise until it is securely attached. Be careful not to overtighten, as this could damage the filter or lens.
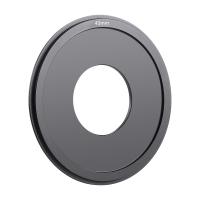
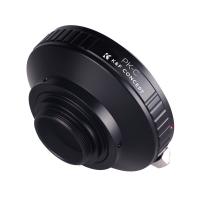
4. If your lens does not have a built-in thread, you will need an adapter ring. Attach the adapter ring to the front of your lens by aligning it with the lens and twisting it on clockwise until it is snug.
5. Once the adapter ring is in place, align the polarizer filter with the ring and slide it onto the adapter. The filter should fit securely and stay in place.
The clip-on attachment method is a convenient way to attach a polarizer filter as it does not require any additional tools or complicated steps. It allows for quick and easy installation, making it suitable for photographers who frequently switch between different filters or lenses.
It's worth noting that some newer camera models may not have a built-in thread or support for clip-on filters. In such cases, photographers may need to explore alternative methods, such as magnetic or square filter systems, to attach a polarizer filter.

4、 Bayonet Mount Attachment Method
To attach a polarizer filter using the Bayonet Mount Attachment Method, follow these steps:
1. Identify the filter thread size: Check the front of your camera lens for the filter thread size, usually indicated by a symbol like "ø" followed by a number (e.g., ø58mm). This number represents the diameter of the lens thread.
2. Purchase the correct filter: Once you know the filter thread size, buy a polarizer filter that matches that size. Make sure to choose a high-quality filter to ensure optimal image quality.
3. Align the filter: Hold the camera lens facing you and locate the filter thread on the front. Align the filter's mounting ring with the lens thread.
4. Rotate the filter: Gently rotate the filter clockwise until it locks into place. The bayonet mount system allows for a secure and quick attachment.
5. Test the filter: Once attached, look through the viewfinder or LCD screen to ensure the filter is properly aligned. Rotate the filter to adjust the polarization effect and observe the changes in the scene.
The Bayonet Mount Attachment Method is widely used due to its convenience and reliability. It allows photographers to quickly attach and detach filters without the need for additional tools. This method ensures a secure fit, preventing the filter from accidentally falling off during shooting.
Moreover, some modern cameras have advanced features that can detect the presence of a polarizer filter. This enables the camera to adjust settings automatically for optimal results. However, it is always recommended to manually adjust the filter to achieve the desired effect and ensure accurate polarization.
Remember to handle the filter with care to avoid scratches or damage. Regularly clean the filter to maintain its effectiveness and prolong its lifespan.
