How To Build A Camera Tripod?
Building a camera tripod requires a few key materials and tools. You will need three long, sturdy legs (such as wooden dowels or metal rods), a mounting plate or platform for the camera, and a pivot head to allow for adjustable angles. To assemble, attach the legs to the mounting plate at equal distances apart, ensuring they are securely fastened. Then, attach the pivot head to the mounting plate, allowing for smooth movement and adjustment of the camera. Finally, add rubber feet to the ends of the legs to provide stability and prevent slipping. This DIY tripod can be customized to fit your specific camera and shooting needs.
1、 Materials and Tools
Materials and Tools for Building a Camera Tripod:
1. Materials:
- Three metal or wooden rods of equal length
- Three rubber or plastic caps for the ends of the rods
- A sturdy base plate
- Screws and nuts
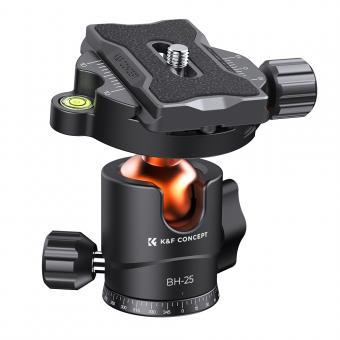
- A ball head or a mount for the camera
2. Tools:
- Drill
- Screwdriver
- Pliers
- Saw (if cutting the rods to size is necessary)
- Measuring tape
- Sandpaper (if needed for smoothing rough edges)
To build a camera tripod, start by cutting the rods to the desired length if they are not already the right size. Then, drill holes in the base plate and attach the rods using screws and nuts. Make sure the rods are evenly spaced around the base plate to provide stability. Next, attach the rubber or plastic caps to the ends of the rods to prevent slipping and protect surfaces. Finally, attach the ball head or camera mount to the top of the rods to complete the tripod.
From a modern perspective, you can also consider using 3D printing technology to create custom parts for the tripod, such as the base plate or the camera mount. This can allow for greater customization and precision in the design of the tripod. Additionally, you may also explore using lightweight and durable materials such as carbon fiber for the rods to create a more portable and sturdy tripod.
2、 Design and Planning
Design and Planning: How to Build a Camera Tripod
When it comes to building a camera tripod, the design and planning phase is crucial to ensure stability, functionality, and ease of use. Here are the steps to consider when designing and planning a camera tripod:
1. Determine the materials: Selecting the right materials is essential for the stability and durability of the tripod. Aluminum or carbon fiber are popular choices due to their lightweight and sturdy nature.
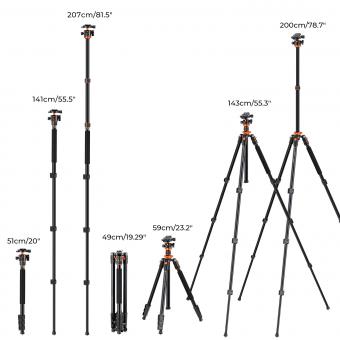
2. Consider the height and weight capacity: Determine the desired height and weight capacity of the tripod based on the type of photography it will be used for. This will influence the design and choice of materials.
3. Design the leg structure: The leg structure plays a significant role in the stability of the tripod. Consider the number of leg sections, locking mechanisms, and the overall leg design to ensure easy setup and stability on various terrains.
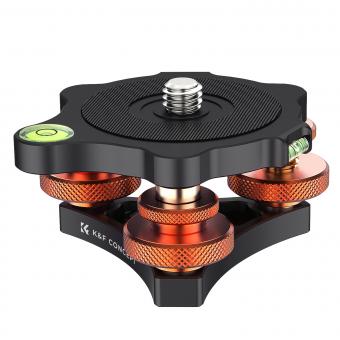
4. Incorporate a leveling system: A built-in leveling system can enhance the functionality of the tripod, allowing for precise adjustments on uneven surfaces.
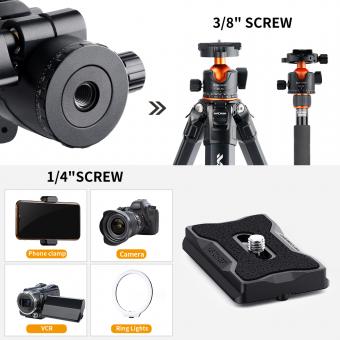
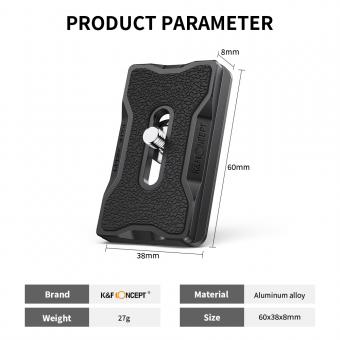
5. Integrate a quick-release plate: Including a quick-release plate system can make it easier to attach and detach the camera from the tripod, improving efficiency during photo shoots.
6. Latest point of view: With advancements in technology, consider integrating features such as wireless connectivity for remote control, adjustable leg angles for versatile positioning, and compatibility with various camera accessories.
In conclusion, the design and planning phase of building a camera tripod is essential for creating a stable, functional, and user-friendly product. By carefully considering materials, height, leg structure, leveling system, and additional features, a well-designed camera tripod can enhance the photography experience for professionals and enthusiasts alike.
3、 Construction Process
The construction process of building a camera tripod involves several key steps to ensure stability, durability, and functionality. Here's a general overview of how to build a camera tripod:
1. Gather materials: Start by gathering the necessary materials, including aluminum or carbon fiber tubing for the legs, a mounting plate, a ball head, rubber feet, and various screws and fasteners.
2. Cut and assemble the legs: Measure and cut the tubing to the desired length for the tripod legs. Then, assemble the legs using connectors and fasteners, ensuring that they are securely attached and can extend and retract smoothly.
3. Attach the mounting plate: Drill holes in the mounting plate to accommodate the ball head and camera mounting screw. Secure the mounting plate to the top of the tripod legs using screws and ensure it is level and stable.
4. Install the ball head: Attach the ball head to the mounting plate, ensuring that it can swivel and tilt smoothly to accommodate different camera angles.
5. Add rubber feet: Attach rubber feet to the bottom of the tripod legs to provide stability and prevent slipping on smooth surfaces.
6. Test and adjust: Once the tripod is assembled, test it with a camera to ensure that it is stable and functions as intended. Make any necessary adjustments to the leg length or ball head tension.
From a modern perspective, advancements in 3D printing technology have also opened up new possibilities for creating custom components for camera tripods, allowing for greater customization and innovation in tripod design. Additionally, the use of lightweight and durable materials such as carbon fiber has become increasingly popular, offering a balance of strength and portability for modern camera tripods.
4、 Legs and Joints
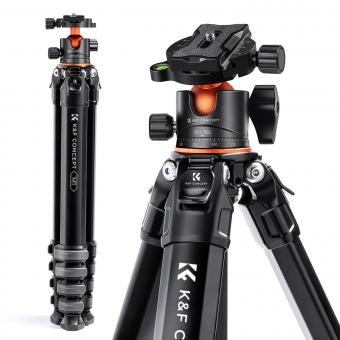
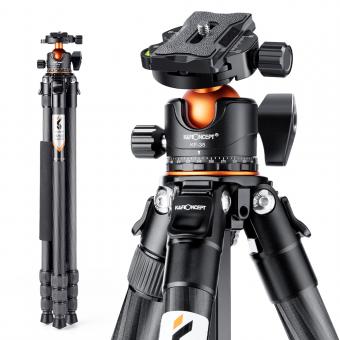
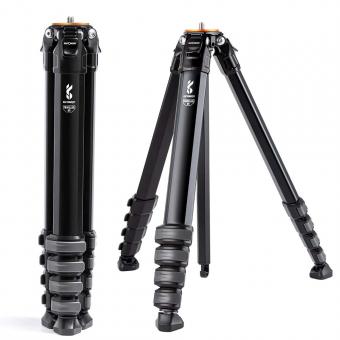
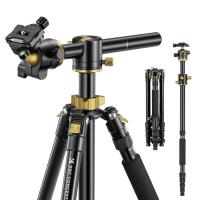
To build a camera tripod, you will need to focus on the legs and joints. The legs are the foundation of the tripod, providing stability and support for your camera. You can use materials such as aluminum or carbon fiber to create lightweight yet sturdy legs. The joints are crucial for allowing the legs to extend and retract, as well as providing the flexibility to adjust the height and angle of the tripod.
When constructing the legs, consider using telescopic tubes that can be easily extended and locked into place. This will allow you to adjust the height of the tripod to suit different shooting situations. Additionally, incorporating rubber or spiked feet at the bottom of the legs can enhance stability on various surfaces.
For the joints, you can use durable and reliable locking mechanisms to ensure that the legs stay securely in place once adjusted. Ball heads or fluid heads can be attached to the top of the tripod to provide smooth panning and tilting movements for your camera.
From a modern perspective, advancements in materials and manufacturing techniques have led to the development of innovative tripod designs. For example, some tripods now feature quick-release leg locks, ergonomic leg angle adjustments, and integrated leveling systems for added convenience and precision.
In conclusion, focusing on the legs and joints is essential when building a camera tripod, as they determine the stability, flexibility, and functionality of the device. Incorporating modern advancements can further enhance the performance and user experience of the tripod.


