How To Build Microscope At Home ?
Building a microscope at home can be a challenging task, but it is possible with the right materials and tools. One way to build a microscope is to use a smartphone camera lens and a laser pointer. The laser pointer can be disassembled to obtain the lens, which can be attached to the camera lens of the smartphone using a rubber band. The smartphone can then be placed on a stand and used to view small objects.
Another way to build a microscope is to use a webcam and a lens from a DVD player. The lens can be removed from the DVD player and attached to the webcam using a cardboard tube. The webcam can then be connected to a computer and used to view small objects.
It is important to note that building a microscope at home may not produce the same level of magnification and clarity as a professional microscope. Additionally, proper safety precautions should be taken when handling materials and tools.
1、 Required materials and tools

Required materials and tools to build a microscope at home include:
Materials:
- Two convex lenses (one with a shorter focal length than the other)
- Cardboard or plastic tube
- Small LED light
- Battery
- Wires
- Small switch
- Glue
- Tape
- Black paper or paint
Tools:
- Scissors
- Cutter
- Ruler
- Pencil
- Soldering iron (optional)
To build the microscope, start by cutting the cardboard or plastic tube to the desired length. Then, cut a small hole in the center of one end of the tube and glue the shorter focal length lens over it. Next, cut a small piece of black paper or paint the inside of the tube black to reduce reflections.
On the other end of the tube, cut a larger hole and glue the longer focal length lens over it. This will be the eyepiece of the microscope. Attach the LED light to the side of the tube using tape or glue.
To power the LED light, connect the battery, wires, and switch together using a soldering iron or by twisting the wires together and covering them with tape.
Once everything is assembled, adjust the distance between the two lenses until the image is in focus. You can use the microscope to view small objects such as insects, plant cells, or even bacteria.
It's important to note that while building a microscope at home can be a fun and educational project, it may not produce the same level of magnification and clarity as a professional microscope. Additionally, handling lenses and electronics can be dangerous if not done properly, so it's important to take proper safety precautions.
2、 Assembling the microscope body
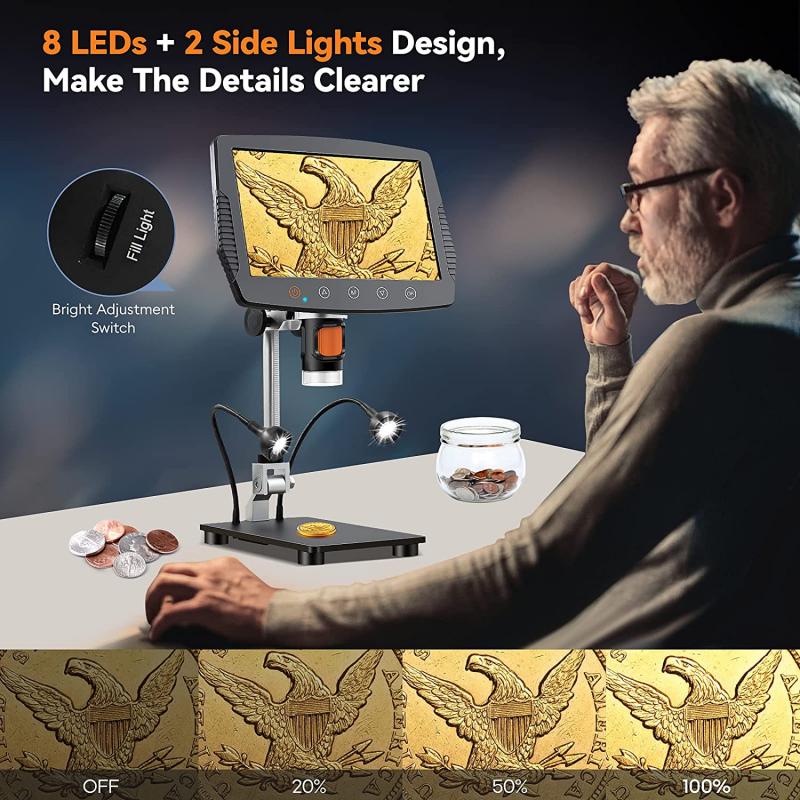
Assembling the microscope body is a crucial step in building a microscope at home. To begin with, you will need to gather all the necessary components, including the eyepiece, objective lens, stage, and body tube. Once you have all the components, you can start assembling the microscope body.
First, attach the eyepiece to the top of the body tube. The eyepiece is the lens that you will look through to view the specimen. Next, attach the objective lens to the bottom of the body tube. The objective lens is the lens that will magnify the specimen.
After attaching the lenses, attach the stage to the bottom of the body tube. The stage is the platform on which you will place the specimen. Make sure the stage is securely attached to the body tube.
Finally, attach the light source to the bottom of the stage. The light source will illuminate the specimen, making it easier to view. You can use a simple LED light or a more advanced light source, depending on your needs.
Assembling the microscope body can be a bit tricky, but with patience and attention to detail, you can build a functional microscope at home. It is important to note that building a microscope at home requires some technical knowledge and skill. If you are not confident in your abilities, it may be best to seek the help of a professional.
3、 Adding the lens and eyepiece
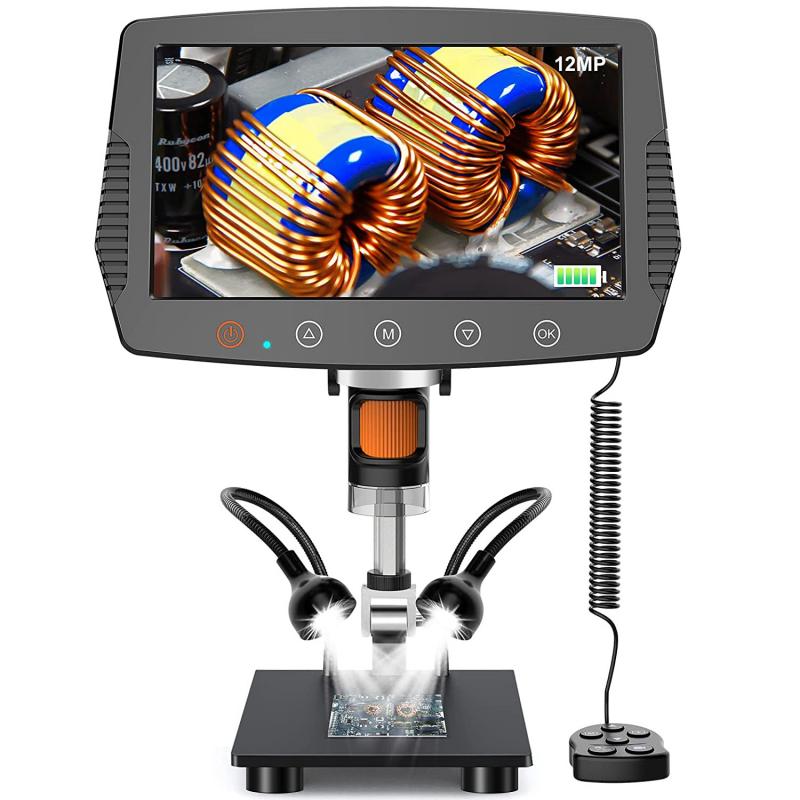
Adding the lens and eyepiece is a crucial step in building a microscope at home. To do this, you will need a convex lens and an eyepiece. The convex lens should have a focal length of around 10 cm, and the eyepiece should have a magnification of at least 10x.
To add the lens, you will need to create a mount for it. This can be done by cutting a small hole in a piece of cardboard or plastic and placing the lens in the hole. The mount should be positioned at the end of the tube opposite the light source.
Next, you will need to add the eyepiece. This can be done by creating a mount for it as well. The mount should be positioned at the end of the tube closest to your eye. The eyepiece should be positioned so that it is in focus with the lens.
Once you have added the lens and eyepiece, you can test your microscope by placing a small object under the lens and looking through the eyepiece. If everything is in focus, you should be able to see a magnified image of the object.
It is important to note that building a microscope at home can be a challenging task, and it may require some trial and error to get everything working properly. Additionally, the quality of the microscope you build may not be as good as a commercially available microscope. However, building a microscope at home can be a fun and educational project, and it can help you gain a better understanding of how microscopes work.
4、 Adjusting focus and magnification

How to build a microscope at home:
Building a microscope at home can be a fun and educational project. Here are the steps to follow:
1. Gather materials: You will need a lens, a light source, a base, and a stage. You can use a lens from an old camera or binoculars, a flashlight or LED light, a wooden block or cardboard box for the base, and a glass slide for the stage.
2. Assemble the base: Cut the wooden block or cardboard box to the desired size and shape. Drill a hole in the center for the lens to fit through.
3. Attach the lens: Place the lens in the hole and secure it with tape or glue.
4. Add the light source: Attach the light source to the base, either above or below the lens.
5. Create the stage: Cut a piece of glass to fit the base and place it on top. You can also add clips to hold the specimen in place.
6. Test the microscope: Place a specimen on the stage and adjust the focus and magnification.
Adjusting focus and magnification:
To adjust the focus, move the lens closer or further away from the specimen. To adjust the magnification, use a lens with a different focal length or add a second lens to the setup.
It's important to note that a homemade microscope may not have the same level of precision and accuracy as a professional microscope. However, it can still be a fun and educational tool for exploring the microscopic world. Additionally, there are many affordable and high-quality microscopes available for purchase online or at science supply stores.











There are no comments for this blog.