How To Calculate Exposure Using Nd Filter ?
To calculate exposure using an ND filter, follow these steps:
1. Determine the base exposure: Without the ND filter, set your camera to the desired aperture and ISO settings and take a test shot to determine the correct exposure.
2. Determine the ND filter strength: ND filters come in different strengths, usually measured in stops. Determine the number of stops the ND filter reduces the light by. For example, if you have a 3-stop ND filter, it reduces the light entering the camera by three stops.
3. Adjust the shutter speed: Once you know the strength of the ND filter, adjust the shutter speed accordingly. Each stop reduction in light requires doubling the exposure time. For example, if your base exposure is 1/100th of a second and you are using a 3-stop ND filter, you would need to increase the exposure time to 1/12.5th of a second (1/100 x 2 x 2 x 2 = 1/12.5).
4. Take the shot: Set the adjusted shutter speed and take the photo with the ND filter attached. Review the image to ensure the exposure is correct, and make further adjustments if necessary.
Remember to consider the specific ND filter strength and adjust the exposure settings accordingly to achieve the desired effect.
1、 Understanding the concept of exposure in photography
To calculate exposure using an ND filter, you need to understand the concept of exposure in photography and how an ND filter affects it. Exposure refers to the amount of light that reaches the camera sensor, resulting in a properly exposed image. It is determined by three factors: aperture, shutter speed, and ISO.
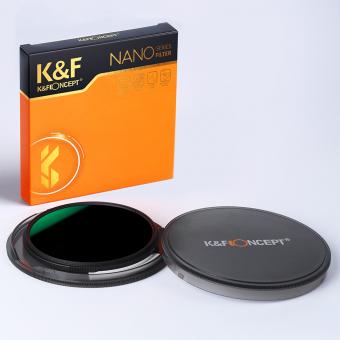
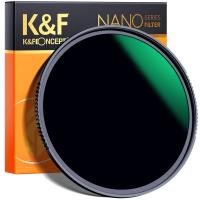
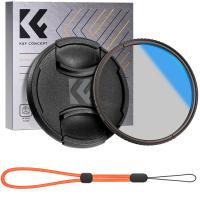
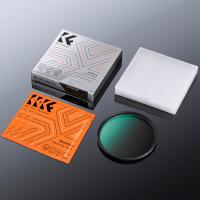
An ND (Neutral Density) filter is a darkened piece of glass or resin that reduces the amount of light entering the camera. It is used to control the exposure in situations where there is too much light, such as bright daylight or long exposures.
To calculate exposure with an ND filter, follow these steps:
1. Set your camera to manual mode.
2. Determine the desired aperture and ISO settings for your shot.
3. Without the ND filter, adjust the shutter speed until the exposure is correct.
4. Attach the ND filter to your lens.
5. Adjust the shutter speed to compensate for the reduced light. The amount of adjustment depends on the strength of the ND filter. For example, a 3-stop ND filter requires you to increase the shutter speed by three stops to maintain the same exposure.
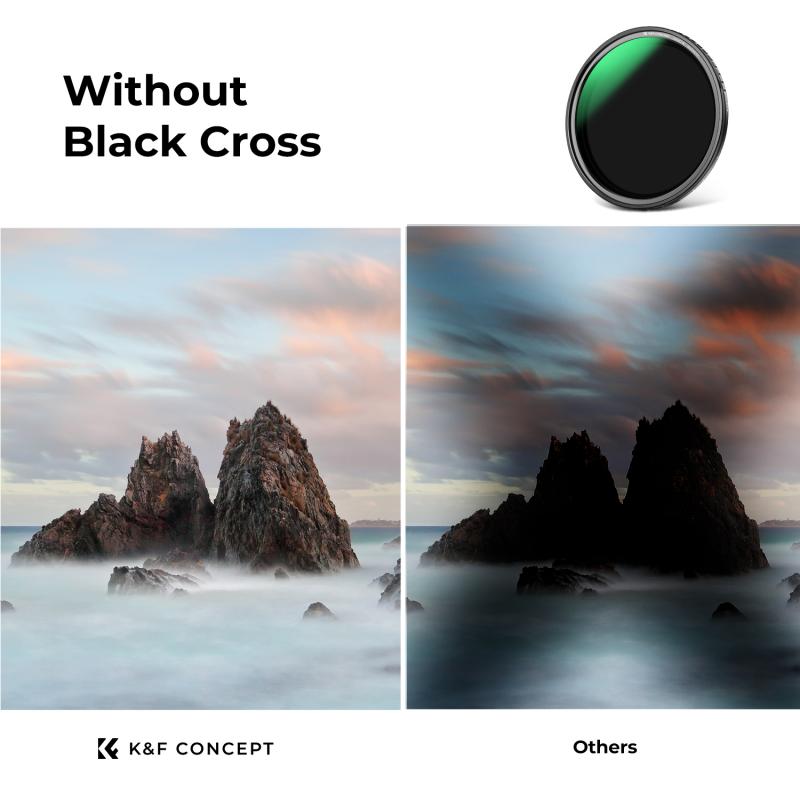
It's important to note that the latest point of view in photography emphasizes the use of ND filters for creative purposes. They allow photographers to achieve long exposures during the day, capturing motion blur in water or clouds, creating a sense of movement and tranquility in the image. Additionally, ND filters can be used to achieve a shallow depth of field in bright conditions, allowing for a more pleasing bokeh effect.
Understanding exposure and how to calculate it using an ND filter is crucial for photographers to have full control over their images and achieve the desired creative effects.
2、 Introduction to neutral density (ND) filters and their purpose
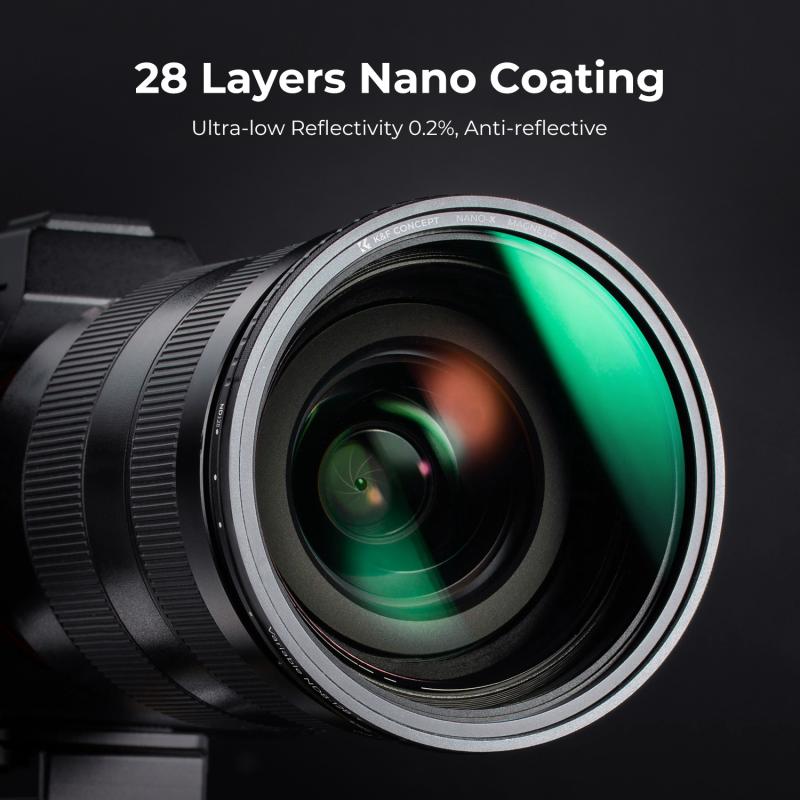
To calculate exposure using an ND filter, you need to understand the purpose of neutral density filters and how they affect the amount of light entering the camera. ND filters are designed to reduce the amount of light that reaches the camera's sensor without altering the color or hue of the scene. They are commonly used in situations where there is too much light, such as when shooting in bright daylight or capturing long exposures.
To calculate exposure with an ND filter, follow these steps:
1. Determine the base exposure: Without the ND filter, set your camera to the desired aperture and ISO settings and take a test shot to determine the correct exposure for the scene.
2. Choose the ND filter strength: ND filters come in different strengths, usually measured in stops. The higher the number of stops, the more light the filter blocks. Select the appropriate ND filter based on the amount of light you want to reduce.
3. Calculate the new exposure time: Once you have the base exposure, multiply the shutter speed by the number of stops the ND filter reduces. For example, if your base exposure is 1/100th of a second and you are using a 3-stop ND filter, the new exposure time would be 1/800th of a second (1/100 x 2^3).
4. Adjust other settings: After calculating the new exposure time, you may need to adjust the aperture or ISO to maintain the desired exposure. Keep in mind that changing the aperture will affect the depth of field, while adjusting the ISO can introduce noise.
It's important to note that some modern cameras have built-in exposure compensation features that can automatically adjust the exposure settings when using an ND filter. Additionally, using a light meter can provide more accurate exposure calculations.
3、 Determining the correct exposure settings with an ND filter
To calculate exposure using an ND filter, you need to follow a few steps:
1. Determine the correct exposure without the ND filter: Start by setting up your camera and taking a meter reading of the scene without the filter. This will give you the baseline exposure settings.
2. Determine the strength of the ND filter: ND filters come in different strengths, usually measured in stops. The filter's packaging or manual should indicate the number of stops it reduces the light by.
3. Calculate the new exposure settings: Subtract the number of stops from the baseline exposure settings. For example, if your baseline exposure is 1/1000s at f/8, and you are using a 3-stop ND filter, you would adjust the settings to 1/125s at f/8 (3 stops slower).
4. Adjust ISO if necessary: If you have reached the lowest possible shutter speed and aperture combination, but the image is still overexposed, you may need to lower the ISO to decrease sensitivity to light.
It's important to note that the latest point of view on calculating exposure with an ND filter is to use the camera's built-in light metering system. Modern cameras have sophisticated metering systems that can accurately calculate the exposure even with an ND filter. However, it's always a good practice to double-check the exposure settings by reviewing the histogram and making any necessary adjustments.
Additionally, some photographers prefer to use manual exposure mode when using an ND filter to have more control over the final image. This allows them to fine-tune the exposure settings based on their creative vision and the specific lighting conditions.

4、 Calculating exposure adjustments based on the ND filter strength
To calculate exposure adjustments using an ND filter, you need to consider the strength of the filter and the current exposure settings. ND filters are used to reduce the amount of light entering the camera, allowing you to use longer shutter speeds or wider apertures in bright conditions. Here's how you can calculate the exposure adjustments:
1. Determine the filter strength: ND filters come in different strengths, usually measured in stops. Common strengths include ND2 (1-stop reduction), ND4 (2-stop reduction), ND8 (3-stop reduction), and so on. The higher the number, the stronger the filter.
2. Assess the current exposure settings: Start by setting your camera to the desired ISO and aperture values. Then, without the ND filter, adjust the shutter speed until you achieve the desired exposure.
3. Calculate the exposure adjustment: Once you have the desired exposure without the filter, you can calculate the exposure adjustment needed with the ND filter. Each stop of reduction requires doubling the exposure time. For example, if your desired exposure without the filter is 1/250s and you're using an ND8 filter (3-stop reduction), you would need to double the exposure time three times. So, the adjusted exposure would be 1/30s (1/250s -> 1/125s -> 1/60s -> 1/30s).
It's important to note that some modern cameras have built-in exposure compensation features that can automatically adjust the exposure settings when an ND filter is attached. Additionally, some photographers prefer to use smartphone apps or light meters to calculate exposure adjustments more precisely.
Always remember to review your images and make further adjustments if necessary, as lighting conditions can vary. Experimentation and practice will help you become more proficient in calculating exposure adjustments using ND filters.
