How To Change Objective Lens On A Microscope ?
To change the objective lens on a microscope, first, make sure the microscope is turned off and unplugged. Locate the nosepiece, which is the rotating part of the microscope that holds the objective lenses. Rotate the nosepiece until the desired objective lens is in line with the viewing tube.
Next, carefully grasp the objective lens you want to change and unscrew it from the nosepiece in a counterclockwise direction. Be gentle to avoid damaging the lens or the microscope. Once the lens is removed, take the new objective lens and screw it into the nosepiece in a clockwise direction until it is securely in place.
After replacing the objective lens, turn on the microscope and adjust the focus as needed. It is important to note that different objective lenses have different magnification powers, so you may need to adjust the focus and possibly the stage height to achieve a clear image.
1、 Removing the old objective lens from a microscope
To change the objective lens on a microscope, follow these steps:
1. Start by turning off the microscope and unplugging it from the power source for safety.
2. Locate the objective lens turret, which is usually located below the eyepiece. The turret holds multiple objective lenses that can be rotated into position.
3. Carefully rotate the turret until the desired objective lens is in line with the eyepiece. Each objective lens is labeled with its magnification power.
4. Once the desired objective lens is in position, locate the locking screw or lever on the side or bottom of the turret. Loosen or release the locking mechanism to free the objective lens.
5. Gently grasp the objective lens by its metal barrel and carefully pull it straight out of the turret. Be cautious not to touch the lens itself, as fingerprints or smudges can affect the image quality.
6. To insert the new objective lens, align it with the empty slot in the turret and gently push it in until it is securely in place. Ensure that the lens is straight and properly seated.
7. Tighten the locking screw or lever to secure the new objective lens in position.
8. Finally, turn on the microscope and test the new objective lens by adjusting the focus and observing a sample slide.
It is important to note that the specific steps for changing the objective lens may vary slightly depending on the microscope model. Therefore, it is always recommended to consult the microscope's user manual for detailed instructions.
2、 Selecting the appropriate replacement objective lens for your microscope
To change the objective lens on a microscope, follow these steps:
1. Ensure that the microscope is turned off and unplugged to avoid any accidents or damage.
2. Locate the current objective lens on the nosepiece of the microscope. The nosepiece is the rotating part that holds the objective lenses.
3. Gently rotate the nosepiece until the current objective lens is in the lowest position. This will make it easier to remove and replace the lens.
4. Carefully unscrew the current objective lens from the nosepiece. Hold the lens by its metal barrel and twist it counterclockwise until it comes off.
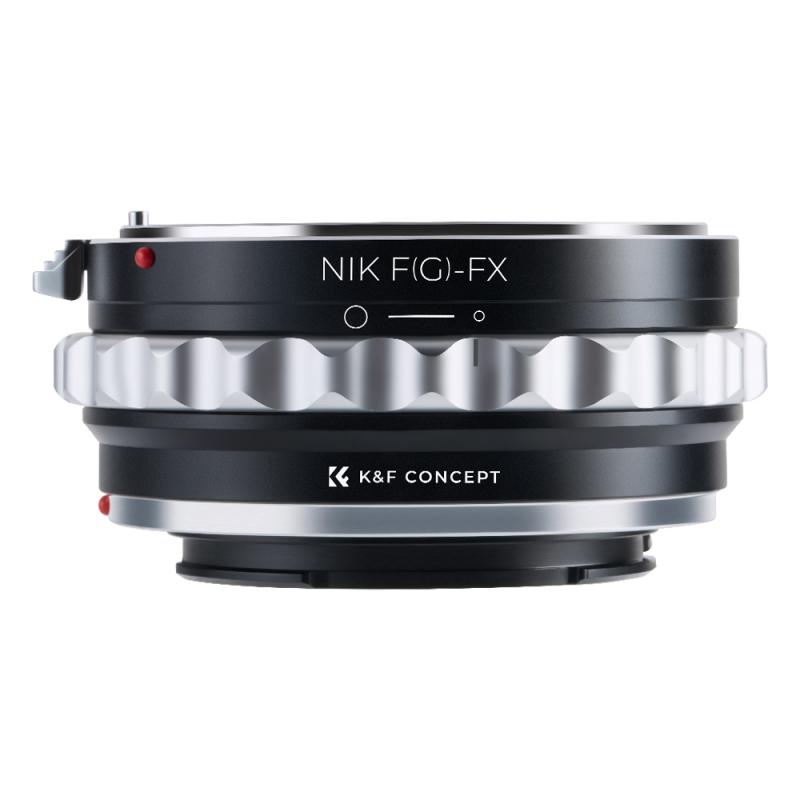
5. Select the appropriate replacement objective lens for your microscope. Consider the magnification power and numerical aperture required for your specific application. The numerical aperture determines the resolving power and clarity of the image.
6. Align the replacement objective lens with the opening on the nosepiece. Hold the lens by its metal barrel and twist it clockwise until it is securely attached.
7. Rotate the nosepiece to position the new objective lens in the desired magnification.
8. Turn on the microscope and adjust the focus using the coarse and fine focus knobs to obtain a clear image.
It is important to note that the selection of the replacement objective lens should be based on the specific requirements of your application. Advances in technology have led to the development of specialized objective lenses, such as those with higher numerical apertures for improved resolution and those designed for specific imaging techniques like fluorescence microscopy. Therefore, it is advisable to consult the microscope manufacturer's guidelines or seek expert advice to ensure the best choice for your needs.

3、 Installing the new objective lens onto the microscope
To change the objective lens on a microscope, follow these steps:
1. Start by turning off the microscope and unplugging it from the power source for safety.
2. Locate the current objective lens on the nosepiece of the microscope. The nosepiece is the rotating part that holds the objective lenses.
3. Carefully unscrew the current objective lens by turning it counterclockwise. Be gentle to avoid damaging the lens or the microscope.
4. Once the old lens is removed, take the new objective lens and align it with the empty slot on the nosepiece. Ensure that the lens is facing downwards, as this is the correct orientation for use.
5. Slowly screw the new objective lens into place by turning it clockwise. Be cautious not to overtighten it, as this can cause damage.
6. Once the new lens is securely attached, plug the microscope back into the power source and turn it on.
7. Test the new objective lens by adjusting the focus and observing a sample slide. Ensure that the image is clear and in focus.
It is important to note that different microscopes may have slight variations in the process of changing the objective lens. Therefore, it is always recommended to consult the microscope's user manual for specific instructions.
Additionally, it is advisable to clean the objective lens before installing the new one to ensure optimal performance. Use a lens cleaning solution and a lint-free cloth to gently remove any dust or debris from the lens surface.
Remember to handle the objective lens with care to avoid scratches or damage.

4、 Adjusting the focus and alignment of the new objective lens
To change the objective lens on a microscope, follow these steps:
1. Start by turning off the microscope and unplugging it from the power source for safety.
2. Locate the objective lens turret, which is usually located below the eyepiece. The turret holds multiple objective lenses that can be rotated into position.
3. Carefully rotate the turret until the current objective lens is aligned with the opening in the stage. This will allow you to remove the lens without causing any damage.
4. Gently grasp the current objective lens and unscrew it counterclockwise. Be cautious not to touch the glass surfaces of the lens, as this can leave fingerprints or smudges that may affect the image quality.
5. Once the old lens is removed, take the new objective lens and align it with the opening in the stage. Carefully screw it in clockwise until it is securely in place. Again, avoid touching the glass surfaces.
6. After replacing the lens, turn on the microscope and adjust the focus and alignment of the new objective lens. This can be done by using the coarse and fine focus knobs to bring the specimen into clear view. Additionally, you may need to adjust the condenser and diaphragm settings to optimize the image quality.
7. Finally, check the alignment of the new lens by observing a known specimen. If necessary, make further adjustments to ensure the image is sharp and clear.
It is important to note that the specific steps for changing the objective lens may vary depending on the microscope model. Therefore, it is always recommended to consult the microscope's user manual for detailed instructions.
