How To Clean Your Dslr Camera ?
To clean your DSLR camera, start by turning it off and removing the battery. Use a blower brush or air blower to remove any loose dust or debris from the camera body and lens. Next, use a microfiber cloth or lens cleaning tissue to gently wipe the lens and camera body, being careful not to apply too much pressure. For stubborn smudges or fingerprints, you can use a lens cleaning solution applied to the cloth or tissue. Avoid spraying the solution directly onto the camera or lens. Additionally, you can use a sensor cleaning kit to clean the camera's image sensor if necessary. Follow the instructions provided with the kit carefully to avoid damaging the sensor. Remember to always handle your camera and lenses with clean hands and store them in a clean, dry place to prevent dirt and dust buildup.
1、 Dust removal techniques for DSLR camera sensors
Dust removal techniques for DSLR camera sensors have evolved over the years, and it is essential to keep your camera's sensor clean to ensure optimal image quality. Here is a guide on how to clean your DSLR camera:
1. Start by turning off your camera and removing the lens. This will expose the sensor for cleaning.
2. Use a blower brush or air blower to gently remove loose dust particles from the sensor. Hold the camera with the lens mount facing downwards to prevent any dislodged dust from falling back onto the sensor.
3. If the blower brush doesn't remove all the dust, you can consider using a sensor cleaning kit. These kits usually include sensor swabs and cleaning solutions. Follow the instructions provided with the kit to safely clean the sensor.
4. When using a sensor swab, make sure to use a fresh one for each cleaning session. Apply a few drops of the cleaning solution to the swab and gently swipe it across the sensor in a single motion. Avoid excessive pressure or rubbing, as this can damage the sensor.
5. After cleaning, use the blower brush again to remove any remaining dust particles or lint from the sensor.
6. Finally, attach the lens back onto the camera, ensuring it is clean as well, and turn on the camera to check for any remaining dust spots. If you still notice dust, repeat the cleaning process.
It is important to note that cleaning the sensor requires caution and precision. If you are unsure or uncomfortable with cleaning it yourself, it is recommended to take your camera to a professional camera service center for sensor cleaning.
In recent years, some camera manufacturers have introduced built-in sensor cleaning mechanisms that use ultrasonic vibrations to shake off dust particles. These systems can be effective in reducing the need for manual cleaning, but they may not eliminate all dust. Therefore, it is still advisable to periodically inspect and clean your camera's sensor manually for the best image quality.
2、 Cleaning camera lenses and filters effectively
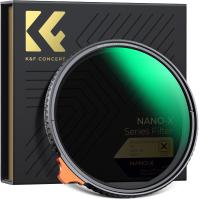
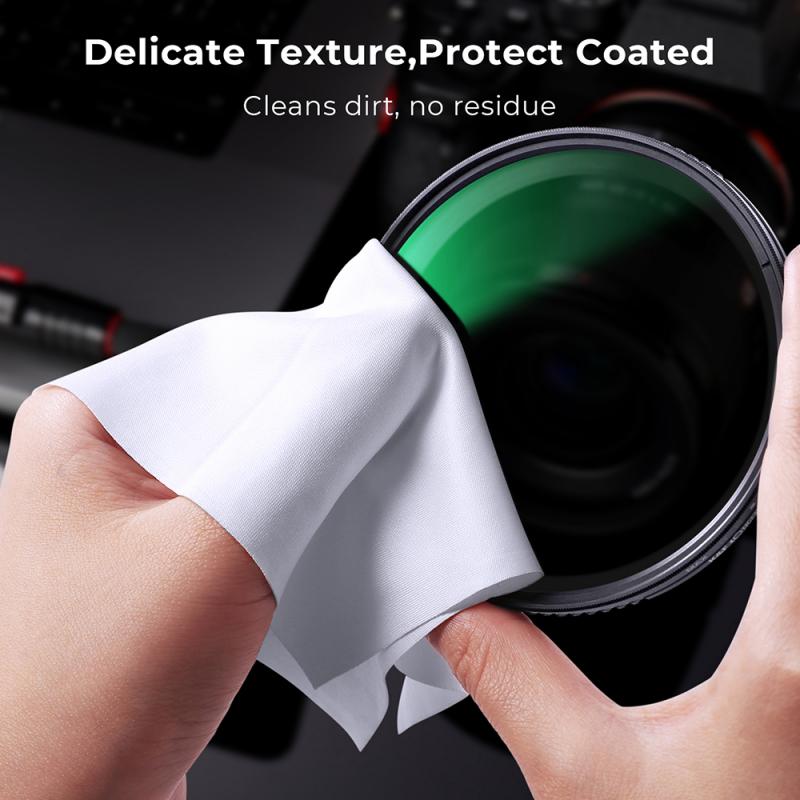
Cleaning camera lenses and filters effectively is essential for maintaining the quality of your DSLR camera and ensuring optimal image results. Dust, smudges, and fingerprints can all affect the clarity and sharpness of your photographs. Here is a step-by-step guide on how to clean your DSLR camera:
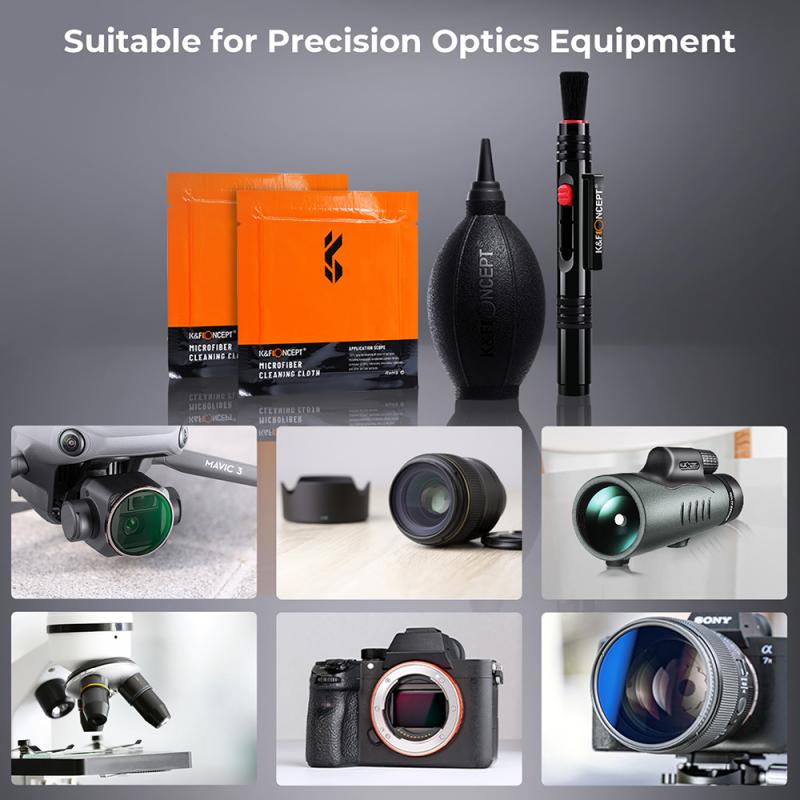
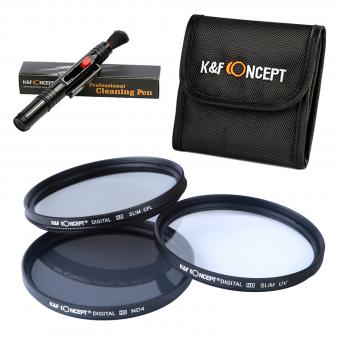
1. Gather the necessary tools: You will need a blower brush, lens cleaning solution, lens cleaning tissue or microfiber cloth, and lens cleaning pen.
2. Start by using the blower brush: Gently brush away any loose dust or debris from the lens and filter surfaces. This will prevent scratching the glass during the cleaning process.
3. Apply lens cleaning solution: Put a few drops of lens cleaning solution onto a lens cleaning tissue or microfiber cloth. Avoid applying the solution directly to the lens or filter to prevent any liquid from seeping into the camera body.
4. Wipe the lens and filter surfaces: Using gentle circular motions, wipe the lens and filter surfaces with the dampened cloth. Start from the center and work your way outwards. Be careful not to apply too much pressure to avoid damaging the glass.
5. Remove stubborn smudges or fingerprints: If there are any stubborn smudges or fingerprints, use a lens cleaning pen. These pens have a soft brush on one end to remove dust and a microfiber tip on the other end to gently remove smudges.
6. Inspect for any remaining debris: After cleaning, inspect the lens and filter surfaces for any remaining debris. If necessary, repeat the cleaning process.
7. Store your camera properly: Once the cleaning is complete, store your camera in a clean and dry place to prevent dust and dirt from accumulating.
It is important to note that different camera models may have specific cleaning instructions, so always refer to your camera's manual for any additional guidance.
In recent years, there has been a growing trend towards using lens cleaning solutions that are alcohol-free and environmentally friendly. These solutions are designed to effectively remove smudges and fingerprints without leaving residue or damaging lens coatings. Additionally, microfiber cloths have become increasingly popular due to their ability to effectively clean lenses without scratching the glass.
Regularly cleaning your DSLR camera lenses and filters will not only improve the quality of your photographs but also prolong the lifespan of your equipment. By following these steps and staying up to date with the latest cleaning techniques, you can ensure that your camera is always ready to capture stunning images.

3、 Proper maintenance of DSLR camera body and buttons
Proper maintenance of your DSLR camera body and buttons is essential to ensure its longevity and optimal performance. Regular cleaning not only keeps your camera looking good but also helps prevent dust and debris from affecting image quality. Here's a step-by-step guide on how to clean your DSLR camera:
1. Power off your camera and remove the battery to avoid any accidental damage.
2. Use a blower brush or air blower to gently remove loose dust and debris from the camera body, lens mount, and buttons. Avoid using compressed air cans as they may contain harmful chemicals.
3. For stubborn dirt or smudges, use a microfiber cloth slightly dampened with water or a mild lens cleaning solution. Gently wipe the affected areas, being careful not to apply excessive pressure.
4. Pay special attention to the buttons and dials, as they can accumulate dirt and grime over time. Use a soft brush or a cotton swab dipped in isopropyl alcohol to clean these areas. Be cautious not to let any liquid seep into the camera body.
5. Clean the LCD screen using a microfiber cloth or a screen cleaning solution specifically designed for electronic devices. Avoid using harsh chemicals or abrasive materials that could scratch the screen.
6. Inspect the camera sensor for any visible dust spots. If necessary, use a sensor cleaning kit or consult a professional to safely remove the dust particles.
7. Finally, reattach the lens and battery, ensuring they are properly secured.
It's important to note that camera manufacturers may have specific cleaning recommendations, so referring to your camera's user manual is always a good idea. Additionally, if you're unsure about any cleaning procedure, it's best to seek professional assistance to avoid any potential damage to your camera.
4、 Safely cleaning camera LCD screens and viewfinders
Safely cleaning camera LCD screens and viewfinders is an essential part of maintaining your DSLR camera. These components are prone to collecting dust, fingerprints, and smudges, which can affect the clarity of your images and hinder your overall shooting experience. Here are some steps to effectively clean your camera's LCD screen and viewfinder:
1. Turn off your camera: Before cleaning, ensure that your camera is turned off to prevent any accidental damage.
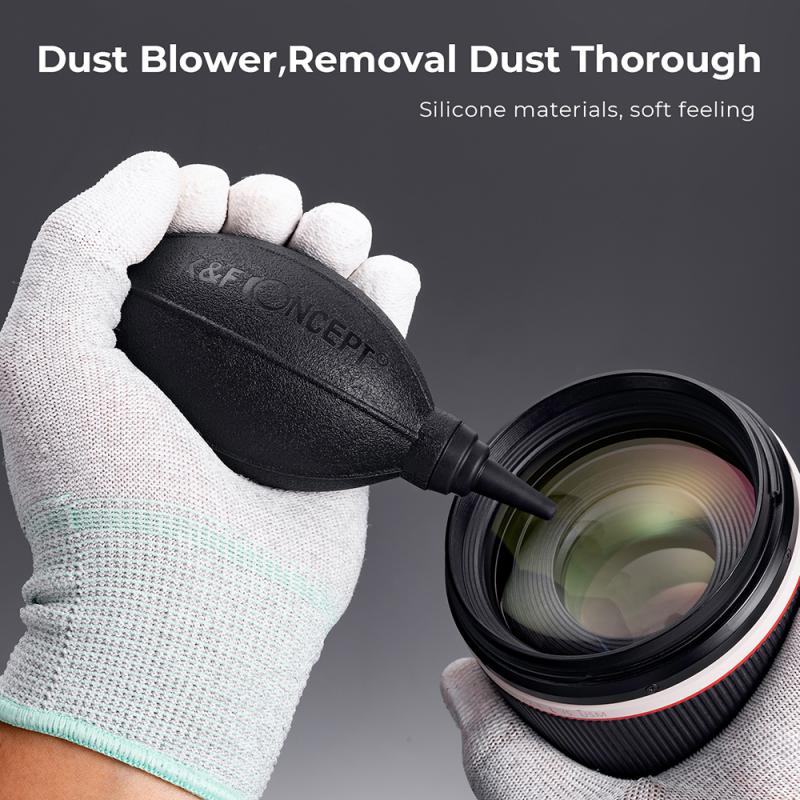
2. Use a blower: Start by using a blower to remove any loose dust particles from the LCD screen and viewfinder. This helps prevent scratching the surface during the cleaning process.
3. Use a microfiber cloth: Gently wipe the LCD screen and viewfinder with a clean, lint-free microfiber cloth. Avoid using any harsh materials or excessive pressure, as this can damage the delicate surfaces. If necessary, slightly dampen the cloth with distilled water or a specialized camera cleaning solution.
4. Remove stubborn marks: For stubborn marks or fingerprints, use a lens cleaning solution specifically designed for camera lenses and LCD screens. Apply a small amount of the solution to a microfiber cloth and gently wipe the affected areas in a circular motion.
5. Avoid spraying directly: Never spray cleaning solutions directly onto the LCD screen or viewfinder. This can cause the liquid to seep into the camera body and potentially damage internal components.
6. Be cautious with viewfinder cleaning: When cleaning the viewfinder, be extra careful as it contains delicate optics. If you're unsure about cleaning the viewfinder yourself, it's best to seek professional assistance.
7. Regular maintenance: To keep your camera's LCD screen and viewfinder in optimal condition, make it a habit to clean them regularly. This will help prevent the buildup of dirt and maintain the clarity of your camera's display.
It's important to note that different camera models may have specific cleaning instructions, so always refer to your camera's user manual for any manufacturer-recommended cleaning methods. Additionally, stay updated with the latest cleaning techniques and products to ensure the best care for your DSLR camera.
