How To Close Tripod ?
To close a tripod, follow these steps:
1. Start by loosening the leg locks or clamps on each leg of the tripod. Most tripods have either twist locks or flip locks. Twist locks require you to rotate the leg sections to loosen them, while flip locks can be released by flipping them open.
2. Once the leg locks are loosened, collapse each leg by pushing them towards the center of the tripod. Make sure to fold them in the correct order, usually starting with the shortest leg sections first.
3. After collapsing all the legs, secure them in place by tightening the leg locks or clamps. Ensure that they are firmly locked to prevent any accidental opening.
4. Finally, fold down the tripod head or remove it if necessary. Some tripods have a quick-release plate that allows you to detach the camera or other equipment easily.
Remember to handle the tripod with care while closing it to avoid any damage or injury.
1、 Folding the tripod legs
To close a tripod, you need to follow a few simple steps. The first step is to loosen the leg locks. Most tripods have twist locks or flip locks that secure the legs in place. Twist the locks counterclockwise or flip them open to release the legs.
Once the leg locks are loosened, you can start folding the tripod legs. Begin by collapsing the legs inward towards the center column. Make sure to fold each leg one at a time, starting with the shortest leg and moving to the longest. This will help maintain balance and stability while folding.
As you fold each leg, be careful not to force them or let them snap shut. Gently guide the legs towards the closed position, ensuring that they are aligned properly. Once all the legs are folded, you can tighten the leg locks to secure the tripod in its closed position.
It's important to note that different tripods may have slight variations in their closing mechanisms. Some tripods may have additional features like a center column hook or a quick-release plate that need to be taken into consideration when closing the tripod. Therefore, it's always a good idea to consult the manufacturer's instructions for your specific tripod model.
In conclusion, closing a tripod involves loosening the leg locks, folding the legs inward one at a time, and then tightening the leg locks to secure the tripod in its closed position. Following these steps will ensure that your tripod is safely closed and ready for storage or transportation.
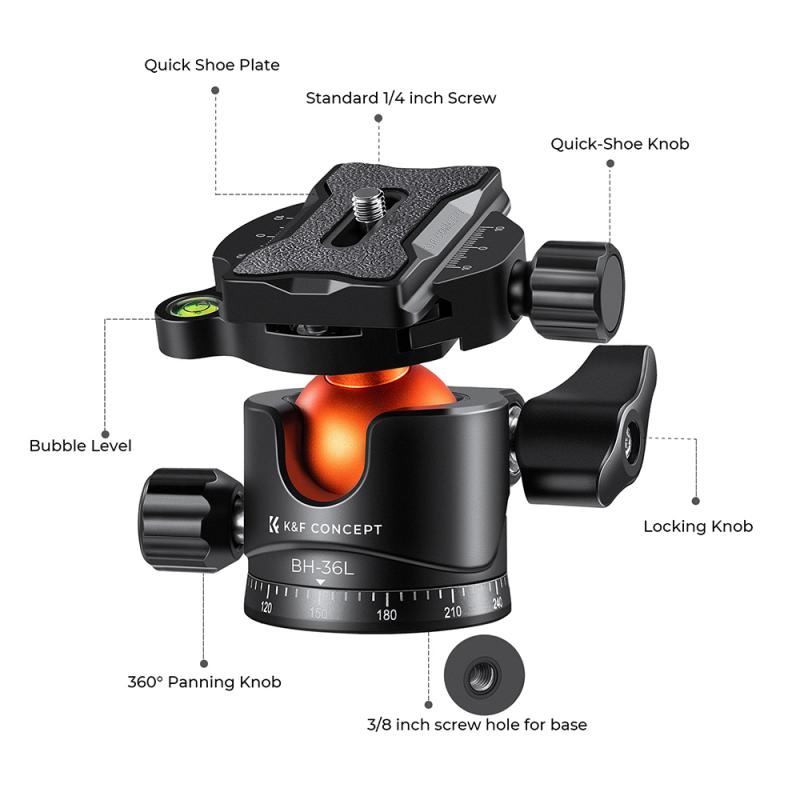
2、 Securing the tripod head
To close a tripod, follow these steps:
1. Start by loosening the tripod legs: Most tripods have adjustable legs that can be extended or retracted. Look for the leg locks or release buttons and loosen them to allow the legs to collapse.
2. Collapse the legs: Once the leg locks are loosened, gently push the legs towards the center column or the tripod head. Make sure to collapse all the legs evenly to avoid any damage.
3. Secure the legs: Once the legs are collapsed, tighten the leg locks to secure them in place. This will prevent the tripod from accidentally opening up while being stored or transported.
4. Fold the center column: If your tripod has a center column, you may need to fold it down. Look for a release button or lever near the column and press or pull it to fold the column down. This will make the tripod more compact for storage.
5. Store the tripod: Once the legs and center column are folded, you can store the tripod in its carrying case or any other suitable storage solution. Make sure to keep it in a safe place where it won't get damaged.
Securing the tripod head is an important step to ensure the stability of your camera or other equipment. After attaching your camera to the tripod head, make sure it is securely fastened. Most tripod heads have a locking mechanism that can be tightened to hold the camera in place. Check for any movement or wobbling and adjust the locking mechanism accordingly. It's also a good practice to double-check the stability of the tripod by gently nudging it to see if it remains steady. If you're using a heavier camera or lens, consider using a tripod head with a higher weight capacity to ensure stability. Additionally, always make sure to use the appropriate tripod head for your specific equipment to avoid any accidents or damage.
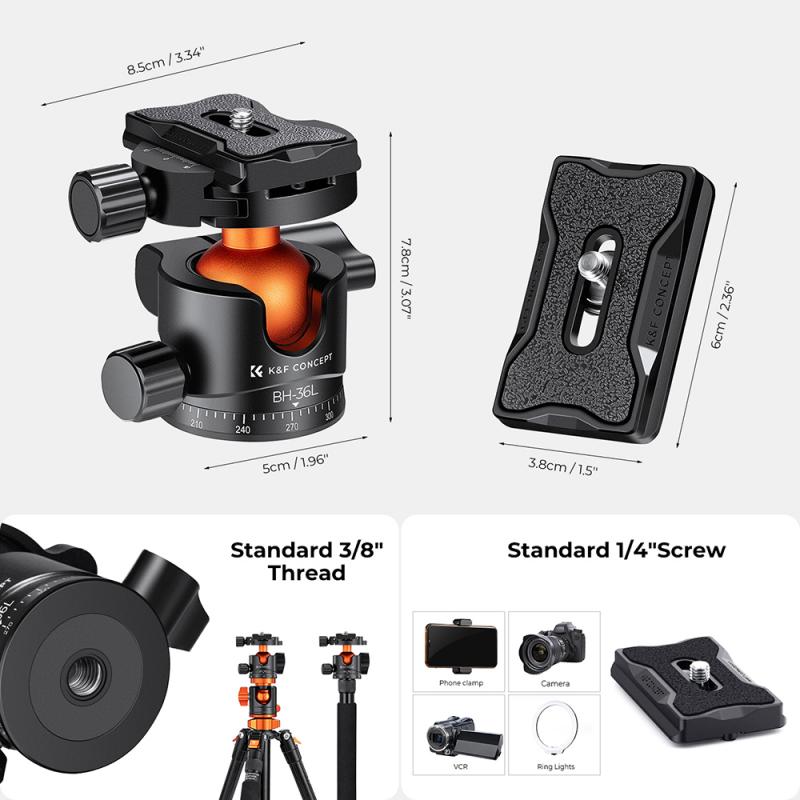
3、 Detaching the camera or equipment
To close a tripod, the first step is to detach the camera or equipment from the tripod head. This is typically done by loosening the mounting plate or quick-release mechanism that holds the camera in place. Different tripods may have slightly different mechanisms, so it's important to refer to the specific instructions provided by the manufacturer.
Once the camera or equipment is detached, you can start collapsing the tripod legs. Most tripods have a locking mechanism on each leg that needs to be released before the legs can be folded. This can be done by twisting or sliding the locks, depending on the design of the tripod. Once the locks are released, you can collapse the legs by pushing them towards the center column.
After collapsing the legs, you can then fold the tripod by bringing the legs together. Some tripods have a hook or strap that can be used to secure the legs in place when folded. This helps to keep the tripod compact and prevents it from accidentally opening.
It's worth noting that some tripods may have additional features or steps for closing, so it's always a good idea to consult the user manual or instructions provided by the manufacturer. Additionally, it's important to handle the tripod with care and avoid forcing any parts to prevent damage.
4、 Collapsing the tripod legs
To close a tripod, you need to collapse the tripod legs. Here's a step-by-step guide on how to do it:
1. Start by loosening the leg locks: Most tripods have leg locks that secure the legs in place. Locate the leg locks on each leg and loosen them by twisting or flipping them open.
2. Collapse the legs: Once the leg locks are loosened, you can start collapsing the legs. Begin with one leg and push it towards the center column or the center of the tripod. Repeat this step for the remaining legs.
3. Secure the legs: After collapsing the legs, make sure to secure them in place. Some tripods have clips or latches that hold the legs together when folded. Others may require you to tighten the leg locks to keep the legs from unfolding.
4. Fold the center column (if applicable): If your tripod has a center column, you may need to fold it down as well. Look for a release button or lever near the top of the center column and press or pull it to fold the column down.
5. Store the tripod: Once the legs and center column are folded, you can store the tripod in its carrying case or any other suitable storage space.
It's important to note that different tripods may have slight variations in their closing mechanisms. Therefore, it's always a good idea to consult the manufacturer's instructions for your specific tripod model.
From a latest point of view, some tripods now come with quick-release leg locks that allow for faster and easier collapsing of the legs. Additionally, certain tripods may have a reverse-folding feature, where the legs fold in the opposite direction, making them more compact for storage. Always check the user manual or manufacturer's website for any specific instructions or updates regarding closing your tripod.















There are no comments for this blog.