How To Connect A Endoscope To A Laptop ?
To connect an endoscope to a laptop, you will need a USB endoscope camera and a USB port on your laptop. Simply plug the USB endoscope camera into the USB port on your laptop. Once connected, your laptop should recognize the endoscope camera as a new device. You may need to install any necessary drivers or software that came with the endoscope camera. Once the drivers are installed, you can open the software or application that is provided with the endoscope camera to view the live feed from the camera on your laptop screen. Make sure to follow the instructions provided with your specific endoscope camera for the best results.
1、 Endoscope compatibility with laptop operating systems
Endoscope compatibility with laptop operating systems is an important consideration when it comes to connecting an endoscope to a laptop. The process of connecting an endoscope to a laptop involves a few steps, but it is relatively straightforward.
To connect an endoscope to a laptop, you will need a USB endoscope camera and a laptop with a USB port. Most endoscope cameras come with a USB cable that can be plugged directly into the laptop's USB port. Once the endoscope is connected, you may need to install the necessary software or drivers for the camera to work properly. This can usually be done by following the instructions provided by the manufacturer.
When it comes to compatibility with laptop operating systems, most endoscope cameras are designed to work with Windows, Mac, and Linux operating systems. However, it is always a good idea to check the specifications and requirements of the specific endoscope camera you are using to ensure compatibility with your laptop's operating system.
It is worth noting that some endoscope cameras may have specific software or drivers that are only compatible with certain operating systems. In such cases, it is important to check the manufacturer's website or contact their customer support for the latest information on compatibility and software updates.
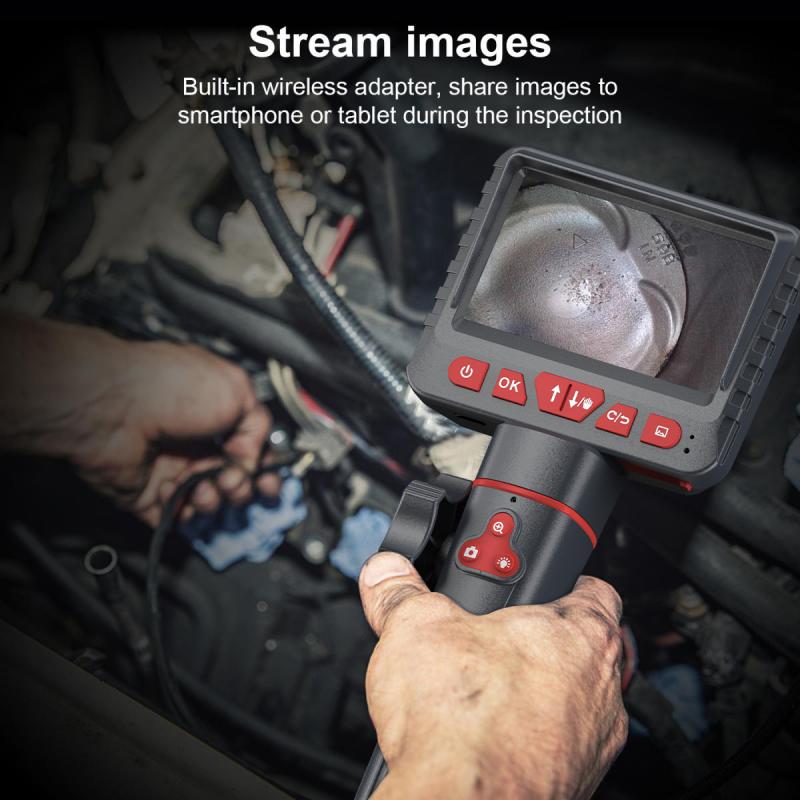
In recent years, there have been advancements in endoscope technology, including the development of wireless endoscope cameras that can connect to laptops and other devices via Wi-Fi or Bluetooth. These wireless options offer more flexibility and convenience in terms of connectivity, eliminating the need for a physical USB connection.
In conclusion, connecting an endoscope to a laptop involves ensuring compatibility with the laptop's operating system, plugging in the USB endoscope camera, and installing any necessary software or drivers. It is important to check the specifications and requirements of the specific endoscope camera being used and to stay updated with the latest advancements in endoscope technology for the best connectivity options.
2、 Connecting endoscope to laptop via USB or Wi-Fi
Connecting an endoscope to a laptop is a relatively simple process that can be done via USB or Wi-Fi, depending on the type of endoscope you have. Here's a step-by-step guide on how to connect an endoscope to a laptop:
1. USB Connection:
- Ensure that your laptop has a USB port available.
- Connect the USB cable of the endoscope to the USB port on your laptop.
- Wait for your laptop to recognize the endoscope. It may automatically install the necessary drivers, or you may need to install them manually.
- Once the endoscope is recognized, you can open the software or application that came with the endoscope to view the live feed on your laptop screen.
2. Wi-Fi Connection:
- Check if your endoscope has Wi-Fi capabilities. Some newer models come with built-in Wi-Fi.
- Turn on the Wi-Fi feature on your endoscope and make sure it is in pairing mode.
- On your laptop, go to the Wi-Fi settings and search for available networks.
- Look for the Wi-Fi network name of your endoscope and connect to it.
- Once connected, open the software or application that came with the endoscope to view the live feed on your laptop screen.
It's worth noting that the specific steps may vary depending on the brand and model of your endoscope. Therefore, it's always recommended to refer to the user manual or manufacturer's instructions for detailed guidance.
In recent years, there have been advancements in endoscope technology, with some models offering wireless connectivity options. These wireless endoscopes can connect to laptops or other devices via Wi-Fi, eliminating the need for a physical USB connection. This wireless feature provides more flexibility and convenience during use. However, it's important to ensure that your laptop and endoscope are compatible and support the same wireless standards for a seamless connection.
Overall, connecting an endoscope to a laptop is a straightforward process, whether through USB or Wi-Fi. It allows for easy viewing and analysis of the captured images or videos on a larger screen, making it a valuable tool for various applications such as medical procedures, industrial inspections, or DIY projects.

3、 Software installation for endoscope connectivity on laptop
To connect an endoscope to a laptop, you will need to follow a few steps. Firstly, ensure that your laptop has a USB port available. Most endoscopes come with a USB connection, so this is the most common method of connectivity.
1. Plug in the endoscope: Connect the USB end of the endoscope to an available USB port on your laptop. Make sure the connection is secure.
2. Install the software: Some endoscopes require specific software to be installed on your laptop for connectivity. Check the manufacturer's instructions or website for the appropriate software. Download and install it on your laptop.
3. Launch the software: Once the software is installed, launch it on your laptop. The software should detect the endoscope automatically. If not, follow the software's instructions to establish the connection.
4. Adjust settings: Depending on the software, you may have options to adjust settings such as resolution, brightness, and contrast. Configure these settings according to your needs.
5. Start using the endoscope: With the endoscope connected and the software running, you can now use the endoscope to capture images or videos. Follow the software's instructions for capturing and saving media.
It's important to note that the specific steps may vary depending on the brand and model of the endoscope and the software being used. Always refer to the manufacturer's instructions for the most accurate and up-to-date information.
In recent years, advancements in technology have led to the development of wireless endoscopes that can connect to laptops via Wi-Fi or Bluetooth. These wireless endoscopes eliminate the need for a physical USB connection and often come with their own dedicated apps for connectivity. If you have a wireless endoscope, refer to the manufacturer's instructions for the specific steps to connect it to your laptop.
4、 Troubleshooting common issues when connecting endoscope to laptop
How to connect an endoscope to a laptop:
Connecting an endoscope to a laptop is a relatively simple process. Here are the steps to follow:
1. Check the compatibility: Ensure that your endoscope is compatible with your laptop. Most endoscopes come with USB connectors, so make sure your laptop has a USB port.
2. Install the software: Some endoscopes require specific software to be installed on your laptop. Check the manufacturer's instructions and download the necessary software from their website. Install it on your laptop before connecting the endoscope.
3. Connect the endoscope: Plug the USB connector of the endoscope into the USB port of your laptop. The operating system should automatically detect the endoscope and install the necessary drivers. If not, proceed to the next step.
4. Install drivers: If the operating system does not automatically install the drivers, you may need to manually install them. Visit the manufacturer's website and download the drivers specific to your endoscope model. Follow the instructions provided to install the drivers on your laptop.
5. Launch the software: Once the drivers are installed, launch the software that came with the endoscope or any other compatible software. The software should detect the endoscope and display the live feed from the camera.
Troubleshooting common issues when connecting an endoscope to a laptop:
1. Driver issues: If the endoscope is not being recognized by the laptop, it could be due to driver issues. Make sure you have installed the correct drivers for your endoscope model. Try reinstalling the drivers or updating them to the latest version.
2. USB port issues: If the USB port is not working properly, try connecting the endoscope to a different USB port on your laptop. If none of the USB ports are working, there may be a problem with the USB controller on your laptop. In such cases, consider using a USB hub or try connecting the endoscope to another computer.
3. Software compatibility: Ensure that the software you are using is compatible with your endoscope and laptop. Check for any software updates or try using a different software program to see if the issue persists.
4. Cable or connector issues: Inspect the cable and connectors of the endoscope for any damage or loose connections. If there are any issues, consider replacing the cable or contacting the manufacturer for assistance.
5. Operating system compatibility: Some endoscopes may not be compatible with certain operating systems. Check the manufacturer's specifications to ensure that your endoscope is compatible with your laptop's operating system.
In conclusion, connecting an endoscope to a laptop involves checking compatibility, installing software and drivers, and troubleshooting any issues that may arise. By following these steps and addressing common issues, you should be able to successfully connect your endoscope to your laptop and utilize its features.
