How To Connect External Microphone To Camcorder ?
To connect an external microphone to a camcorder, you will need to follow these steps:
1. Locate the microphone input jack on your camcorder. This is usually labeled as "MIC" or "MIC IN."
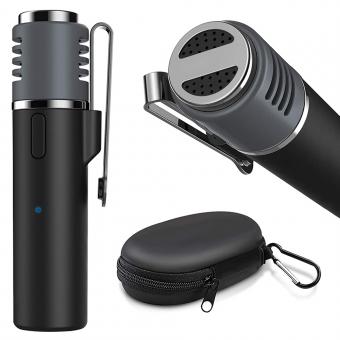
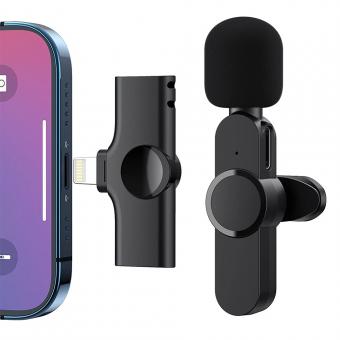
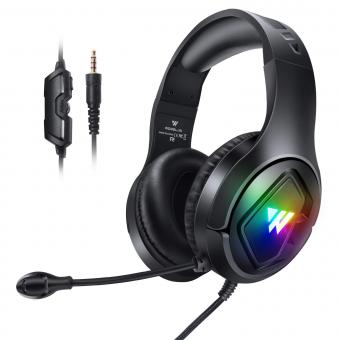
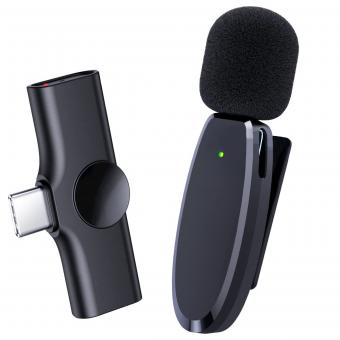
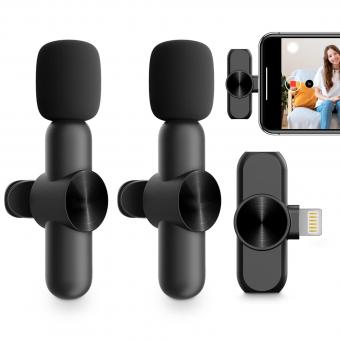
2. Choose the type of microphone you want to use. There are different types of microphones available, such as shotgun, lapel, and handheld microphones.
3. Connect the microphone to the camcorder using an appropriate cable. The type of cable you need will depend on the type of microphone you are using and the type of input jack on your camcorder.
4. Turn on your camcorder and test the microphone to make sure it is working properly. Adjust the volume levels as needed.
5. If your camcorder has a manual audio control, adjust the levels to ensure that the sound is not too loud or too soft.
6. Record your video with the external microphone attached to your camcorder.
Remember to check the user manual of your camcorder and microphone for specific instructions and compatibility before connecting them.
1、 Plug in the microphone to the camcorder's microphone input.
To connect an external microphone to a camcorder, you will need to follow a few simple steps. First, you will need to locate the microphone input on your camcorder. This is typically located on the side or back of the device and is labeled with a microphone icon.
Once you have located the microphone input, you will need to plug in the microphone. Make sure that the microphone is securely plugged in and that the connection is tight. This will ensure that the microphone is able to pick up sound effectively.
If your camcorder has a manual audio control, you may need to adjust the audio levels to ensure that the sound is not too loud or too quiet. This can be done by adjusting the audio level controls on your camcorder.
It is also important to note that not all external microphones are compatible with all camcorders. Before purchasing an external microphone, be sure to check the compatibility with your specific camcorder model.
In recent years, some camcorders have started to include built-in microphones that are capable of capturing high-quality audio. However, if you are looking to capture professional-quality audio, an external microphone is still the best option.
Overall, connecting an external microphone to a camcorder is a simple process that can greatly improve the quality of your audio recordings. By following these steps, you can ensure that your audio is clear and crisp, making your videos more engaging and enjoyable to watch.
2、 Turn on the camcorder and the microphone.
To connect an external microphone to a camcorder, you will need to follow a few simple steps. First, make sure that your camcorder has an external microphone input. This is usually a 3.5mm jack located on the side or back of the camcorder. Once you have confirmed that your camcorder has an external microphone input, you can proceed with the following steps:
1. Turn on the camcorder and the microphone. Make sure that both devices are turned on and ready to use.
2. Locate the external microphone input on your camcorder. This is usually a 3.5mm jack located on the side or back of the camcorder.
3. Connect the microphone to the camcorder. Insert the microphone plug into the external microphone input on the camcorder. Make sure that the plug is securely inserted into the jack.
4. Adjust the microphone settings on your camcorder. Depending on your camcorder model, you may need to adjust the microphone settings to ensure that the audio is recorded properly. This may include adjusting the volume, sensitivity, or other settings.
5. Test the microphone. Before you start recording, it's a good idea to test the microphone to make sure that it's working properly. Speak into the microphone and listen to the audio playback to ensure that the sound is clear and free of distortion.
In conclusion, connecting an external microphone to a camcorder is a simple process that can greatly improve the quality of your audio recordings. By following these steps, you can ensure that your microphone is properly connected and configured for optimal performance.
3、 Adjust the microphone's settings as needed.
How to connect an external microphone to a camcorder is a common question among videographers and content creators. The process is relatively simple and can greatly improve the audio quality of your videos.
First, you need to ensure that your camcorder has an external microphone input. Most modern camcorders have a 3.5mm jack for external microphones. If your camcorder does not have an external microphone input, you may need to purchase an adapter or use a different recording device.
Once you have confirmed that your camcorder has an external microphone input, you can connect your microphone using a compatible cable. Make sure to insert the cable firmly into both the microphone and the camcorder to ensure a secure connection.
After connecting the microphone, you may need to adjust the microphone's settings as needed. This can include adjusting the microphone's volume, sensitivity, and directionality. Some microphones may also have additional settings, such as a low-cut filter or a pad switch.
It is important to test your microphone before recording to ensure that it is working properly and that the audio quality is satisfactory. You may need to make additional adjustments to the microphone's settings or placement to achieve the desired results.
In conclusion, connecting an external microphone to a camcorder is a simple process that can greatly improve the audio quality of your videos. By following these steps and adjusting the microphone's settings as needed, you can capture clear and professional-quality audio for your content.
4、 Test the audio recording to ensure proper connection.
How to connect an external microphone to a camcorder is a common question among videographers and content creators. The process is relatively simple and can greatly improve the audio quality of your recordings.
First, you need to ensure that your camcorder has an external microphone input. Most modern camcorders have a 3.5mm jack for external microphones. If your camcorder does not have an external microphone input, you may need to purchase an adapter or use a different recording device.
Once you have confirmed that your camcorder has an external microphone input, you can connect your microphone using a compatible cable. Make sure to use a high-quality cable to avoid any interference or audio distortion.
After connecting the microphone, it is important to test the audio recording to ensure proper connection. Record a short clip and listen to the playback to ensure that the audio is clear and free of any unwanted noise or distortion.
It is also important to consider the placement of the microphone. Depending on the type of microphone you are using, you may need to position it close to the subject or use a boom pole to capture audio from a distance.
In conclusion, connecting an external microphone to a camcorder is a simple process that can greatly improve the audio quality of your recordings. By following these steps and testing the audio recording, you can ensure that your videos have clear and high-quality sound.
