How To Connect Home Camera To Wifi ?
To connect a home camera to WiFi, you will need to follow these steps:
1. First, ensure that your home camera is compatible with WiFi connectivity.
2. Connect your camera to a power source and turn it on.
3. Download the camera's app on your smartphone or tablet.
4. Open the app and follow the instructions to connect the camera to your WiFi network.
5. Enter your WiFi network name and password when prompted.
6. Wait for the camera to connect to your WiFi network.
7. Once the camera is connected, you can view the live feed from your camera on your smartphone or tablet.
8. You may also need to adjust the camera's settings to ensure that it is properly configured for your home network.
9. Finally, test the camera to ensure that it is working properly and that you can view the live feed from your smartphone or tablet.
1、 Camera compatibility with Wi-Fi networks
How to connect home camera to wifi:
Connecting your home camera to Wi-Fi is a simple process that can be done in a few easy steps. First, make sure that your camera is compatible with Wi-Fi networks. Most modern cameras come with built-in Wi-Fi connectivity, but older models may require an adapter.
Once you have confirmed that your camera is Wi-Fi compatible, you will need to connect it to your home network. This can be done by following the instructions provided by the manufacturer. Typically, you will need to enter your Wi-Fi network name and password into the camera's settings menu.
After you have connected your camera to your Wi-Fi network, you can access it remotely using a smartphone or computer. This will allow you to view live footage from your camera, as well as adjust settings and receive alerts when motion is detected.
It is important to note that not all cameras are created equal when it comes to Wi-Fi connectivity. Some cameras may have limited range or may not be able to connect to certain types of networks. It is always a good idea to research the specific camera model you are interested in before making a purchase.
In recent years, there has been a growing trend towards smart home security systems that integrate cameras, sensors, and other devices into a single network. These systems often come with their own mobile apps and can be controlled using voice commands or other smart home devices. As technology continues to evolve, we can expect to see even more advanced home camera systems that offer greater connectivity and functionality.
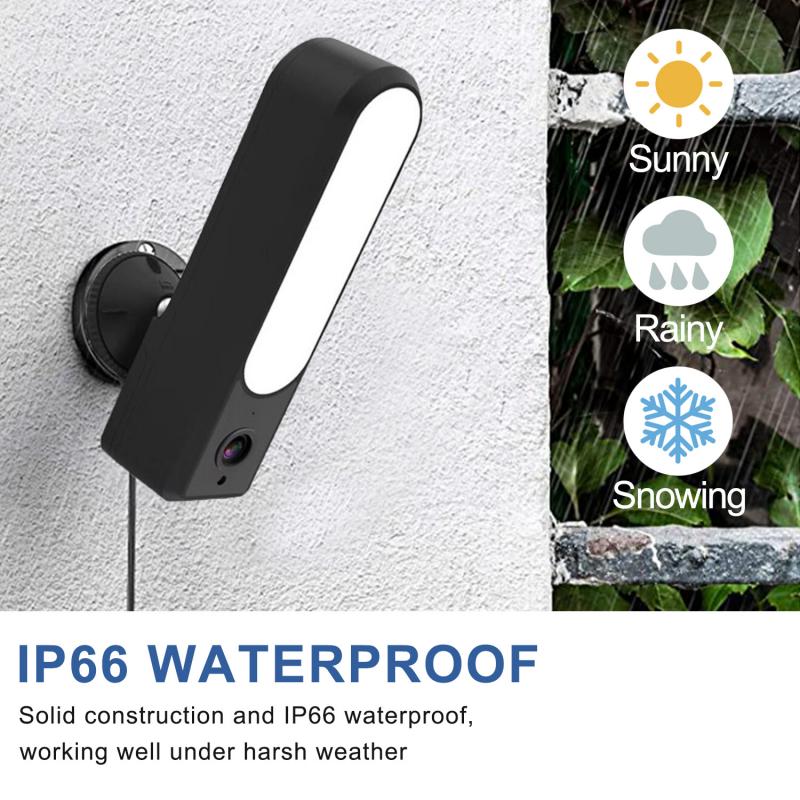
2、 Wi-Fi network setup for camera connection
How to connect home camera to Wi-Fi:
1. First, make sure your home camera is compatible with Wi-Fi connectivity. Check the user manual or manufacturer's website for instructions.
2. Connect your home camera to a power source and turn it on.
3. Access the camera's settings menu and select the Wi-Fi network option.
4. Choose your home Wi-Fi network from the list of available networks.
5. Enter your Wi-Fi network password when prompted.
6. Wait for the camera to connect to your Wi-Fi network. This may take a few minutes.
7. Once the camera is connected, you can access it remotely using a smartphone app or web browser.
Wi-Fi network setup for camera connection:
1. Make sure your Wi-Fi network is up and running. Check that your router is connected to the internet and that your Wi-Fi network is broadcasting.
2. Ensure that your Wi-Fi network is secure. Use a strong password and enable WPA2 encryption to prevent unauthorized access.
3. Check that your home camera is compatible with your Wi-Fi network. Some cameras may only work with certain types of Wi-Fi networks.
4. Follow the manufacturer's instructions for connecting your home camera to your Wi-Fi network.
5. Test the connection by accessing the camera remotely using a smartphone app or web browser.
6. If you experience any issues with the connection, try resetting the camera and/or router and repeating the setup process.
In today's world, Wi-Fi connectivity has become an essential feature for home cameras. It allows for remote access and monitoring, making it easier to keep an eye on your home while you're away. As technology continues to advance, we can expect to see even more innovative ways to connect home cameras to Wi-Fi networks.
3、 Camera Wi-Fi connection process
Connecting your home camera to Wi-Fi is a simple process that can be done in a few easy steps. Here's how to do it:
Step 1: Download the camera's app
The first step is to download the camera's app on your smartphone or tablet. You can find the app in the App Store or Google Play Store.
Step 2: Connect the camera to power
Connect the camera to a power source using the provided power cable. Make sure the camera is turned on.
Step 3: Connect the camera to Wi-Fi
Open the app and follow the instructions to connect the camera to your Wi-Fi network. You will need to enter your Wi-Fi network name and password.
Step 4: Test the connection
Once the camera is connected to Wi-Fi, test the connection by viewing the camera's live feed on your smartphone or tablet.
Step 5: Adjust camera settings
You can adjust the camera's settings in the app, such as motion detection and recording schedules.
The latest point of view is that some cameras now come with built-in Wi-Fi, making the connection process even easier. These cameras can connect directly to your Wi-Fi network without the need for a separate app. Additionally, some cameras now offer voice control through virtual assistants like Amazon Alexa and Google Assistant, allowing you to control the camera with your voice.
4、 Troubleshooting Wi-Fi connection issues
How to connect home camera to wifi:
Connecting your home camera to Wi-Fi is a simple process that can be done in a few easy steps. First, make sure that your camera is compatible with Wi-Fi and that it is turned on. Then, download the camera's app on your smartphone or tablet and follow the instructions to connect the camera to your Wi-Fi network. You will need to enter your Wi-Fi network name and password to complete the setup process.
Once your camera is connected to Wi-Fi, you can access it remotely from your smartphone or tablet. This allows you to monitor your home or office from anywhere in the world. You can also set up alerts to notify you when the camera detects motion or sound.
Troubleshooting Wi-Fi connection issues:
If you are experiencing Wi-Fi connection issues with your home camera, there are a few things you can try to resolve the problem. First, make sure that your camera is within range of your Wi-Fi network. If it is too far away, you may need to move it closer or use a Wi-Fi extender.
You should also check that your Wi-Fi network is working properly. Try resetting your router or modem and see if that resolves the issue. If not, you may need to contact your internet service provider for assistance.
Another common issue is interference from other devices. Make sure that your camera is not too close to other electronics that may be causing interference. You can also try changing the Wi-Fi channel on your router to reduce interference.
Finally, make sure that your camera's firmware is up to date. Manufacturers often release updates that address Wi-Fi connectivity issues and other bugs. Check the manufacturer's website for the latest firmware updates and follow the instructions to install them.
