How To Connect Lenovo To Camcorder ?
To connect a Lenovo computer to a camcorder, you will need to follow these steps:
1. Check the ports on your Lenovo computer and the camcorder. Look for compatible ports such as HDMI, USB, or Firewire.
2. If both devices have an HDMI port, use an HDMI cable to connect the camcorder to the HDMI input on your Lenovo computer. Make sure to select the correct HDMI input on your computer.
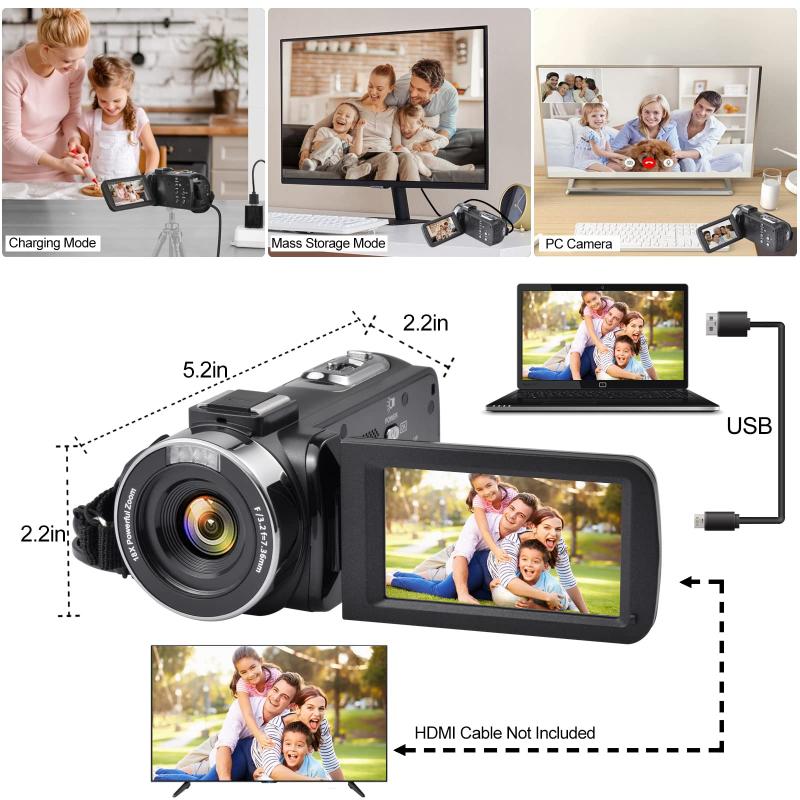
3. If your camcorder has a USB port, you can connect it to your Lenovo computer using a USB cable. Once connected, your computer should recognize the camcorder as a storage device, allowing you to transfer files.
4. If your camcorder has a Firewire port, you will need a Firewire cable to connect it to your Lenovo computer. Firewire connections are typically used for transferring video footage in real-time.
5. Once the physical connection is established, you may need to install any necessary drivers or software provided by the camcorder manufacturer. Follow the instructions provided with your camcorder to complete the installation.
Remember to consult the user manuals of both your Lenovo computer and camcorder for specific instructions and compatibility information.
1、 Connecting Lenovo to Camcorder via HDMI or USB-C
To connect a Lenovo laptop to a camcorder, you have a couple of options depending on the available ports on both devices. The most common methods are using an HDMI cable or a USB-C cable.
1. HDMI Connection:
- Check if your Lenovo laptop has an HDMI port. If it does, locate the HDMI port on your camcorder as well.
- Connect one end of the HDMI cable to the HDMI port on your laptop and the other end to the HDMI port on your camcorder.
- Once connected, switch on your camcorder and set it to the appropriate input source.
- On your Lenovo laptop, press the Windows key + P to open the display settings. Select "Duplicate" or "Extend" to display the camcorder's content on your laptop screen.
2. USB-C Connection:
- If your Lenovo laptop has a USB-C port, you can use a USB-C to HDMI adapter or cable.
- Connect the USB-C end of the adapter or cable to your laptop's USB-C port and the HDMI end to the camcorder's HDMI port.
- Follow the same steps as mentioned above for the HDMI connection to display the camcorder's content on your laptop screen.
It's worth noting that some newer Lenovo laptops may only have USB-C ports, which can support both video and audio transfer. In such cases, using a USB-C to HDMI adapter or cable is the most convenient option.
Always ensure that your camcorder is set to the correct output mode and that your laptop recognizes the connected device. Additionally, consult the user manuals of both your Lenovo laptop and camcorder for any specific instructions or troubleshooting tips.
Please note that the specific steps may vary depending on the model of your Lenovo laptop and camcorder.
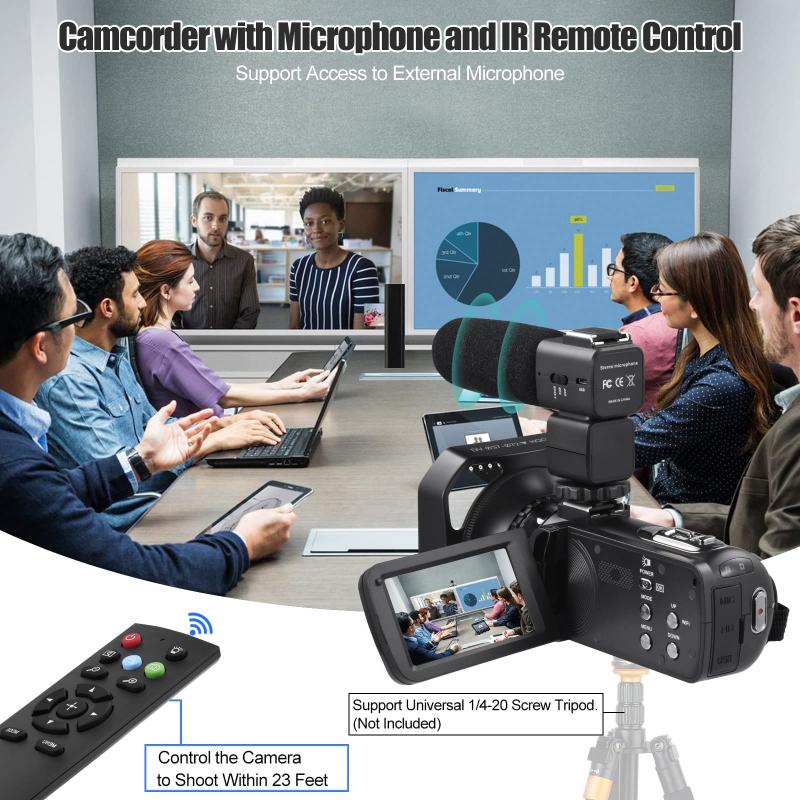
2、 Using Lenovo's built-in software to connect to a camcorder
To connect a Lenovo laptop to a camcorder, you can use Lenovo's built-in software and follow these steps:
1. Check the ports: Determine the available ports on both your Lenovo laptop and the camcorder. Common ports include HDMI, USB, and FireWire. Ensure that both devices have compatible ports for a direct connection.
2. Connect via HDMI: If both your Lenovo laptop and camcorder have HDMI ports, you can use an HDMI cable to establish a connection. Simply plug one end of the HDMI cable into the HDMI port on the camcorder and the other end into the HDMI port on your Lenovo laptop. Once connected, your laptop should automatically detect the camcorder.
3. Connect via USB: If your camcorder has a USB port, you can connect it to your Lenovo laptop using a USB cable. Plug one end of the USB cable into the USB port on the camcorder and the other end into a USB port on your laptop. Your laptop should recognize the camcorder and install any necessary drivers.
4. Using Lenovo's built-in software: Once the connection is established, you can use Lenovo's built-in software to access and control the camcorder. Lenovo laptops often come with pre-installed software like Lenovo Vantage or Lenovo Companion, which may have features for connecting and managing external devices like camcorders. Open the software and look for options related to connecting and controlling a camcorder.
It's important to note that the specific steps may vary depending on the model of your Lenovo laptop and the camcorder you are using. It's recommended to consult the user manuals or support documentation for both devices for more detailed instructions.
Additionally, it's worth mentioning that newer Lenovo laptops may have different connectivity options, such as USB-C or Thunderbolt 3 ports. In such cases, you may need to use appropriate adapters or cables to connect to the camcorder.
3、 Wireless connection options for Lenovo and camcorder pairing
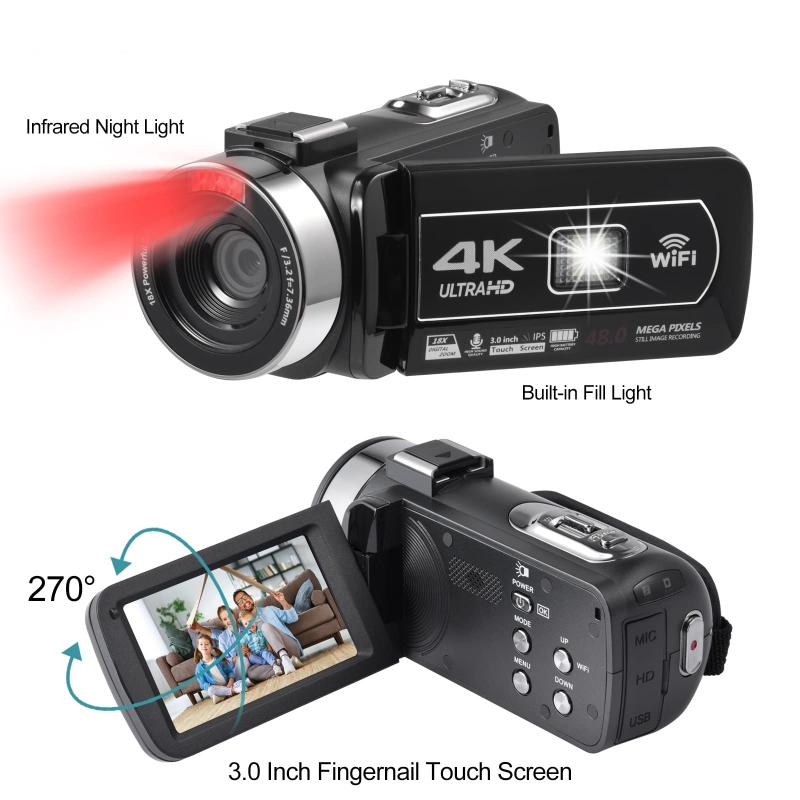
To connect a Lenovo device to a camcorder, there are several wireless connection options available. One of the most common methods is to use Wi-Fi Direct or a similar wireless technology. This allows the Lenovo device and the camcorder to establish a direct connection without the need for a router or internet access.
To connect using Wi-Fi Direct, follow these steps:
1. Ensure that both the Lenovo device and the camcorder have Wi-Fi capabilities.
2. On the Lenovo device, go to the settings menu and select Wi-Fi.
3. Enable Wi-Fi and search for available networks.
4. Look for the camcorder's Wi-Fi network in the list of available networks and select it.
5. Enter the password if prompted.
6. Once connected, open the camcorder's app or software on the Lenovo device.
7. Follow the on-screen instructions to establish a connection and start streaming or transferring files.
It's important to note that the specific steps may vary depending on the model of the Lenovo device and the camcorder. It's recommended to consult the user manuals or online support resources for both devices for detailed instructions.
Additionally, it's worth mentioning that some newer Lenovo devices may also support Bluetooth connectivity. This can be another option for connecting to a camcorder wirelessly. However, Bluetooth connections may have limitations in terms of file transfer speeds and range compared to Wi-Fi Direct.
In conclusion, wireless connection options such as Wi-Fi Direct and Bluetooth provide convenient ways to connect a Lenovo device to a camcorder. These methods allow for easy file transfer and streaming, enhancing the overall user experience.
4、 Troubleshooting common issues when connecting Lenovo to a camcorder
To connect a Lenovo laptop to a camcorder, you will need to follow a few steps:
1. Check the ports: Determine the available ports on both your Lenovo laptop and the camcorder. Most camcorders have an HDMI or USB port, while Lenovo laptops usually have HDMI, USB, or Thunderbolt ports. Make sure you have the necessary cables to connect the two devices.
2. Connect the cables: Depending on the ports available, connect the appropriate cable from the camcorder to the Lenovo laptop. If both devices have HDMI ports, use an HDMI cable. If the camcorder has a USB port, you may need a USB-to-USB cable or a USB-to-HDMI adapter.
3. Configure the settings: Once the physical connection is established, you may need to adjust the settings on both the camcorder and the Lenovo laptop. On the camcorder, ensure that it is set to output video through the connected port. On the Lenovo laptop, you may need to change the display settings to recognize the camcorder as a secondary display.
4. Test the connection: After making the necessary adjustments, test the connection by playing a video on the camcorder and checking if it displays on the Lenovo laptop. If the video does not appear, double-check the cable connections and settings.
Troubleshooting common issues when connecting a Lenovo laptop to a camcorder:
1. Incompatible ports: Ensure that the ports on both devices are compatible. If not, you may need to use an adapter or find an alternative method of connection.
2. Outdated drivers: Update the drivers for both the camcorder and the Lenovo laptop. Outdated drivers can cause compatibility issues and prevent a successful connection.
3. Insufficient power supply: Some camcorders require an external power source to function properly when connected to a laptop. Check if your camcorder needs an additional power supply and connect it accordingly.
4. Faulty cables: If the connection is unstable or the video quality is poor, try using different cables. Faulty cables can hinder the connection and result in a subpar viewing experience.
Remember to consult the user manuals for both the camcorder and the Lenovo laptop for specific instructions and troubleshooting tips.
