How To Connect Security Camera To Wifi Router ?
To connect a security camera to a WiFi router, you will need to follow these steps:
1. First, ensure that your security camera is compatible with WiFi connectivity.
2. Connect your security camera to a power source and turn it on.
3. Access the camera's settings and select the WiFi network you want to connect to.
4. Enter the WiFi network password when prompted.
5. Wait for the camera to connect to the WiFi network.
6. Once connected, you can access the camera's live feed from your smartphone or computer by downloading the camera's app or software.
7. Make sure that your WiFi router is within range of the camera and that it has a strong signal.
8. If you encounter any issues during the setup process, consult the camera's user manual or contact the manufacturer's customer support for assistance.
1、 Camera compatibility with Wi-Fi router
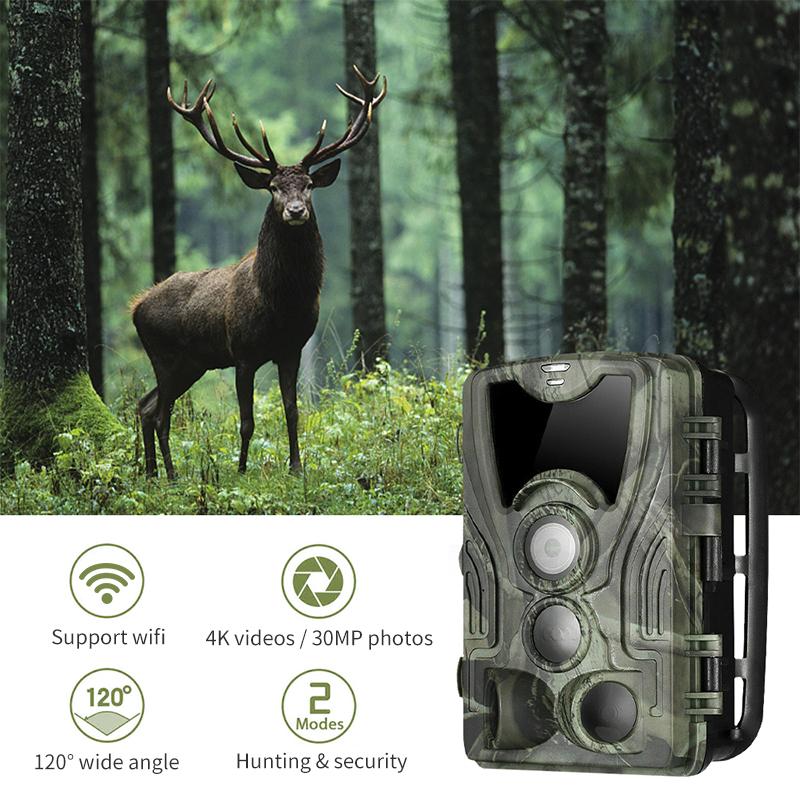
How to connect security camera to wifi router:
Connecting a security camera to a Wi-Fi router is a simple process that can be done in a few steps. First, ensure that the camera is compatible with your Wi-Fi router. Most modern security cameras are compatible with Wi-Fi routers, but it's always best to check the manufacturer's website for compatibility information.
Once you have confirmed compatibility, connect the camera to the power source and turn it on. Then, use the camera's mobile app or web interface to connect it to your Wi-Fi network. This typically involves selecting your Wi-Fi network from a list of available networks and entering your Wi-Fi password.
Once the camera is connected to your Wi-Fi network, you can access it remotely from your smartphone or computer. This allows you to view live footage, receive alerts when motion is detected, and even control the camera's settings.
It's important to note that the quality of the Wi-Fi signal can affect the performance of your security camera. If the camera is located far from the router or in an area with poor Wi-Fi coverage, you may experience connectivity issues. In this case, you may need to install a Wi-Fi extender or move the camera closer to the router.
Camera compatibility with Wi-Fi router:
When choosing a security camera, it's important to ensure that it is compatible with your Wi-Fi router. Most modern security cameras are designed to work with standard Wi-Fi routers, but it's always best to check the manufacturer's website for compatibility information.
Some cameras may require specific Wi-Fi standards, such as 802.11n or 802.11ac, to function properly. Others may require a certain frequency band, such as 2.4GHz or 5GHz. It's important to check these specifications before purchasing a camera to ensure that it will work with your existing Wi-Fi network.
It's also worth noting that some cameras may require additional setup steps, such as port forwarding or the creation of a dedicated Wi-Fi network. These steps can be more complex and may require some technical knowledge. If you're unsure about the compatibility of a camera with your Wi-Fi router, it's always best to consult with a professional installer or the manufacturer's support team.
2、 Wi-Fi network configuration on the camera
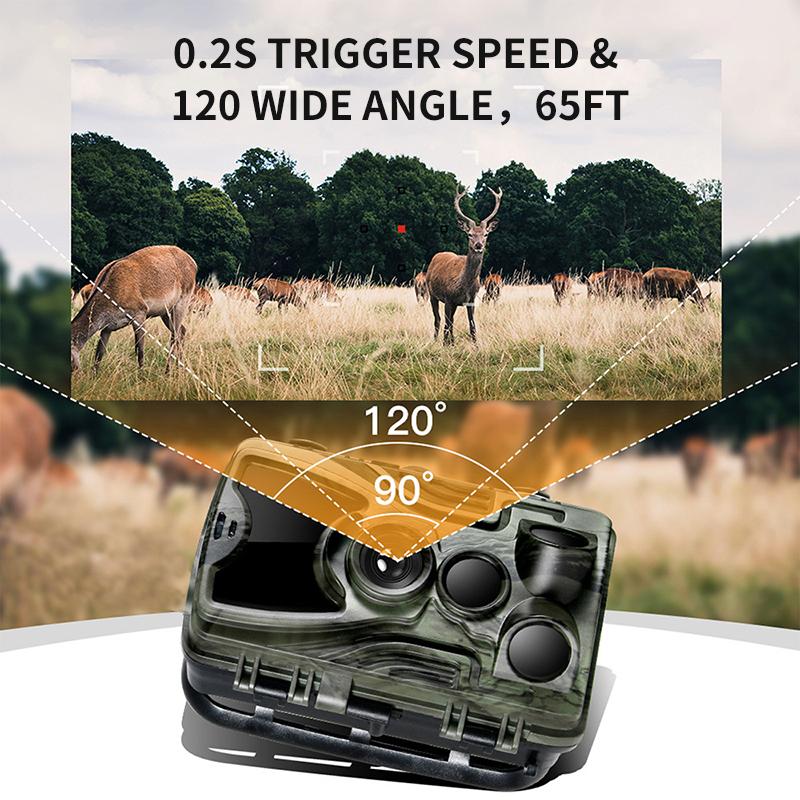
To connect a security camera to a Wi-Fi router, you need to follow a few simple steps. First, make sure that your camera is compatible with Wi-Fi connectivity. Then, connect the camera to a power source and turn it on. Next, access the camera's settings menu and select the Wi-Fi network configuration option.
From there, you will need to enter your Wi-Fi network name and password. Once you have entered this information, the camera should automatically connect to your Wi-Fi network. You can then test the connection by accessing the camera's live feed from your smartphone or computer.
It is important to note that the process of connecting a security camera to a Wi-Fi router may vary depending on the brand and model of your camera. Some cameras may require additional steps or settings adjustments to establish a stable connection.
Additionally, it is recommended to use a strong and secure Wi-Fi password to prevent unauthorized access to your camera's feed. You may also want to consider setting up a separate guest network for your camera to further enhance security.
Overall, connecting a security camera to a Wi-Fi router is a straightforward process that can greatly enhance the functionality and convenience of your home security system.
3、 Wi-Fi network configuration on the router
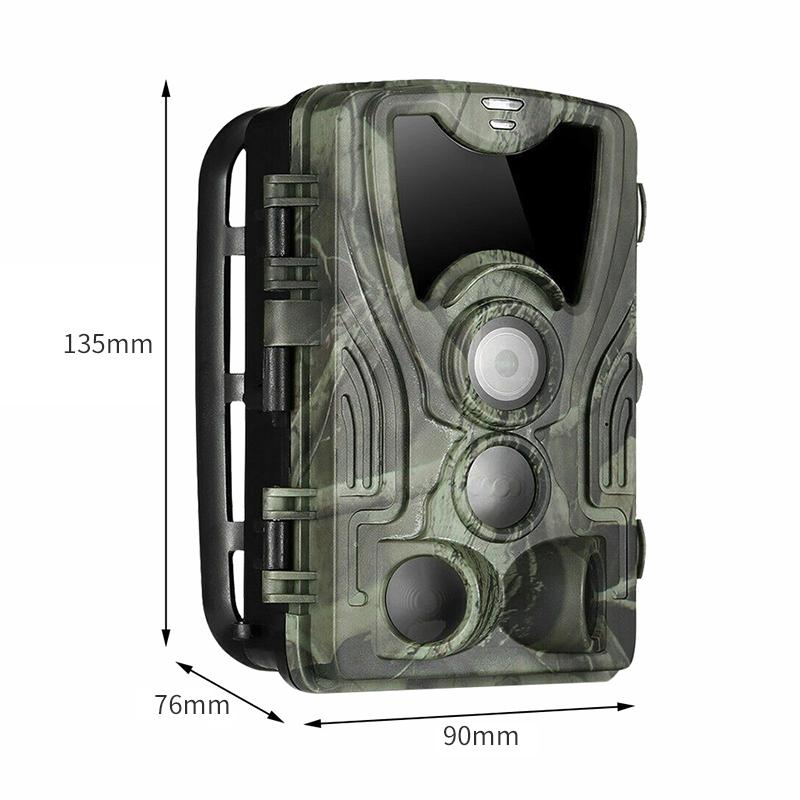
To connect a security camera to a Wi-Fi router, you need to follow a few simple steps. First, make sure that your security camera is compatible with Wi-Fi connectivity. Then, connect the camera to a power source and turn it on. Next, access the camera's settings and select the Wi-Fi network configuration option. From there, you will need to enter your Wi-Fi network name and password to connect the camera to your router.
It is important to note that the process of connecting a security camera to a Wi-Fi router may vary depending on the brand and model of your camera. Some cameras may require additional steps or settings to be configured before they can connect to your Wi-Fi network.
In addition, it is recommended to use a strong and secure Wi-Fi network password to prevent unauthorized access to your camera's feed. You may also want to consider setting up a separate guest network for your camera to further enhance security.
Overall, connecting a security camera to a Wi-Fi router is a simple process that can provide added convenience and security to your home or business. With the latest advancements in technology, many cameras now offer easy-to-use mobile apps that allow you to monitor your camera's feed from anywhere, at any time.
4、 Establishing a secure connection

How to connect security camera to wifi router:
Connecting a security camera to a wifi router is a simple process that can be done in a few steps. First, ensure that your security camera is compatible with wifi connectivity. Then, follow the manufacturer's instructions to connect the camera to your wifi network. This typically involves accessing the camera's settings menu and selecting the wifi network you want to connect to. You will need to enter your wifi network's password to complete the connection.
Once your security camera is connected to your wifi network, you can access it remotely using a smartphone or computer. This allows you to monitor your home or business from anywhere with an internet connection. However, it is important to ensure that your wifi network is secure to prevent unauthorized access to your security camera feed.
Establishing a secure connection:
To establish a secure connection between your security camera and wifi router, there are a few steps you can take. First, ensure that your wifi network is password-protected and that you are using a strong, unique password. This will prevent unauthorized access to your network and your security camera feed.
You can also enable encryption on your wifi network to further secure your connection. WPA2 encryption is the most secure option and is recommended by security experts. Additionally, you can enable two-factor authentication on your wifi network to add an extra layer of security.
Finally, it is important to keep your security camera's firmware up to date to ensure that any security vulnerabilities are patched. Check the manufacturer's website regularly for firmware updates and install them as soon as they become available. By following these steps, you can establish a secure connection between your security camera and wifi router and protect your home or business from unauthorized access.





(1)-200x200.jpg)
