How To Connect The Wireless Microphone ?
To connect a wireless microphone, first, ensure that the microphone and the receiver are both powered on and have fresh batteries. Then, locate the audio input on the receiver and connect the output of the wireless microphone to it using the appropriate cable or connector. Make sure the connection is secure. Once connected, you may need to adjust the frequency or channel settings on both the microphone and the receiver to ensure they are in sync. Finally, test the microphone by speaking or singing into it and check if the audio is being transmitted and received properly. Adjust the volume levels as needed.
1、 Understanding wireless microphone technology and components
To connect a wireless microphone, you will need to follow a few simple steps. Here's a guide on how to connect a wireless microphone:
1. Choose the right wireless microphone system: There are various types of wireless microphone systems available, such as handheld, lavalier, and headset. Select the one that suits your needs and ensure it operates on a frequency that is legal and compatible with your location.
2. Set up the receiver: The receiver is the device that captures the audio signal from the wireless microphone. Connect the receiver to your sound system or amplifier using the appropriate cables. Make sure to follow the manufacturer's instructions for proper setup.
3. Power on the receiver and microphone: Most wireless microphone systems have a power switch on both the receiver and the microphone. Turn on both devices and ensure they are within range of each other.
4. Pair the microphone with the receiver: Some wireless microphone systems require pairing or syncing the microphone with the receiver. Follow the instructions provided by the manufacturer to complete this process. It usually involves pressing a button on the receiver and the microphone simultaneously.
5. Test the microphone: Speak or sing into the microphone and check if the sound is being transmitted to the receiver. Adjust the volume levels on both the microphone and receiver to achieve the desired sound quality.
6. Troubleshooting: If you encounter any issues with the wireless microphone, such as interference or dropouts, try changing the frequency or moving closer to the receiver. Additionally, ensure that the batteries in both the microphone and receiver are fully charged or replaced if necessary.
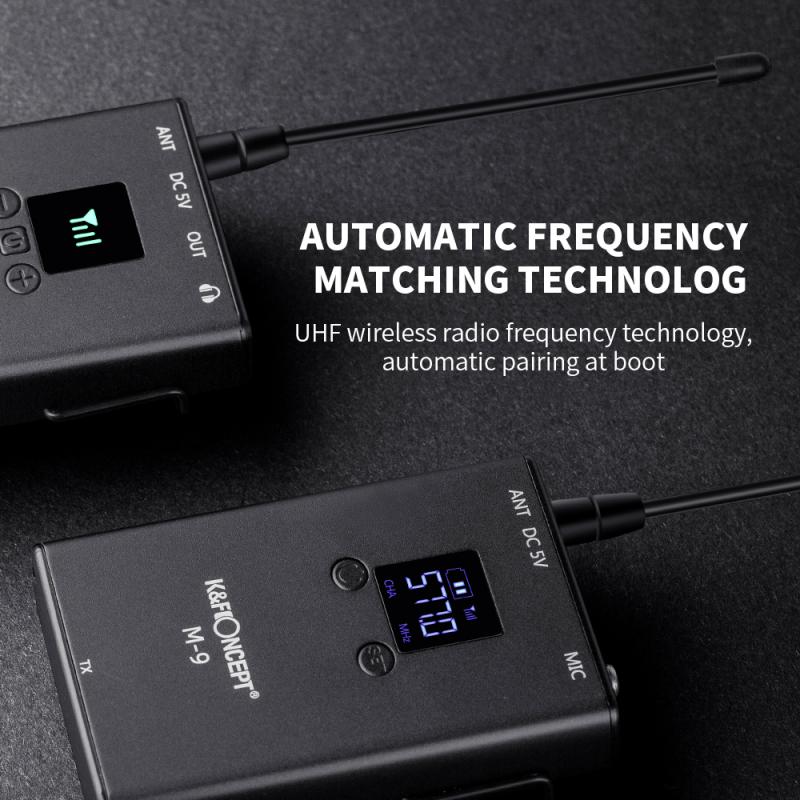
From a latest point of view, advancements in wireless microphone technology have led to improved audio quality, increased range, and better resistance to interference. Many wireless microphone systems now operate on digital frequencies, which provide clearer sound and greater reliability. Additionally, some systems offer features like automatic frequency selection and diversity reception, which further enhance performance and reduce the chances of signal dropouts.
Remember to always consult the user manual provided by the manufacturer for specific instructions on connecting and operating your wireless microphone system.
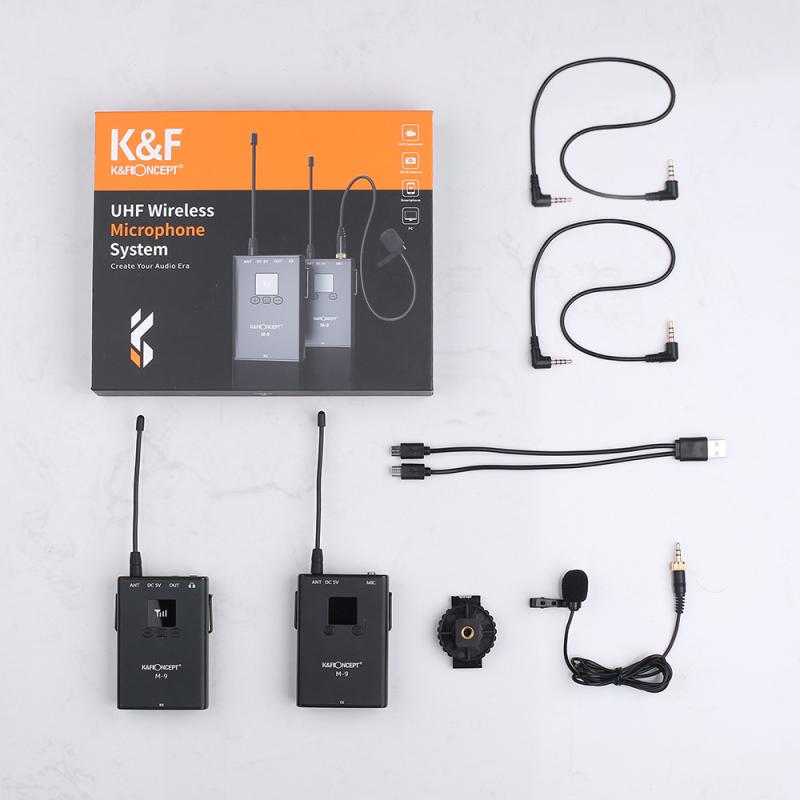
2、 Choosing the right wireless microphone system for your needs
To connect a wireless microphone, you will need to follow a few simple steps. Here's a guide on how to connect a wireless microphone system:
1. Choose the right wireless microphone system: Before connecting the microphone, it's important to select the right system for your needs. Consider factors such as frequency range, signal stability, and the number of channels required. Ensure compatibility with your audio equipment.
2. Power on the microphone and receiver: Start by turning on both the wireless microphone and the receiver. Most wireless microphones have a power button or switch on the body of the microphone itself, while the receiver usually has a power button on the front panel.
3. Set the frequency: If your wireless microphone system allows for frequency selection, ensure that both the microphone and receiver are set to the same frequency. This will ensure a stable and interference-free connection.
4. Connect the receiver to your audio equipment: Use an appropriate audio cable to connect the receiver to your audio equipment. This could be a mixer, amplifier, or directly to a sound system. Ensure that the cable is securely plugged into the output jack of the receiver and the input jack of your audio equipment.
5. Test the connection: Once everything is connected, test the wireless microphone by speaking or singing into it. Check if the audio is being transmitted and received clearly. Adjust the volume levels on both the microphone and receiver as needed.
In recent years, advancements in wireless microphone technology have led to improved signal stability, extended range, and reduced interference. Additionally, some wireless microphone systems now offer digital transmission, which provides higher audio quality and increased resistance to interference. When choosing a wireless microphone system, it's important to consider these latest advancements to ensure optimal performance for your specific needs.
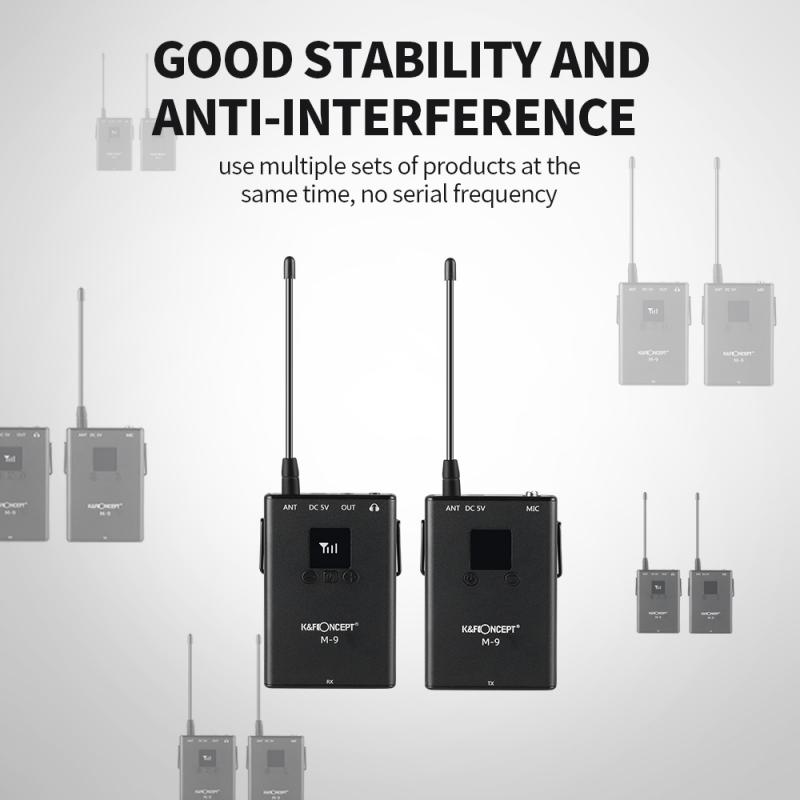
3、 Setting up and connecting the wireless microphone receiver
Setting up and connecting a wireless microphone receiver is a relatively straightforward process that can greatly enhance your audio recording or performance experience. Here's a step-by-step guide on how to connect a wireless microphone:
1. Choose the right wireless microphone system: There are various types of wireless microphone systems available, so make sure to select one that suits your needs and budget. Consider factors such as frequency range, signal stability, and audio quality.
2. Unbox and inspect the equipment: Carefully unpack the wireless microphone receiver and its accompanying components. Check for any visible damage or missing parts.
3. Connect the receiver to a power source: Most wireless microphone receivers require power to operate. Plug the receiver into a power outlet using the provided power adapter or batteries, if applicable.
4. Connect the receiver to an audio device: Depending on your setup, you may need to connect the receiver to an audio mixer, amplifier, or directly to a recording device. Use the appropriate cables (usually XLR or 1/4-inch) to establish the connection.
5. Turn on the receiver and microphone: Switch on the receiver and ensure it is set to the correct frequency channel. Then, power on the wireless microphone transmitter (usually a handheld microphone or bodypack) by pressing the designated button.
6. Pair the receiver and microphone: Most wireless microphone systems have a pairing process to establish a secure connection between the receiver and microphone. Follow the manufacturer's instructions to complete this step.
7. Test the audio: Speak or sing into the wireless microphone and check if the audio is being transmitted and received properly. Adjust the volume levels on the receiver and audio device as needed.
8. Fine-tune the settings: If necessary, adjust the frequency, gain, or other settings on the receiver to optimize the audio quality and minimize interference.
9. Monitor the battery life: Keep an eye on the battery life of both the receiver and microphone. Replace or recharge the batteries as needed to ensure uninterrupted operation.
10. Troubleshooting: If you encounter any issues with the wireless microphone system, consult the user manual or contact the manufacturer's customer support for assistance.
It's worth noting that technology is constantly evolving, and new advancements in wireless microphone systems may offer additional features or improvements in connectivity. Therefore, it's always a good idea to stay updated with the latest information and follow the manufacturer's guidelines for the specific wireless microphone system you are using.
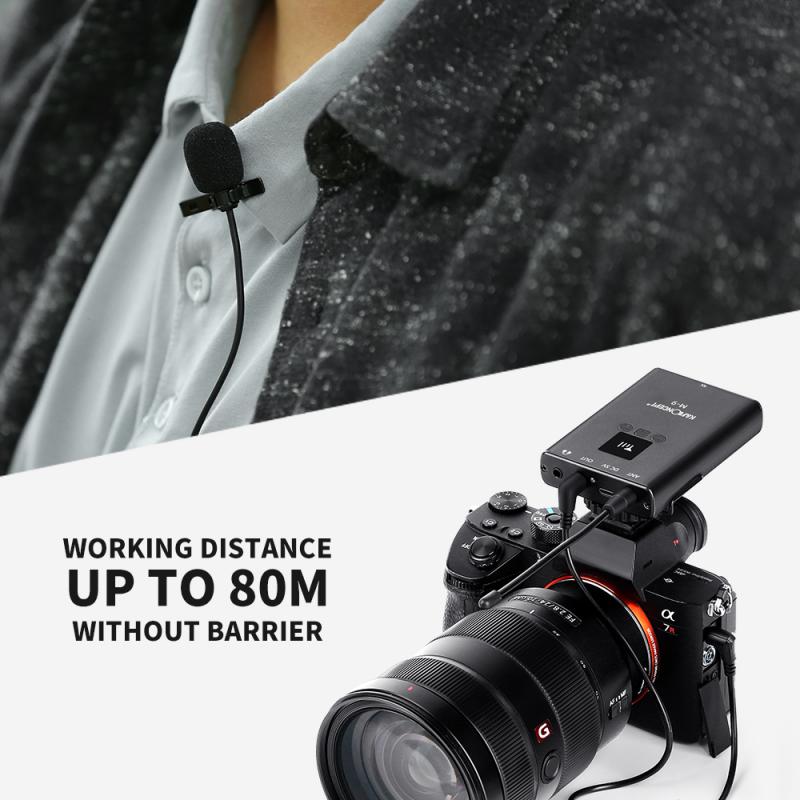
4、 Pairing the wireless microphone transmitter with the receiver
To connect a wireless microphone, you need to pair the wireless microphone transmitter with the receiver. Here's a step-by-step guide on how to do it:
1. Ensure that both the transmitter and receiver are powered off before starting the pairing process.
2. Locate the pairing button on both the transmitter and receiver. This button is usually labeled as "pair" or "sync."
3. Turn on the receiver and press the pairing button. The receiver will enter pairing mode, indicated by a blinking light or an on-screen prompt.
4. Turn on the transmitter and press its pairing button. The transmitter will also enter pairing mode, indicated by a blinking light or an on-screen prompt.
5. Wait for the receiver and transmitter to establish a connection. This process may take a few seconds or up to a minute, depending on the devices.
6. Once the connection is established, the blinking lights on both the transmitter and receiver will stop, indicating a successful pairing.
7. Test the microphone by speaking into it and checking if the audio is being transmitted to the receiver. Adjust the volume levels on both the transmitter and receiver as needed.
It's important to note that the specific steps may vary slightly depending on the brand and model of your wireless microphone system. Therefore, it's always recommended to refer to the user manual provided by the manufacturer for detailed instructions.
In recent years, advancements in wireless microphone technology have made the pairing process more streamlined and user-friendly. Many wireless microphone systems now feature automatic frequency selection and synchronization, eliminating the need for manual pairing. These systems use advanced algorithms to scan for the best available frequency and automatically pair the transmitter and receiver. This simplifies the setup process and ensures a reliable and interference-free connection.
Overall, connecting a wireless microphone involves pairing the transmitter with the receiver. By following the steps provided and referring to the user manual, you can easily set up your wireless microphone system and enjoy the freedom of wireless audio transmission.
