How To Connect Wifi Panorama Camera To Phone ?
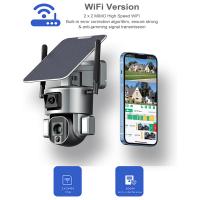
To connect a WiFi panorama camera to a phone, follow these steps:
1. Download the camera's app on your phone from the App Store or Google Play Store.
2. Turn on the camera and make sure it is in WiFi mode.
3. Open the app and select the option to connect to a camera.
4. Select the camera's WiFi network from the list of available networks on your phone.
5. Enter the password for the camera's WiFi network if prompted.
6. Once connected, you should be able to view and control the camera from your phone.
Note: The specific steps may vary depending on the brand and model of the camera and the app used to connect to it. It is recommended to refer to the camera's user manual or contact the manufacturer for further assistance.
1、 Download the camera's app on your phone
To connect your WiFi panorama camera to your phone, you will need to follow a few simple steps. The first step is to download the camera's app on your phone. This app will allow you to connect to your camera and control it remotely.
Once you have downloaded the app, you will need to turn on your camera and connect it to your WiFi network. This can usually be done by following the instructions in the camera's manual. Once your camera is connected to your WiFi network, you can open the app on your phone and connect to your camera.
In the app, you will be able to see a live view of what your camera is seeing. You can also control the camera's settings, such as the resolution and frame rate. You can also take photos and videos directly from the app.
The latest point of view is that many WiFi panorama cameras now come with advanced features, such as motion detection and night vision. These features can be controlled from the app, allowing you to customize your camera's settings to suit your needs.
Overall, connecting your WiFi panorama camera to your phone is a simple process that can be done in just a few minutes. With the app, you can control your camera remotely and capture stunning panoramic photos and videos.
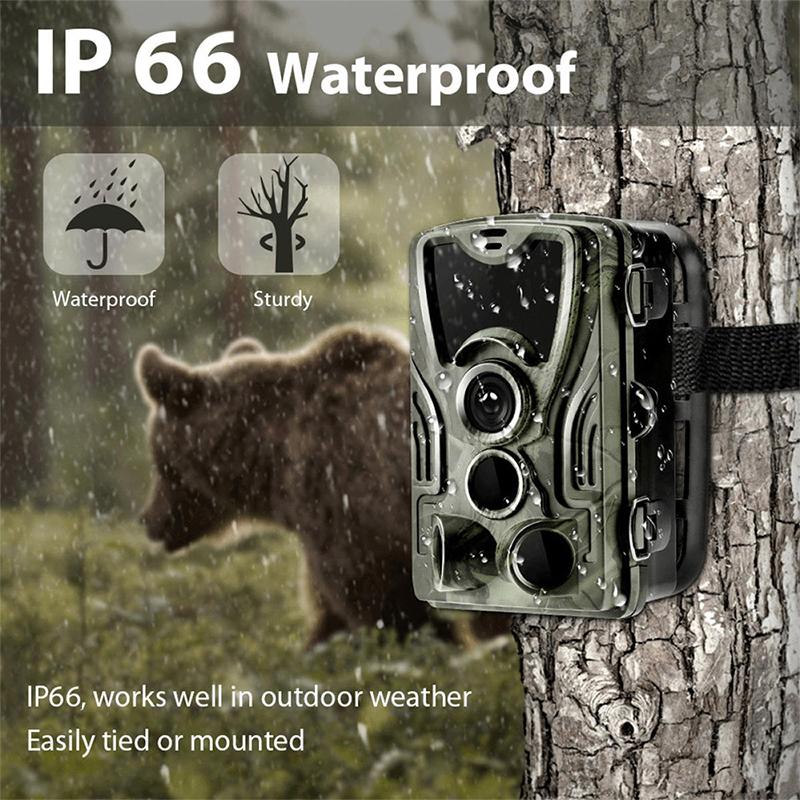
2、 Turn on the camera's wifi
To connect a WiFi panorama camera to your phone, you need to follow a few simple steps. The first step is to turn on the camera's WiFi. This can usually be done by pressing and holding the WiFi button on the camera until the WiFi indicator light starts flashing. Once the WiFi is turned on, you can proceed to connect your phone to the camera.
The next step is to open the WiFi settings on your phone and search for available WiFi networks. You should see the camera's WiFi network listed among the available networks. Select the camera's WiFi network and enter the password if prompted. The password is usually printed on the camera or included in the user manual.
Once you have connected your phone to the camera's WiFi network, you can open the camera app on your phone and start using it to control the camera. You can use the app to view live footage from the camera, adjust camera settings, and even take photos and videos remotely.
It's important to note that the exact steps for connecting a WiFi panorama camera to your phone may vary depending on the make and model of the camera. Be sure to consult the user manual or manufacturer's website for specific instructions. Additionally, some newer cameras may have additional features such as Bluetooth connectivity or NFC pairing, which can make the connection process even easier.
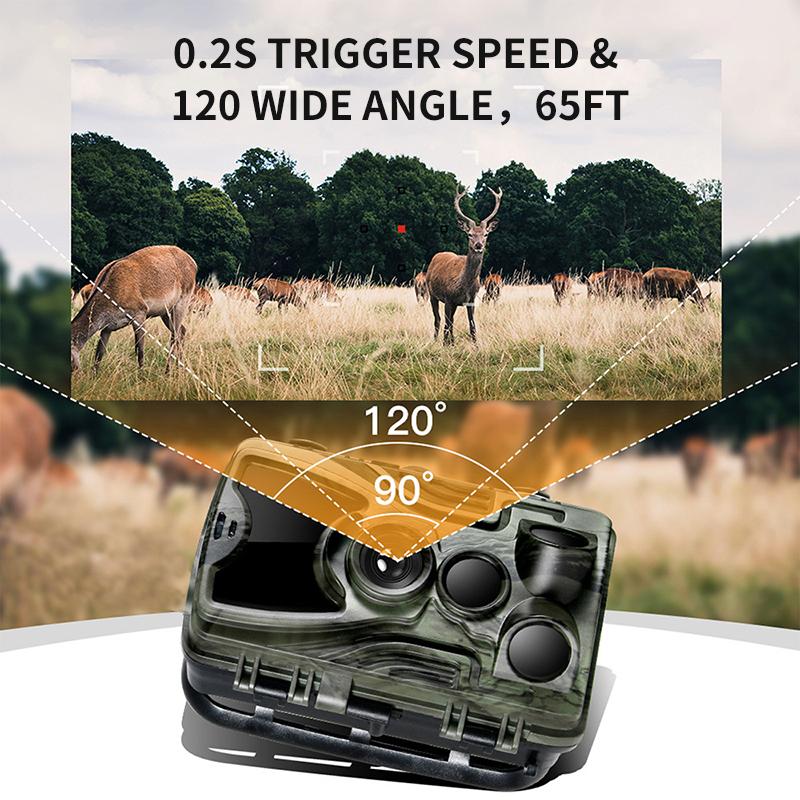
3、 Connect your phone to the camera's wifi network
To connect your wifi panorama camera to your phone, the first step is to ensure that your camera is turned on and in wifi mode. Next, you need to connect your phone to the camera's wifi network. This can be done by going to your phone's wifi settings and selecting the camera's network from the list of available networks. Once you have connected to the camera's network, you can open the camera app on your phone and start using it to take photos and videos.
It is important to note that some wifi panorama cameras may require you to download a specific app in order to connect to your phone. In this case, you will need to download the app from the app store and follow the instructions provided to connect your camera to your phone.
It is also worth noting that some wifi panorama cameras may have different wifi network names and passwords. You can usually find this information in the camera's user manual or by contacting the manufacturer's customer support.
In summary, connecting your wifi panorama camera to your phone is a simple process that involves connecting your phone to the camera's wifi network. With the right app and instructions, you can easily start using your camera to capture stunning panoramic photos and videos.

4、 Open the camera's app on your phone
To connect a WiFi panorama camera to your phone, you need to follow a few simple steps. First, make sure that your camera is turned on and that it is in WiFi mode. Then, open the camera's app on your phone. If you don't have the app installed, you can download it from the App Store or Google Play Store.
Once you have the app open, look for the WiFi settings. This may be located in the settings menu or in a separate WiFi section. Select the option to connect to a new WiFi network. Your camera should appear in the list of available networks. Select it and enter the password if prompted.
Once you are connected to the camera's WiFi network, you should be able to view the camera's live feed on your phone. You may need to adjust the camera's settings to get the best view. You can also use the app to control the camera's settings, such as zoom, focus, and exposure.
Overall, connecting a WiFi panorama camera to your phone is a simple process that can be done in just a few minutes. With the camera's app installed on your phone, you can easily view and control the camera from anywhere. Whether you're capturing panoramic landscapes or recording action-packed videos, a WiFi panorama camera is a great tool for any photographer or videographer.
