How To Connect Zwo Camera To Telescope ?
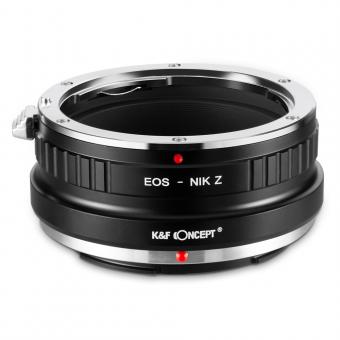
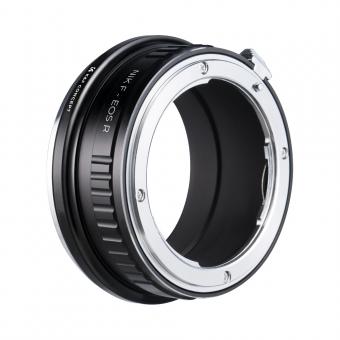
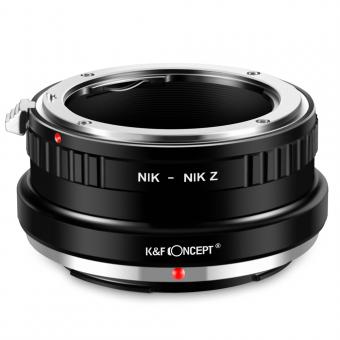
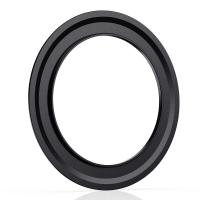
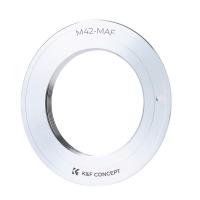
To connect a ZWO camera to a telescope, you will need a few accessories. First, you will need a T-ring specific to your camera model. This T-ring attaches to the camera body and allows it to be connected to a telescope. Next, you will need a T-adapter that matches the specific type of telescope you have. This adapter connects to the T-ring and allows the camera to be attached to the telescope's focuser. Once you have these accessories, you can simply attach the T-ring to the camera, then connect the T-adapter to the T-ring. Finally, attach the T-adapter to the telescope's focuser, and you should be ready to start imaging. It's important to note that the specific steps may vary depending on the camera and telescope models you are using, so it's always a good idea to consult the user manuals or online resources for your specific equipment.
1、 Choosing the Right Adapter for ZWO Camera and Telescope
To connect a ZWO camera to a telescope, you will need the right adapter. The specific adapter you need will depend on the type of camera and telescope you have. Here are some general steps to help you connect your ZWO camera to your telescope:
1. Determine the camera and telescope specifications: Check the camera and telescope manuals or specifications to find out the thread size and type of each device. This information will help you choose the correct adapter.
2. Choose the right adapter: Once you know the thread size and type, you can select the appropriate adapter. There are various adapters available, such as T-rings, nosepieces, and specific camera brand adapters. Consider factors like back focus requirements and compatibility with your camera and telescope.
3. Attach the adapter to the camera: Screw the adapter onto the camera's thread, ensuring a secure fit. Be careful not to overtighten, as it may damage the camera.
4. Connect the adapter to the telescope: Attach the other end of the adapter to the telescope's focuser or eyepiece holder. Again, make sure it is securely fastened.
5. Test and adjust: Once connected, test the setup by focusing on a distant object during the day. Adjust the focus and other settings as needed to achieve a clear image.
It's important to note that the latest point of view may involve advancements in adapter technology or specific recommendations for certain camera or telescope models. Therefore, it is always a good idea to consult the latest user manuals, online forums, or contact the manufacturer for the most up-to-date information and recommendations.
2、 Attaching the ZWO Camera to the Telescope
Attaching the ZWO Camera to the Telescope
To connect a ZWO camera to your telescope, follow these steps:
1. Mount the camera: Start by attaching the ZWO camera to the back of your telescope. Most telescopes have a standard 1.25-inch or 2-inch eyepiece holder. The ZWO camera typically comes with a nosepiece that fits into this holder. Insert the nosepiece into the holder and secure it in place.
2. Connect the camera to the computer: Use a USB cable to connect the ZWO camera to your computer. Make sure the camera is properly recognized by your computer's operating system. You may need to install the appropriate drivers and software provided by ZWO.
3. Set up the imaging software: Install and open the imaging software that is compatible with your ZWO camera. Popular options include SharpCap, FireCapture, and AstroDSLR. Configure the software to recognize and control the camera.
4. Focus the telescope: Use the focusing knobs on your telescope to achieve a sharp image. You can use the live view feature in the imaging software to assist with focusing. Adjust the focus until the image appears clear and crisp.
5. Capture images: Once the camera is connected and focused, you can start capturing images. Experiment with different exposure settings, gain levels, and filters to achieve the desired results. The imaging software will allow you to control these settings and save the captured images.
It's worth noting that ZWO cameras are popular among astrophotographers due to their high sensitivity and low noise performance. They are commonly used for capturing deep-sky objects, planetary imaging, and autoguiding. Always refer to the camera's user manual and the specific instructions provided by ZWO for the best results.
3、 Adjusting Camera Settings for Telescope Imaging
To connect a ZWO camera to a telescope, you will need a few accessories and follow a specific procedure. Here's a step-by-step guide on how to connect a ZWO camera to a telescope:
1. Mount the ZWO camera onto the telescope: Attach the camera to the telescope's focuser using a T-ring or a specific adapter designed for your telescope model. Make sure it is securely fastened.
2. Connect the camera to your computer: Use a USB cable to connect the ZWO camera to your computer. Ensure that the camera is properly recognized by your computer's operating system.
3. Install the necessary software: Download and install the appropriate software for your ZWO camera model. Popular options include ZWO's own ASIStudio, SharpCap, or FireCapture. These software packages allow you to control the camera settings and capture images.
4. Adjust camera settings: Open the software and access the camera settings. Adjust the exposure time, gain, and other parameters according to your imaging requirements. It is recommended to start with shorter exposure times and lower gain settings to avoid overexposure.
5. Focus the telescope: Use the telescope's focuser to achieve a sharp focus on your target object. Some software packages offer live-view capabilities, allowing you to monitor the focus in real-time.
6. Capture images: Once you have set up the camera and achieved focus, you can start capturing images. Experiment with different exposure times and gain settings to find the optimal balance between image quality and noise reduction.
It's worth noting that the latest point of view in astrophotography is the use of dedicated astrophotography cameras like ZWO's ASI series. These cameras are specifically designed for capturing high-quality images of celestial objects and offer advanced features such as low noise sensors, high dynamic range, and cooling systems to reduce thermal noise. They are widely used by amateur and professional astrophotographers alike.
4、 Focusing Techniques for ZWO Camera and Telescope Connection
To connect a ZWO camera to a telescope, you will need a few essential components and follow a specific procedure. Here is a step-by-step guide on how to connect a ZWO camera to a telescope:
1. Mount the ZWO camera onto the telescope: Most ZWO cameras come with a standard T-thread or C-thread adapter. Attach the appropriate adapter to the camera and then screw it onto the telescope's focuser or the back of the telescope.
2. Connect the camera to a computer: Use a USB cable to connect the ZWO camera to your computer. Ensure that you have the latest drivers and software installed for the camera to work properly.
3. Install the necessary software: ZWO provides their own software called "ASCOM" or "ZWO ASI" for controlling the camera. Download and install the software from the ZWO website.
4. Set up the camera settings: Open the software and select the appropriate camera model. Adjust the camera settings such as exposure time, gain, and frame rate according to your requirements.
5. Focus the telescope: Use the telescope's focuser to achieve a sharp focus on the desired object. You can use the software's live view feature to assist in focusing.
6. Capture images or videos: Once the camera is connected and focused, you can start capturing images or videos using the software. Experiment with different exposure times and gain settings to achieve the desired results.
It is important to note that the specific steps may vary slightly depending on the model of the ZWO camera and the telescope being used. Always refer to the camera and telescope manuals for detailed instructions.
In recent years, ZWO cameras have gained popularity among astrophotographers due to their high sensitivity and low noise performance. They offer advanced features such as cooling systems, high frame rates, and large sensor sizes, making them suitable for capturing detailed images of celestial objects. Additionally, ZWO regularly releases firmware updates and software improvements, so it is advisable to check for the latest updates to enhance the camera's performance and compatibility with different telescopes.
