How To Correctly Use A Lens Adapter ?
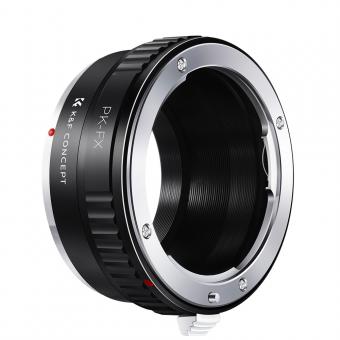
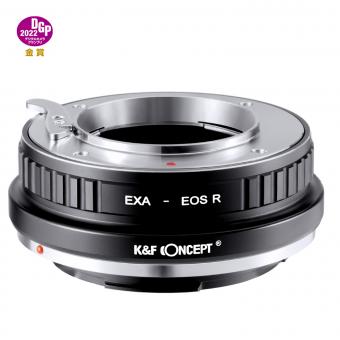
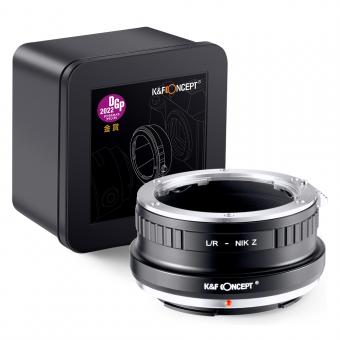
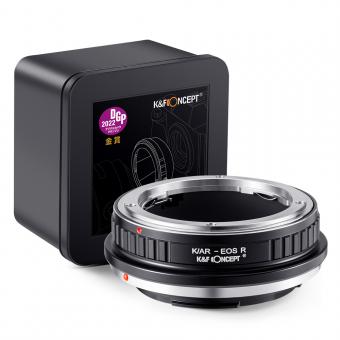
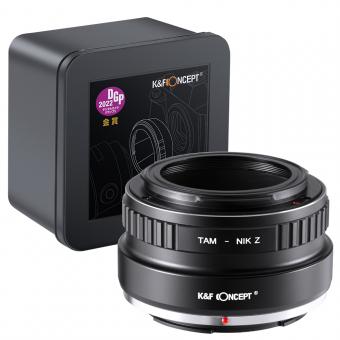
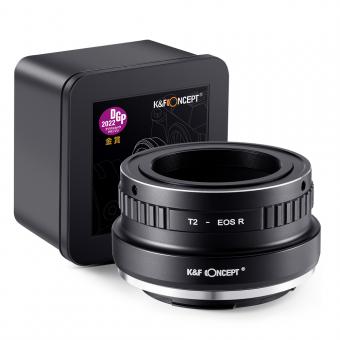
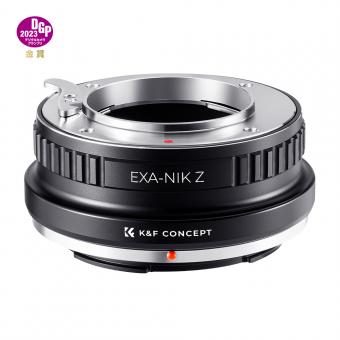
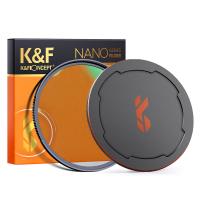
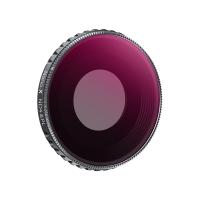
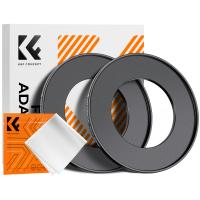
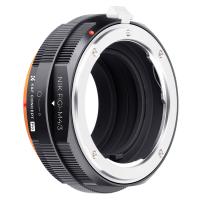
To correctly use a lens adapter, first ensure that the adapter is compatible with both your camera body and the lens you want to attach. Attach the lens to one end of the adapter, making sure it is securely mounted. Then, attach the other end of the adapter to your camera body, aligning the lens mount with the camera mount. Once properly aligned, rotate the adapter until it locks into place. After attaching the adapter, you can use the lens as you would with any other lens on your camera. Keep in mind that using a lens adapter may affect autofocus capabilities, aperture control, and image stabilization, depending on the specific adapter and lens combination.
1、 Understanding lens compatibility and mount types for adapters.
Understanding lens compatibility and mount types for adapters is crucial when it comes to correctly using a lens adapter. A lens adapter is a device that allows you to attach a lens with one mount type to a camera body with a different mount type. This is particularly useful when you want to use lenses from different camera systems or older lenses on modern camera bodies.
To correctly use a lens adapter, you need to consider the following points:
1. Mount Types: Identify the mount type of your camera body and the lens you want to use. There are various mount types such as Canon EF, Nikon F, Sony E, etc. Ensure that the lens adapter you choose supports the specific mount types involved.
2. Autofocus and Aperture Control: Some lens adapters support autofocus and aperture control, while others are manual only. If you require autofocus or electronic aperture control, make sure the adapter you select has these features. However, it's important to note that not all lens features may be fully functional with an adapter.
3. Crop Factor: When using a lens adapter, consider the crop factor. For example, if you are using a full-frame lens on a camera with an APS-C sensor, the effective focal length will be multiplied. This can affect your field of view and depth of field.
4. Quality and Compatibility: Invest in a high-quality lens adapter from a reputable brand to ensure proper fit and compatibility. Cheaper adapters may not provide a secure connection or may introduce optical distortions.
5. Research and Reviews: Before purchasing a lens adapter, do thorough research and read reviews from other photographers who have used the same combination of lens and adapter. This can give you insights into any potential issues or limitations.
It's important to note that while lens adapters can be a great tool for expanding your lens options, they may not always provide the same level of performance as native lenses. Some adapters may introduce slight image quality degradation or slower autofocus speeds. Therefore, it's recommended to test and familiarize yourself with the adapter before important shoots.
In conclusion, understanding lens compatibility and mount types for adapters is essential for correctly using a lens adapter. Consider the mount types, autofocus capabilities, crop factor, quality, and compatibility of the adapter to ensure optimal results.
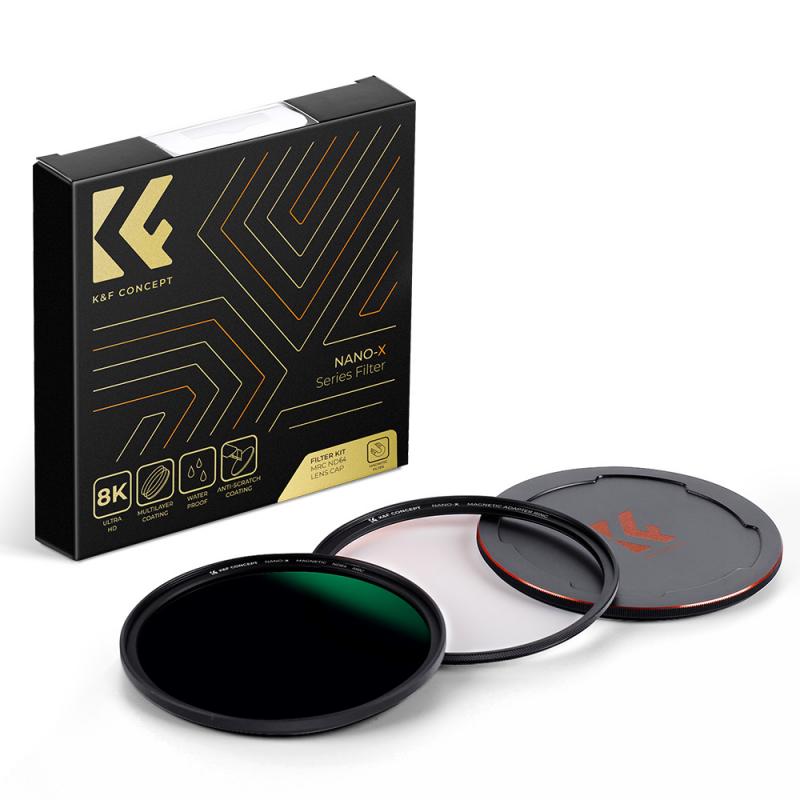
2、 Properly attaching and securing the lens adapter to the camera.
Properly attaching and securing a lens adapter to your camera is crucial to ensure optimal performance and avoid any potential damage. Here is a step-by-step guide on how to correctly use a lens adapter:
1. Choose the right lens adapter: Make sure to select a lens adapter that is compatible with both your camera and the lens you intend to use. Different camera brands and lens mounts require specific adapters.
2. Remove the lens from the camera: Before attaching the adapter, remove the lens currently attached to your camera. This is usually done by pressing the lens release button and twisting the lens counterclockwise.
3. Align the lens adapter: Line up the lens adapter with the camera's lens mount. The adapter should fit snugly and align properly with the camera body.
4. Attach the adapter: Gently twist the lens adapter clockwise onto the camera's lens mount. Be careful not to force it or cross-thread it, as this can damage both the adapter and the camera.
5. Secure the adapter: Once the adapter is attached, ensure it is securely fastened. Some adapters have a locking mechanism or a screw that needs to be tightened to prevent any movement.
6. Attach the lens: Now, you can attach the lens to the other end of the adapter. Align the lens with the adapter's mount and twist it clockwise until it locks into place.
7. Test and adjust: After attaching the lens, test the functionality by adjusting the focus, aperture, and other settings. Ensure that the lens functions properly and that there are no issues with the adapter.
It's important to note that while lens adapters allow you to use different lenses on your camera, they may not support all features or autofocus capabilities. Additionally, using a lens adapter may affect the image quality or introduce additional vignetting or distortion. Therefore, it's recommended to do thorough research and read reviews before purchasing a lens adapter to ensure compatibility and performance.
In conclusion, properly attaching and securing the lens adapter to your camera is essential for a successful and safe adaptation. Following these steps will help you correctly use a lens adapter and expand your lens options for creative photography.
3、 Adjusting focus and aperture settings when using a lens adapter.
When using a lens adapter, it is important to understand how to correctly use it in order to achieve optimal results. Here are some guidelines to follow:
1. Choose the right lens adapter: Ensure that the lens adapter you are using is compatible with both your camera body and the lens you want to attach. Different camera systems may require specific adapters, so make sure to do your research before purchasing one.
2. Attach the lens adapter: Carefully align the lens adapter with the camera body and lens mount, and securely attach it. Be gentle to avoid damaging any of the components.
3. Adjust focus: With a lens adapter, autofocus may not work or may be slower than usual. Therefore, it is recommended to switch to manual focus mode. Use the focus ring on the lens to adjust the focus until the subject appears sharp in the viewfinder or on the camera's LCD screen.
4. Adjust aperture settings: Depending on the lens adapter, you may need to manually adjust the aperture settings on the lens itself. Some adapters have a built-in aperture control ring, while others require you to set the aperture on the lens before attaching it to the adapter. Refer to the adapter's instructions or consult the manufacturer's website for specific details.
5. Test and experiment: Once you have attached the lens adapter and adjusted the focus and aperture settings, take some test shots to see how the images turn out. Experiment with different settings to find the best combination for your desired outcome.
It is worth noting that lens adapters can vary in terms of quality and functionality. Some adapters may introduce additional optical elements, which can affect image quality. Therefore, it is advisable to invest in a high-quality adapter to minimize any potential drawbacks.
In conclusion, correctly using a lens adapter involves choosing the right adapter, attaching it securely, adjusting focus manually, and setting the aperture appropriately. By following these guidelines, you can effectively utilize a lens adapter to expand your lens options and capture stunning photographs.
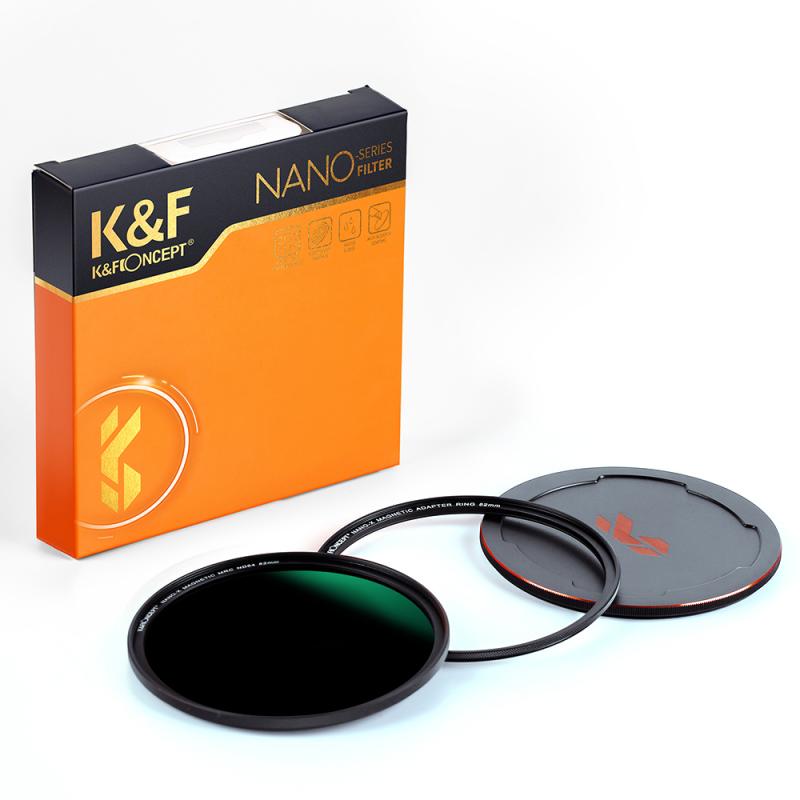
4、 Overcoming potential limitations and challenges with lens adapters.
Overcoming potential limitations and challenges with lens adapters.
Lens adapters are a valuable tool for photographers and videographers, allowing them to use lenses from different camera systems on their own cameras. However, using a lens adapter correctly can be a bit tricky, and there are some potential limitations and challenges that users may face. Here are some tips to help you overcome these obstacles and make the most of your lens adapter.
1. Research and choose the right adapter: Before purchasing a lens adapter, it is crucial to do thorough research and ensure compatibility between your camera and the lens you want to use. Different adapters are designed for specific camera systems, so make sure you select the right one.
2. Understand the limitations: Lens adapters may not provide full functionality when used with certain lenses. Features like autofocus, image stabilization, and electronic aperture control may be limited or completely unavailable. It is essential to be aware of these limitations and adjust your shooting style accordingly.
3. Manual focusing: With many lens adapters, manual focusing becomes the primary method of achieving sharp images. Practice and familiarize yourself with manual focusing techniques to ensure accurate and precise focus.
4. Consider image quality: While lens adapters allow you to use lenses from different systems, it is important to note that image quality may be affected. Some adapters can introduce additional optical elements, which may degrade image sharpness or introduce aberrations. Research and invest in high-quality adapters to minimize these issues.
5. Experiment and adapt: Lens adapters offer creative opportunities by allowing you to use lenses with unique characteristics on your camera. Experiment with different lenses and adapt to the challenges that arise. Embrace the creative possibilities that lens adapters provide.
In conclusion, using a lens adapter correctly requires careful research, understanding of limitations, and adaptation to challenges. By following these tips, you can overcome potential obstacles and make the most of your lens adapter, expanding your creative possibilities in photography and videography.
