How To Determine Which Nd Filter To Use ?
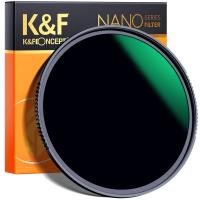
To determine which ND filter to use, consider the lighting conditions and the effect you want to achieve in your photography or videography. ND filters come in different strengths, typically measured in stops, such as ND2, ND4, ND8, etc. The higher the number, the darker the filter and the more light it blocks.
Start by assessing the amount of light available in your shooting environment. If it is very bright, you may need a stronger ND filter to reduce the amount of light entering the lens. On the other hand, if the lighting conditions are relatively low, a lighter ND filter may be sufficient.
Additionally, consider the effect you want to achieve. ND filters are commonly used to create motion blur in long exposures, to achieve a shallow depth of field in bright conditions, or to capture smooth video footage. The specific effect you desire will help determine the appropriate strength of the ND filter.
Experimentation is key when selecting an ND filter. Try different strengths and observe the results to find the filter that best suits your needs for a particular shooting situation.
1、 Understanding ND filter strengths and their light reduction levels.
Understanding ND filter strengths and their light reduction levels is crucial for determining which ND filter to use in different photography situations. ND filters, or neutral density filters, are essential tools for controlling the amount of light that enters the camera lens without affecting the color or contrast of the image.
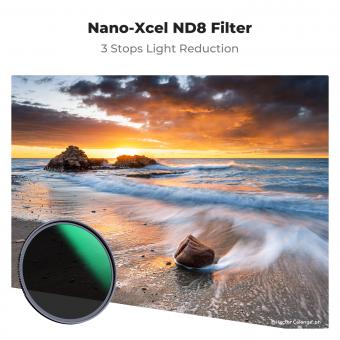
To determine which ND filter to use, you need to consider the amount of light reduction required for the specific shooting conditions. ND filters come in various strengths, typically measured in stops. A stop refers to a halving or doubling of the amount of light reaching the camera sensor. For example, a 1-stop ND filter reduces the light by half, while a 3-stop ND filter reduces the light by eight times.
The choice of ND filter strength depends on the desired effect and the shooting conditions. In bright daylight, a higher ND filter strength, such as 6 or 10 stops, may be necessary to achieve longer exposure times for creative effects like motion blur in water or clouds. In low light situations, a lower ND filter strength, such as 1 or 2 stops, may be sufficient to control the exposure without over-darkening the image.
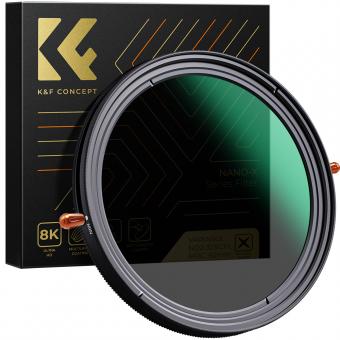
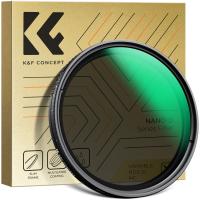
It is important to note that the latest point of view in ND filter selection is the use of variable ND filters. These filters allow you to adjust the light reduction level by rotating the filter, providing a range of stops in a single filter. Variable ND filters offer convenience and flexibility, especially in situations where lighting conditions may change rapidly.
In conclusion, understanding the light reduction levels of ND filters and their strengths is essential for determining which ND filter to use. Consider the shooting conditions, desired effect, and the convenience of variable ND filters to make an informed decision.
2、 Evaluating the desired effect and exposure requirements for your shot.
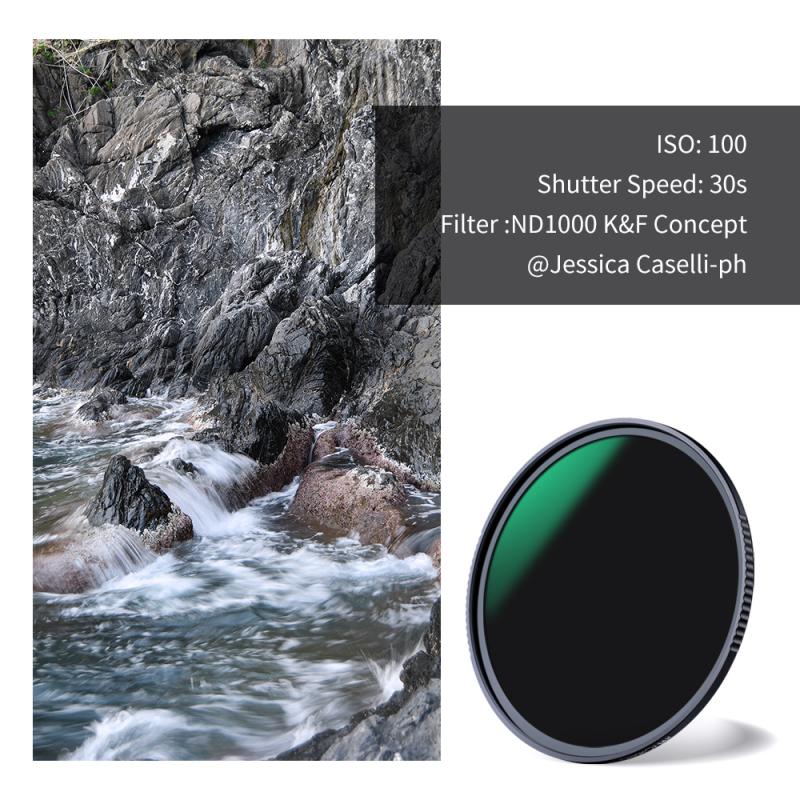
To determine which ND filter to use, there are a few factors you need to consider. The first step is evaluating the desired effect you want to achieve in your shot. ND filters are primarily used to control the amount of light entering the camera, allowing you to achieve specific creative effects. For example, if you want to capture a long exposure shot of a waterfall, you would need a stronger ND filter to reduce the amount of light and create the desired smooth, flowing effect.
The next consideration is exposure requirements. ND filters are also used to balance the exposure in bright lighting conditions. If you are shooting in a bright environment and want to maintain a shallow depth of field or use a slower shutter speed, you will need to use an ND filter to reduce the amount of light reaching the camera sensor.
When it comes to choosing the specific strength of the ND filter, it depends on the lighting conditions and the effect you want to achieve. ND filters come in different densities, usually measured in stops. A 1-stop ND filter reduces the light by half, while a 10-stop ND filter reduces the light by a factor of 1,000. It's important to note that the higher the density, the darker the filter, and the longer the exposure time required.
The latest point of view in determining which ND filter to use involves considering the dynamic range of your camera. Some modern cameras have a wide dynamic range, allowing you to capture a greater range of tones in a single exposure. This means you may not always need the strongest ND filter available, as you can rely on the camera's dynamic range to handle high contrast scenes.
In conclusion, evaluating the desired effect and exposure requirements for your shot is crucial in determining which ND filter to use. Additionally, considering the dynamic range of your camera can help you make more informed decisions. Experimentation and practice will ultimately help you understand the different effects achieved with various ND filters and enable you to make the best choice for each specific situation.
3、 Considering the specific lighting conditions and environment.
Determining which ND filter to use depends on various factors, including the specific lighting conditions and environment in which you are shooting. ND filters are primarily used to reduce the amount of light entering the camera, allowing for longer exposures or wider apertures in bright conditions. Here's how you can determine the appropriate ND filter to use:
1. Assess the lighting conditions: Start by evaluating the intensity of the light in your shooting environment. If it's extremely bright, such as during midday or in direct sunlight, you will likely need a stronger ND filter to reduce the light effectively. On the other hand, if the lighting is less intense, a lighter ND filter may suffice.
2. Determine the desired effect: Consider the creative effect you want to achieve. If you aim to capture motion blur in a waterfall or a moving subject, you will need a stronger ND filter to allow for longer exposures. Conversely, if you want to shoot with a wide aperture in bright conditions, a lighter ND filter will be sufficient.
3. Experiment and test: It's essential to experiment with different ND filters and assess the results. Start with a mid-range ND filter, such as ND4 or ND8, and take test shots to evaluate the exposure and desired effect. If the image is still overexposed, try a stronger ND filter, such as ND16 or ND32, until you achieve the desired exposure.
4. Consider the latest advancements: Keep in mind that advancements in technology have led to the development of variable ND filters. These filters allow you to adjust the strength of the ND effect by rotating the filter, providing greater flexibility in various lighting conditions.
Remember, the choice of ND filter ultimately depends on your specific shooting requirements and the effect you want to achieve. By considering the lighting conditions, desired effect, and experimenting with different filters, you can determine the appropriate ND filter to use for your photography needs.
4、 Matching the ND filter strength to the camera's ISO and aperture settings.
Determining which ND filter to use involves matching the filter strength to the camera's ISO and aperture settings. The purpose of an ND filter is to reduce the amount of light entering the camera, allowing for longer exposures or wider apertures in bright conditions. By matching the filter strength to the camera's settings, you can achieve the desired exposure without overexposing the image.
To determine the appropriate ND filter strength, start by assessing the lighting conditions. If it is a bright sunny day, you will likely need a stronger ND filter to reduce the amount of light. Conversely, if it is a cloudy or low-light situation, a weaker ND filter may be sufficient.
Next, consider the camera's ISO and aperture settings. If you are shooting with a low ISO and a wide aperture, such as f/2.8, you may require a stronger ND filter to compensate for the larger amount of light entering the camera. On the other hand, if you are using a higher ISO or a narrower aperture, such as f/11, a weaker ND filter may be suitable.
It is important to note that the specific filter strength required may vary depending on personal preference and the desired effect. Some photographers prefer to slightly underexpose their images and adjust the exposure in post-processing, while others aim for a perfectly exposed image in-camera.
Additionally, advancements in camera technology, such as improved dynamic range and low-light performance, may influence the choice of ND filter strength. It is always recommended to experiment with different filter strengths and settings to achieve the desired outcome.
In conclusion, determining the appropriate ND filter to use involves matching the filter strength to the camera's ISO and aperture settings. However, personal preference, lighting conditions, and advancements in camera technology should also be considered. Experimentation and practice will ultimately help you find the perfect ND filter for your specific needs.
