How To Do Time Lapse On Camera ?
To create a time-lapse on a camera, you can follow these general steps:
1. Set up your camera on a stable surface or tripod.
2. Adjust the camera settings to your desired exposure, focus, and white balance.
3. Determine the interval at which you want to capture photos. This will depend on the subject and desired effect.
4. Set your camera to the time-lapse mode or use an intervalometer if your camera doesn't have this feature built-in.
5. Start the time-lapse recording and let the camera capture a series of photos at the specified interval.
6. Once you have captured enough photos, transfer them to your computer for post-processing.
7. Use software like Adobe Premiere Pro, Final Cut Pro, or other time-lapse editing tools to compile the photos into a video sequence.
8. Adjust the playback speed and add any desired effects or music to enhance the time-lapse video.
9. Export the final video in your preferred format and share it with others.
Remember to consult your camera's manual for specific instructions on using the time-lapse feature, as the steps may vary depending on the camera model.
1、 Camera Settings for Time Lapse Photography
Camera Settings for Time Lapse Photography
Time lapse photography is a technique that allows you to capture the passage of time in a condensed format. It can be used to create stunning videos of sunsets, cityscapes, or even the blooming of a flower. To achieve the best results, it is important to set up your camera correctly. Here are some camera settings to consider when shooting a time lapse:
1. Interval: The interval determines how often the camera takes a photo. This will depend on the subject and the desired effect. For example, if you want to capture a sunset, you may set the interval to a few seconds. If you are shooting a longer event, such as the blooming of a flower, you may set the interval to a few minutes.
2. Exposure: It is important to set the exposure correctly to ensure consistent lighting throughout the time lapse. You can use manual mode to set the exposure settings, or use auto exposure lock to lock in the exposure settings for the duration of the time lapse.
3. Aperture: The aperture determines the depth of field and the amount of light entering the camera. For most time lapses, it is recommended to use a smaller aperture (higher f-stop number) to ensure a larger depth of field and sharper images.
4. ISO: The ISO setting determines the camera's sensitivity to light. It is best to use a low ISO setting to minimize noise in the images.
5. White Balance: Set the white balance according to the lighting conditions. You can use auto white balance or manually adjust it to achieve the desired effect.
6. Focus: Depending on the subject, you can choose to use manual focus or autofocus. If using autofocus, make sure to lock the focus before starting the time lapse to prevent the camera from refocusing during the sequence.
7. Stabilization: Use a tripod or other stable support to keep the camera steady throughout the time lapse. This will ensure smooth and consistent footage.
In addition to these settings, it is important to plan your time lapse carefully. Consider factors such as the duration of the event, the desired playback speed, and the final output format. Experiment with different settings and techniques to achieve the best results.
2、 Interval and Duration for Time Lapse Sequences
To do a time lapse on a camera, you will need to set the interval and duration for the time lapse sequence. Here's how you can do it:
1. Set up your camera on a stable tripod or mount it securely to avoid any movement during the time lapse.
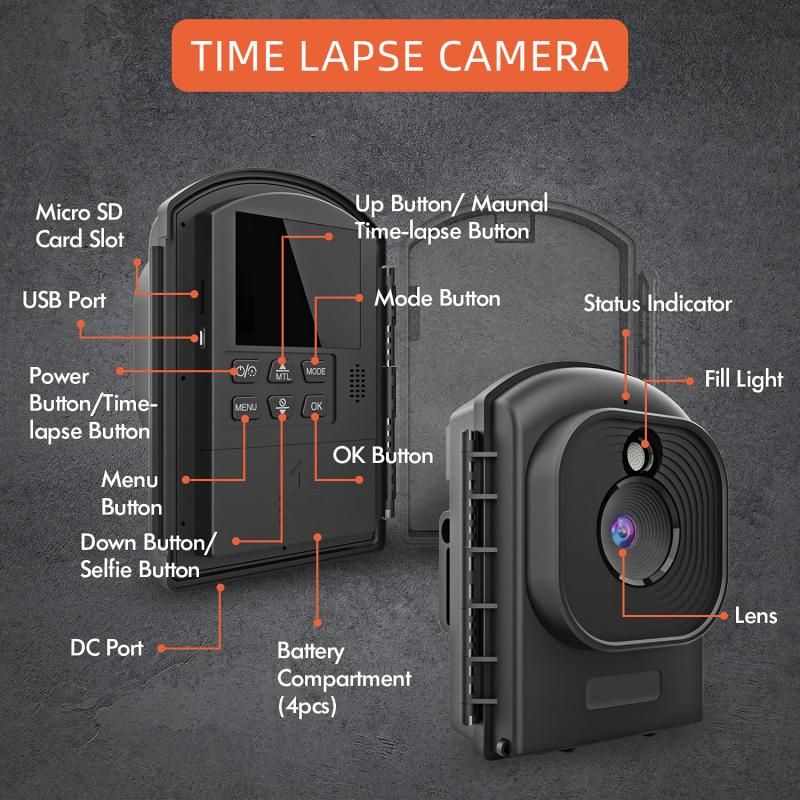
2. Access the camera's menu and navigate to the time lapse settings. This may vary depending on the camera model, so refer to your camera's manual for specific instructions.
3. Select the interval at which you want the camera to take photos. The interval determines how much time will pass between each photo. For example, if you set the interval to 5 seconds, the camera will take a photo every 5 seconds.
4. Determine the duration of your time lapse sequence. This is the total length of time you want to capture in your time lapse. It could be a few minutes, hours, or even days, depending on your subject and desired effect.
5. Calculate the number of photos needed for your desired duration. Divide the total duration by the interval to get the number of photos. For example, if you want a 1-hour time lapse with a 5-second interval, you would need 720 photos (60 minutes x 60 seconds / 5 seconds).
6. Start the time lapse sequence and let the camera capture the photos automatically. Make sure you have enough battery power and memory card space to accommodate the entire sequence.
7. Once the time lapse is complete, you can transfer the photos to your computer and use software like Adobe Premiere Pro or LRTimelapse to create a video from the image sequence.
It's worth noting that some newer camera models have built-in time lapse features that simplify the process. These cameras may offer additional settings like exposure smoothing or automatic exposure adjustments to enhance the final result.
3、 Choosing the Right Subject for Time Lapse Photography
Choosing the Right Subject for Time Lapse Photography
Time lapse photography is a fascinating technique that allows you to capture the passage of time in a condensed format. It can be used to create stunning visuals of landscapes, cityscapes, and even the movement of people or objects. However, choosing the right subject for your time lapse is crucial to ensure a captivating result.
One popular subject for time lapse photography is the changing sky. Whether it's capturing the movement of clouds, the transition from day to night, or the mesmerizing patterns of stars, the sky offers endless possibilities for creating visually striking time lapses. Additionally, capturing the movement of water, such as waves crashing on a beach or a flowing river, can also create captivating time lapses.
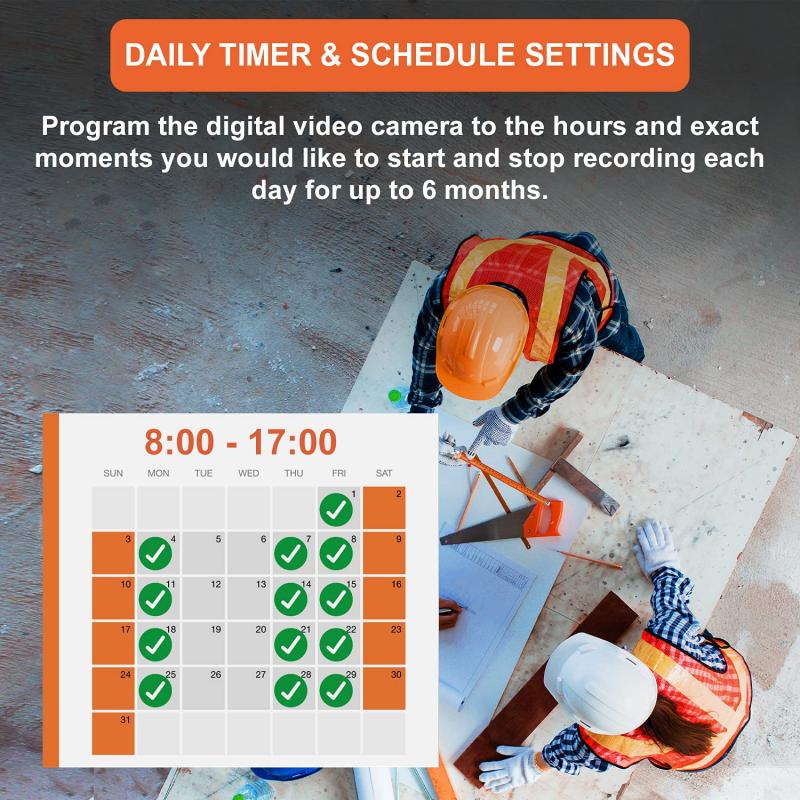
Another interesting subject for time lapse photography is the bustling activity of a city. Time lapses of busy streets, traffic, and people moving in fast motion can provide a unique perspective on urban life. Additionally, capturing the construction of a building or the transformation of a cityscape over time can be visually compelling.
Nature also offers a wealth of subjects for time lapse photography. From the blooming of flowers to the changing colors of leaves in autumn, capturing the beauty of nature in a time lapse can be truly mesmerizing. Furthermore, time lapses of natural phenomena such as the movement of stars, the formation of clouds, or the dance of the Northern Lights can create breathtaking visuals.
In recent years, time lapse photography has also been used to document the impact of human activity on the environment. Time lapses of deforestation, urban expansion, or the melting of glaciers can serve as powerful visual reminders of the need for environmental conservation.
To create a time lapse on your camera, you will need a camera with manual settings, a sturdy tripod, and an intervalometer or a built-in time lapse feature. Set up your camera on the tripod, choose the appropriate settings for your subject and desired effect, and set the intervalometer to capture images at regular intervals. Once you have captured a series of images, you can use software to compile them into a time lapse video.
In conclusion, choosing the right subject for time lapse photography is essential to create captivating visuals. Whether it's the changing sky, the bustling activity of a city, the beauty of nature, or the impact of human activity on the environment, there are endless possibilities for creating stunning time lapses. With the right equipment and techniques, you can capture the passage of time in a visually striking and engaging way.
4、 Camera Stability and Tripod Setup for Time Lapse Shots
Camera Stability and Tripod Setup for Time Lapse Shots
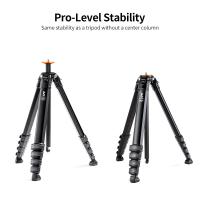
To achieve high-quality time lapse shots, camera stability is crucial. A stable camera ensures that your images are sharp and free from any unwanted movement. Here's a step-by-step guide on how to set up your camera and tripod for time lapse photography:
1. Choose a sturdy tripod: Invest in a good quality tripod that can support the weight of your camera and lens. Look for one with adjustable legs and a sturdy center column.
2. Level your tripod: Ensure that your tripod is level by using a bubble level or the built-in level on your tripod. This will help prevent any tilting or uneven horizons in your time lapse sequence.
3. Attach your camera: Securely attach your camera to the tripod head using a quick-release plate or a screw mount. Make sure it is tightly fastened to avoid any movement during the time lapse.
4. Use a remote shutter release: To minimize camera shake, use a remote shutter release or a cable release to trigger the camera. This will prevent any movement caused by pressing the camera's shutter button.
5. Lock down all tripod adjustments: Once your camera is in position, lock down all tripod adjustments, including the legs, center column, and tripod head. This will ensure that your camera remains stable throughout the time lapse sequence.
6. Consider additional stability: In windy conditions or on uneven surfaces, you may need to add extra stability to your tripod. This can be done by hanging a weight, such as a camera bag, from the center column or using sandbags to weigh down the tripod legs.
7. Test your setup: Before starting your time lapse, test your setup by taking a few test shots and reviewing them for any signs of camera shake or movement. Make any necessary adjustments to ensure a stable setup.
Remember, camera stability is essential for capturing smooth and professional-looking time lapse shots. By following these steps and using a sturdy tripod, you can achieve excellent results in your time lapse photography.
