How To Extend A Tripod ?
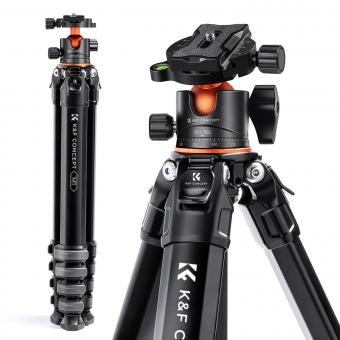
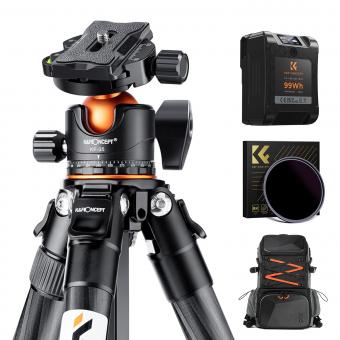
To extend a tripod, first, loosen the locking mechanism on each leg of the tripod. Then, pull the legs out to the desired height and lock them in place by tightening the locking mechanism. Make sure all three legs are extended to the same height to ensure stability. Some tripods may also have a center column that can be extended for additional height. To extend the center column, loosen the locking mechanism and lift the column up to the desired height before tightening the locking mechanism again. It is important to ensure that the tripod is stable and secure before attaching any camera or equipment to it.
1、 Unlocking the tripod legs
How to extend a tripod:
1. Unlocking the tripod legs: The first step in extending a tripod is to unlock the legs. Most tripods have a locking mechanism that keeps the legs in place when they are collapsed. To unlock the legs, look for a lever or button near the top of the tripod. Press or pull this lever to release the lock and allow the legs to move.
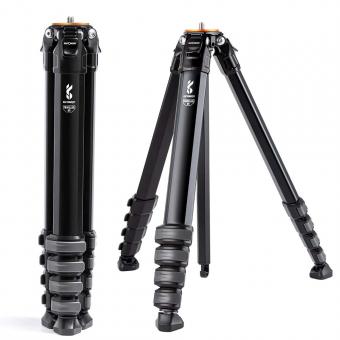
2. Extend the legs: Once the legs are unlocked, you can extend them to the desired height. Most tripods have multiple sections that can be extended independently. To extend the legs, grab the section closest to the ground and pull it down. Continue pulling until the section locks into place. Repeat this process for each section until the tripod is at the desired height.
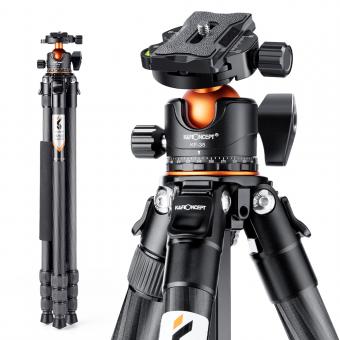
3. Adjust the tripod head: Once the legs are extended, you can adjust the tripod head to level your camera or adjust the angle. Most tripod heads have a ball joint that allows you to tilt and rotate the camera. Use the knobs or levers on the tripod head to make these adjustments.
4. Secure the tripod: Once you have the tripod at the desired height and angle, make sure to secure it in place. Most tripods have a locking mechanism that keeps the legs and head from moving. Make sure to tighten these locks to prevent the tripod from shifting or collapsing.
In recent years, there has been a trend towards more lightweight and compact tripods. These tripods often have fewer sections and may use alternative locking mechanisms, such as twist locks or flip locks. Make sure to read the instructions for your specific tripod to ensure you are extending it correctly.
2、 Adjusting the tripod height
How to extend a tripod:
Extending a tripod is a simple process that can be done in a few easy steps. First, loosen the leg locks on the tripod legs by twisting them counterclockwise. Then, pull the legs out to the desired height and tighten the leg locks by twisting them clockwise. Make sure all three legs are extended to the same height to ensure stability.
It is important to note that some tripods have a center column that can be extended for additional height. To extend the center column, loosen the center column lock and lift the column up to the desired height. Then, tighten the center column lock to secure it in place.
Adjusting the tripod height:
Adjusting the height of a tripod is crucial for getting the perfect shot. To adjust the height, simply extend or retract the tripod legs or center column as needed. It is important to keep the tripod level to ensure stability and prevent the camera from tipping over.
When adjusting the height, it is also important to consider the terrain and any obstacles that may be in the way. If the ground is uneven, adjust the length of each leg to compensate for the slope. If there are obstacles in the way, such as rocks or branches, adjust the height of the tripod to avoid them.
In recent years, some tripods have also incorporated features such as adjustable leg angles and reversible center columns to provide even more flexibility in adjusting the height and positioning of the camera. These features can be especially useful for photographers who need to shoot from unconventional angles or in tight spaces.
Overall, extending a tripod and adjusting its height are simple processes that can greatly improve the quality of your photographs. By taking the time to properly set up your tripod, you can ensure stability and get the perfect shot every time.
3、 Securing the tripod legs
How to extend a tripod:
1. Unlock the leg locks: Most tripods have leg locks that need to be unlocked before extending the legs. Look for the locks on each leg and release them by twisting or flipping them open.
2. Extend the legs: Once the locks are released, you can extend the legs to the desired height. Pull the legs outwards and adjust them to the desired length. Make sure all three legs are extended to the same height for stability.
3. Lock the legs: Once the legs are extended to the desired height, lock them in place by twisting or flipping the leg locks back into position. Make sure they are securely locked to prevent the tripod from collapsing.
Securing the tripod legs:
In addition to extending the tripod legs, it's important to secure them properly to ensure stability. Here are some tips for securing the tripod legs:
1. Use the center column hook: Many tripods have a hook on the center column that can be used to add weight for stability. You can hang your camera bag or other heavy object from the hook to prevent the tripod from tipping over.
2. Spread the legs wide: To increase stability, spread the tripod legs as wide as possible. This will create a wider base and make it less likely to tip over.
3. Use a tripod stabilizer: If you're shooting in windy conditions or on uneven terrain, a tripod stabilizer can help keep your tripod steady. These accessories attach to the legs of the tripod and provide additional support.
In conclusion, extending a tripod and securing the legs are essential steps for getting stable shots. By following these tips, you can ensure that your tripod is stable and your photos are sharp.
4、 Leveling the tripod head
How to extend a tripod:
1. Unlock the leg locks: Most tripods have leg locks that need to be unlocked before extending the legs. Look for the locks on each leg and release them by twisting or flipping them open.
2. Extend the legs: Once the locks are released, you can extend the legs to the desired height. Pull the legs outwards and adjust them to the desired length. Make sure all three legs are extended to the same height to ensure stability.
3. Lock the legs: Once you have extended the legs to the desired height, lock them in place by twisting or flipping the leg locks back into place. Make sure they are securely locked to prevent the tripod from collapsing.
Leveling the tripod head:
1. Adjust the legs: If the tripod is not level, adjust the legs to compensate for the uneven ground. Extend one or two legs more than the others to level the tripod head.
2. Use a leveling base: Some tripods come with a leveling base that can be attached to the tripod head. This allows you to adjust the base to level the tripod head.
3. Use a bubble level: Many tripod heads have a built-in bubble level that can be used to ensure the tripod head is level. Adjust the legs until the bubble is centered.
4. Use a smartphone app: There are many smartphone apps available that can be used to level the tripod head. Simply place your phone on the tripod head and adjust the legs until the app indicates that the tripod head is level.
In conclusion, extending a tripod and leveling the tripod head are essential skills for any photographer. By following these simple steps, you can ensure that your tripod is stable and your shots are level and sharp.
