How To Filter Iphone Camera ?
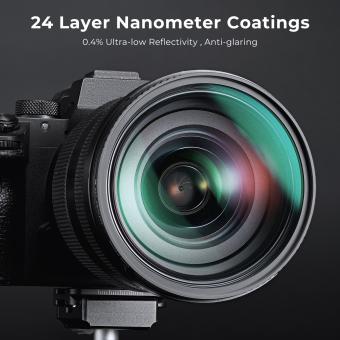
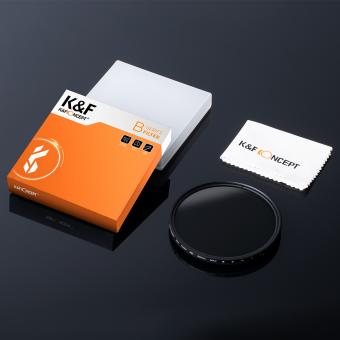
To filter the iPhone camera, you can use various methods. One way is to use the built-in filters in the iPhone's camera app. Simply open the camera app, swipe left or right on the screen to access the different filters, and select the one you want to apply. Another option is to use third-party camera apps that offer more advanced filtering options. These apps often provide a wide range of filters and editing tools to enhance your photos. Additionally, you can use external lens attachments or filters that can be attached to the iPhone's camera lens. These accessories can help you achieve different effects such as polarizing, color correction, or wide-angle shots.
1、 Adjusting exposure and white balance settings
To filter the iPhone camera, you can adjust the exposure and white balance settings. These settings allow you to control the brightness, contrast, and color temperature of your photos, giving you more control over the final result.
To adjust the exposure, simply tap on the area of the screen where you want to set the focus and exposure. A yellow square will appear, indicating that the exposure is locked. You can then swipe up or down on the screen to adjust the exposure level. Swiping up will make the image brighter, while swiping down will make it darker. This feature is particularly useful when dealing with high contrast scenes or when you want to create a specific mood in your photos.
Similarly, you can adjust the white balance to ensure accurate color representation. White balance refers to the color temperature of the light in a scene. By default, the iPhone camera automatically adjusts the white balance, but you can manually override it by tapping on the screen and then sliding your finger left or right to adjust the temperature. Moving towards the blue end of the spectrum will make the image cooler, while moving towards the yellow end will make it warmer.
The latest iPhone models also offer advanced features like Smart HDR and Night mode, which further enhance the camera's ability to capture stunning photos in challenging lighting conditions. Smart HDR combines multiple exposures to capture more detail in both the shadows and highlights, resulting in a well-balanced image. Night mode, on the other hand, uses intelligent software algorithms to capture brighter and clearer photos in low-light situations.
In conclusion, filtering the iPhone camera involves adjusting the exposure and white balance settings. These features allow you to have more control over the brightness, contrast, and color temperature of your photos. With the latest advancements in iPhone camera technology, such as Smart HDR and Night mode, you can capture even more stunning and professional-looking photos.
2、 Utilizing HDR mode for high dynamic range photos
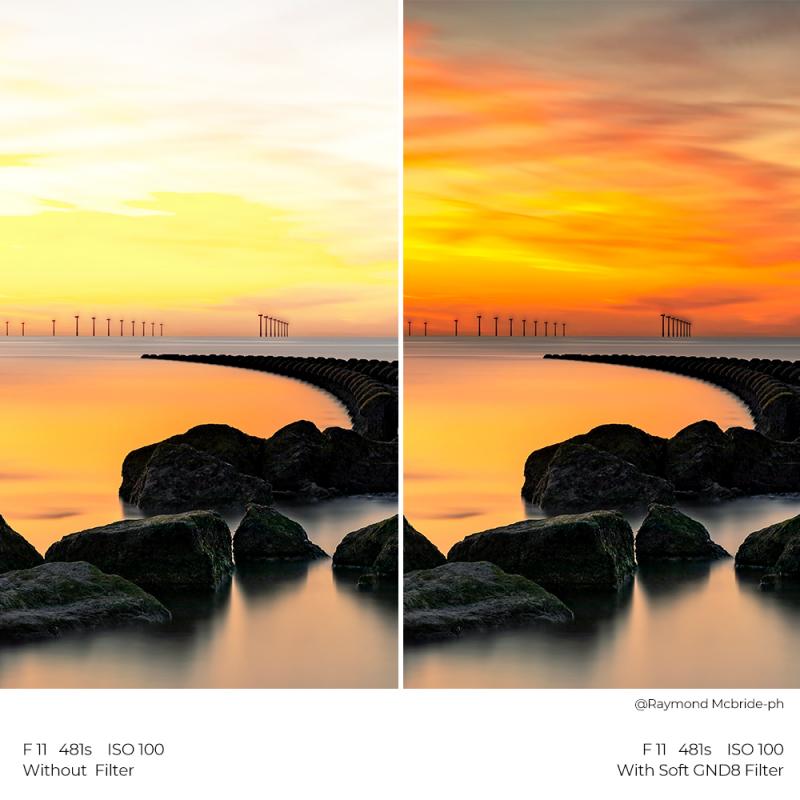
Utilizing HDR mode for high dynamic range photos is a great way to filter your iPhone camera and capture stunning images with enhanced details and balanced exposure. HDR, or High Dynamic Range, is a feature available on most modern smartphones, including iPhones, that combines multiple exposures of the same scene to create a single well-exposed image.
To filter your iPhone camera using HDR mode, follow these steps:
1. Open the Camera app on your iPhone.
2. Tap on the HDR icon located at the top of the screen. It usually looks like a small sun.
3. Choose the desired HDR mode: Auto, On, or Off. Auto mode allows the iPhone to automatically determine when to use HDR based on the scene's lighting conditions. On mode keeps HDR enabled at all times, while Off mode disables it completely.
4. Frame your shot and tap the shutter button to capture the photo.
When HDR mode is enabled, your iPhone will capture multiple exposures of the same scene, including highlights, mid-tones, and shadows. It then combines these exposures to create a final image with a wider dynamic range, resulting in more detail in both bright and dark areas.
The latest iPhones, such as the iPhone 12 series, have advanced HDR capabilities that utilize computational photography techniques to further enhance the image quality. These devices can capture HDR photos with improved color accuracy, reduced noise, and better overall image processing.
In addition to the built-in HDR mode, there are also various third-party camera apps available on the App Store that offer advanced filtering options for your iPhone camera. These apps often provide more control over the HDR process, allowing you to adjust settings like exposure, contrast, and saturation to achieve the desired effect.
Overall, utilizing HDR mode on your iPhone camera is a simple yet effective way to filter your photos and capture stunning images with improved dynamic range and detail.
3、 Using portrait mode for depth-of-field effects
Using portrait mode for depth-of-field effects is a great way to filter your iPhone camera and create stunning photos. This feature, available on newer iPhone models, allows you to blur the background and focus on the subject, giving your photos a professional look.
To use portrait mode, follow these steps:
1. Open the Camera app on your iPhone.
2. Swipe to the right until you reach the "Portrait" mode.
3. Position your subject within the frame. Portrait mode works best when the subject is relatively close to the camera.
4. Tap on the subject to focus and adjust the exposure if needed.
5. Once the camera detects the subject, you will see the background blur automatically applied. You can also adjust the intensity of the blur by using the slider at the bottom of the screen.
6. Take the photo by pressing the shutter button.
Portrait mode uses the dual-camera system on newer iPhone models to create a depth map of the scene, allowing it to differentiate between the subject and the background. This depth information is then used to apply the blur effect, simulating the shallow depth-of-field typically achieved with professional cameras.
The latest iPhone models have improved portrait mode capabilities, including advanced algorithms and computational photography techniques. These advancements result in more accurate subject detection, better edge detection, and more natural-looking bokeh effects.
In addition to portrait mode, you can also explore various third-party camera apps and editing tools available on the App Store. These apps offer a wide range of filters and effects that can further enhance your photos and give them a unique look.
Overall, using portrait mode for depth-of-field effects is a simple yet powerful way to filter your iPhone camera and elevate your photography skills.
4、 Applying filters and effects in post-processing apps
Applying filters and effects in post-processing apps is the most common and effective way to filter iPhone camera photos. While the iPhone camera itself offers some built-in filters, post-processing apps provide a wider range of options and customization.
To filter iPhone camera photos using post-processing apps, follow these steps:
1. Choose a post-processing app: There are numerous apps available on the App Store, such as VSCO, Snapseed, and Adobe Lightroom. Select one that suits your preferences and download it.
2. Import the photo: Open the app and import the photo you want to filter from your iPhone camera roll.
3. Explore the filters: Most apps offer a variety of filters and effects to choose from. Browse through the options and select the one that enhances the mood or style you desire.
4. Adjust the intensity: Many apps allow you to adjust the intensity of the filter. Experiment with different levels to find the perfect balance for your photo.
5. Fine-tune the settings: Some apps provide additional settings like brightness, contrast, saturation, and temperature. Use these tools to further enhance your photo.
6. Save and share: Once you're satisfied with the result, save the filtered photo to your camera roll. You can then share it on social media or with friends and family.
It's worth noting that the latest point of view is that post-processing apps continue to evolve, offering more advanced features and filters. Some apps now use artificial intelligence to automatically enhance photos, making the filtering process even more convenient and efficient. Additionally, there is a growing trend towards using film emulation filters, which replicate the look and feel of traditional film photography. These filters add a nostalgic and artistic touch to iPhone camera photos.
