How To Fix A Microscope Eyepiece ?
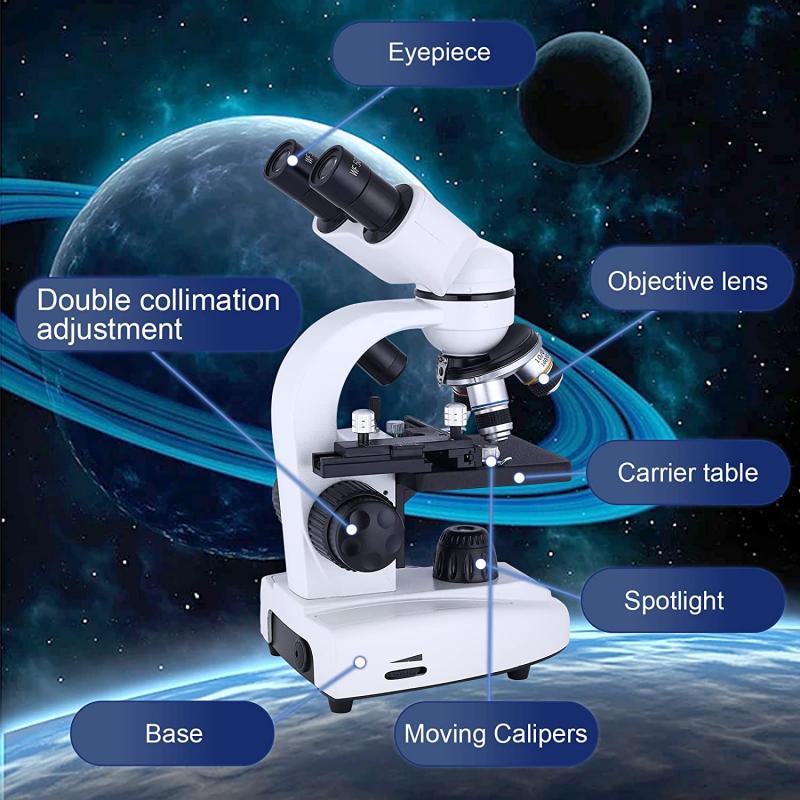
To fix a microscope eyepiece, first, check if the eyepiece is properly aligned with the microscope tube. If it is misaligned, gently rotate the eyepiece until it fits snugly into the tube. If the eyepiece is dirty or foggy, clean it using a soft, lint-free cloth or lens cleaning solution. Avoid using harsh chemicals or abrasive materials that could damage the lens. If the eyepiece is scratched or damaged, it may need to be replaced. Consult the microscope manufacturer or a professional technician for assistance in finding a suitable replacement eyepiece.
1、 Cleaning the eyepiece lens
To fix a microscope eyepiece, one of the first steps is to clean the eyepiece lens. Over time, dust, fingerprints, and other debris can accumulate on the lens, affecting the clarity and quality of the image. Cleaning the eyepiece lens is a relatively simple process that can greatly improve the performance of the microscope.
To clean the eyepiece lens, start by using a soft brush or compressed air to remove any loose particles from the surface. This will help prevent scratching the lens during the cleaning process. Next, use a lens cleaning solution or isopropyl alcohol and a microfiber cloth or lens tissue to gently wipe the lens in a circular motion. Avoid using excessive pressure, as this can damage the lens. It is also important to avoid using regular household cleaners or abrasive materials, as they can cause permanent damage to the lens.
In recent years, there has been a growing interest in using ultraviolet (UV) light to disinfect and clean surfaces. Some studies suggest that UV light can effectively kill bacteria and viruses, including those that may be present on microscope lenses. However, it is important to note that UV light should be used with caution, as prolonged exposure can damage the lens coating or other components of the microscope. Therefore, it is recommended to consult the manufacturer's guidelines or seek professional advice before using UV light for cleaning microscope eyepieces.
In conclusion, cleaning the eyepiece lens is an essential step in fixing a microscope eyepiece. By following the proper cleaning techniques and using appropriate cleaning solutions, one can restore the clarity and quality of the microscope image. However, it is important to stay updated with the latest research and recommendations regarding cleaning methods, such as the use of UV light, to ensure the longevity and performance of the microscope.
2、 Adjusting the eyepiece focus
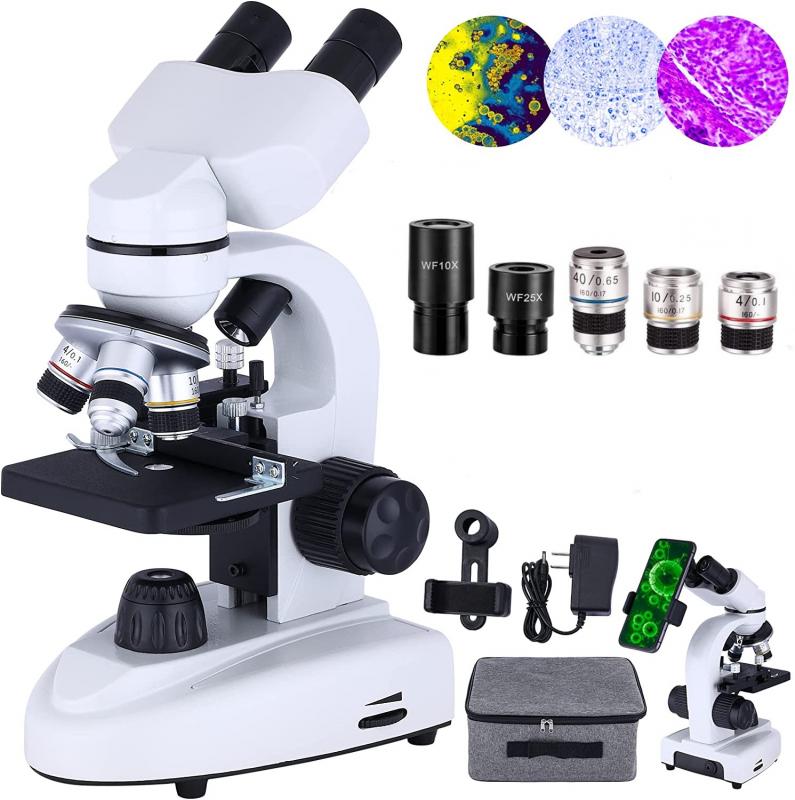
To fix a microscope eyepiece, you can try adjusting the eyepiece focus. This is a common issue that can occur due to various reasons such as improper handling, dust accumulation, or misalignment.
First, start by removing the eyepiece from the microscope. Inspect it for any visible damage or debris. If you notice any dirt or dust particles, gently clean the eyepiece using a soft, lint-free cloth or a lens cleaning solution. Be careful not to scratch the lens surface.
Next, check the eyepiece for any signs of misalignment. Look for any loose screws or parts that may need tightening. If you find any, use a small screwdriver or Allen wrench to adjust them accordingly. However, be cautious not to overtighten as it may cause further damage.
Once you have cleaned and checked for misalignment, reinsert the eyepiece back into the microscope. Turn the focus knob to bring the specimen into view. If the image is still blurry or out of focus, try adjusting the eyepiece focus. This can usually be done by rotating the eyepiece itself or by using a separate focus adjustment ring located near the eyepiece.
If these steps do not resolve the issue, it may be necessary to seek professional assistance or consider replacing the eyepiece altogether. Microscope technology is constantly evolving, and newer models may offer improved features and better image quality.
Remember, always refer to the manufacturer's instructions or consult a professional if you are unsure about any specific steps or if the microscope is under warranty.
3、 Replacing a damaged eyepiece
To fix a microscope eyepiece, you can try a few troubleshooting steps before considering replacing it. Here's a step-by-step guide on how to fix a microscope eyepiece:
1. Clean the eyepiece: Start by gently removing the eyepiece from the microscope. Use a soft, lint-free cloth or lens cleaning paper to wipe away any dust or smudges on the lens. Avoid using harsh chemicals or abrasive materials that could damage the lens.
2. Check for misalignment: Inspect the eyepiece for any signs of misalignment. If the eyepiece is not properly aligned, it can cause blurry or distorted images. Adjust the eyepiece by rotating it or repositioning it until the image appears clear and focused.
3. Tighten loose screws: If the eyepiece feels loose or wobbly, check for any screws that may have come loose. Use a small screwdriver to tighten them gently, being careful not to overtighten and damage the eyepiece.
4. Test with another microscope: If possible, try using the eyepiece on another microscope to determine if the issue lies with the eyepiece or the microscope itself. If the eyepiece works fine on another microscope, then the problem may be with the microscope's eyepiece tube or other components.
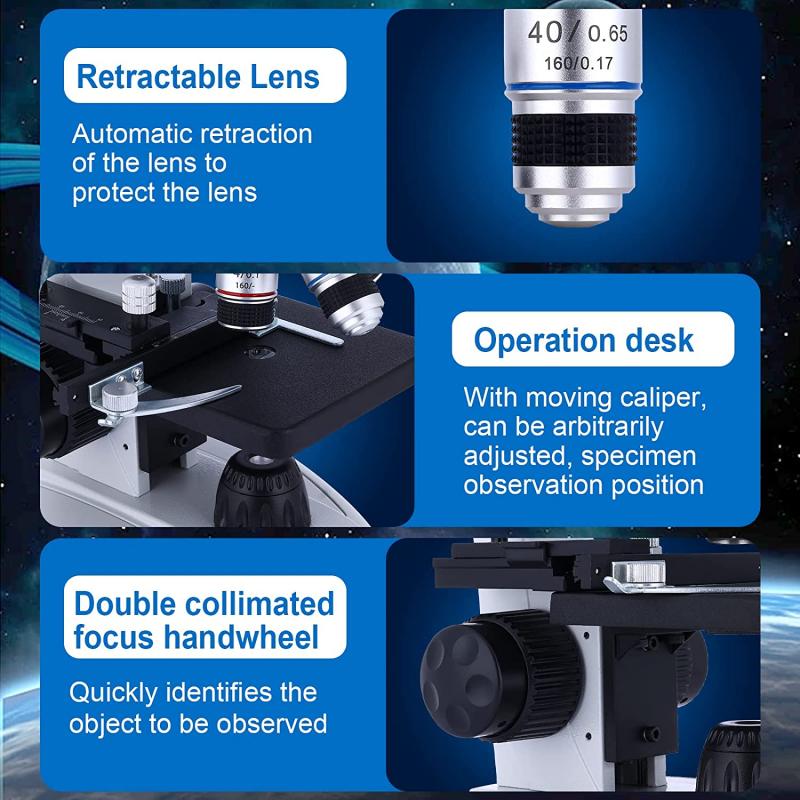
If these steps do not resolve the issue, it may be necessary to replace the damaged eyepiece. Eyepieces can wear out over time or become damaged due to accidents or mishandling. Consider purchasing a new eyepiece from a reputable microscope supplier or manufacturer.
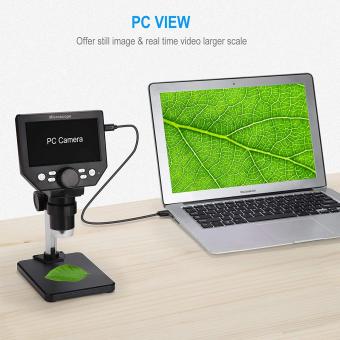
It's important to note that the latest point of view in the field of microscopy is the increasing use of digital eyepieces or camera attachments. These allow for real-time imaging, image capture, and analysis on a computer or other digital device. While traditional eyepieces are still widely used, digital options offer enhanced capabilities and convenience in various scientific and educational applications.
4、 Aligning the eyepiece with the microscope's optical system
To fix a microscope eyepiece, the first step is to ensure that it is aligned with the microscope's optical system. This alignment is crucial for obtaining clear and accurate images through the microscope. Here's a step-by-step guide on how to align the eyepiece:
1. Start by removing the eyepiece from the microscope. Most eyepieces can be easily unscrewed or pulled out.
2. Inspect the eyepiece for any visible damage or debris. Clean the eyepiece using a soft, lint-free cloth or lens cleaning solution if necessary.
3. Examine the eyepiece tube on the microscope for any dirt or obstructions. Use a small brush or compressed air to remove any debris.
4. Carefully reinsert the eyepiece into the microscope, ensuring that it is securely in place. Make sure it is aligned with the microscope's optical axis.
5. Look through the eyepiece and adjust the focus knob to bring the image into sharp focus. If the image appears blurry or distorted, it may indicate a misalignment.
6. To align the eyepiece, locate the set screws or adjustment knobs on the microscope's eyepiece tube. These screws or knobs can be used to adjust the position of the eyepiece.
7. Gradually adjust the set screws or knobs while observing the image through the eyepiece. The goal is to align the eyepiece with the microscope's optical system, ensuring that the image is clear and centered.
8. Once the alignment is satisfactory, tighten the set screws or knobs to secure the eyepiece in place.
It is important to note that some microscopes may have different mechanisms for aligning the eyepiece. Therefore, it is recommended to consult the microscope's user manual or contact the manufacturer for specific instructions.
In recent years, advancements in microscope technology have led to the development of digital eyepieces. These eyepieces can be connected to a computer or smartphone, allowing for real-time image capture and analysis. While aligning digital eyepieces may require additional steps, the basic principles of aligning the eyepiece with the microscope's optical system remain the same.
