How To Install Axis Camera?
To install an Axis camera, follow these steps:
1. Choose a location for the camera that provides a clear view of the area you want to monitor.
2. Mount the camera securely using the appropriate hardware.
3. Connect the camera to your network using an Ethernet cable.
4. Power on the camera using the included power supply.
5. Use the Axis Camera Management tool to discover the camera on your network.
6. Configure the camera's settings, such as resolution, frame rate, and network settings.
7. Set up any necessary recording or alerting features, such as motion detection or email notifications.
It's important to note that the specific steps for installing an Axis camera may vary depending on the model and your specific network setup. Be sure to consult the camera's user manual and any additional documentation provided by Axis for detailed instructions.
1、 System Requirements

How to install Axis camera:
1. Determine the location: Before installing the Axis camera, determine the location where you want to install it. Make sure that the location has a power source and a stable internet connection.
2. Mount the camera: Once you have determined the location, mount the camera using the provided mounting bracket. Make sure that the camera is securely mounted and is pointing in the desired direction.
3. Connect the camera: Connect the camera to the power source and the internet using the provided cables. Make sure that the cables are properly connected and secured.
4. Configure the camera: Once the camera is connected, you need to configure it. You can do this by accessing the camera's web interface using a web browser. Enter the camera's IP address in the browser's address bar and log in using the default username and password.
5. Set up the camera: Once you have logged in, you can set up the camera according to your preferences. You can configure the camera's resolution, frame rate, and other settings.
6. Test the camera: After configuring the camera, test it to make sure that it is working properly. You can do this by accessing the camera's live view using the web interface.
System Requirements:
To install and use an Axis camera, you need a computer or mobile device with a web browser and an internet connection. The camera also requires a power source and a network connection. The latest Axis cameras support Power over Ethernet (PoE), which allows the camera to receive power and data over a single Ethernet cable. This eliminates the need for a separate power source. Additionally, some Axis cameras support wireless connectivity, which allows them to connect to a Wi-Fi network. To use this feature, you need a Wi-Fi router and a wireless network adapter. The latest Axis cameras also support advanced features such as video analytics, which require a more powerful computer or server to process the data.
2、 Camera Mounting and Positioning
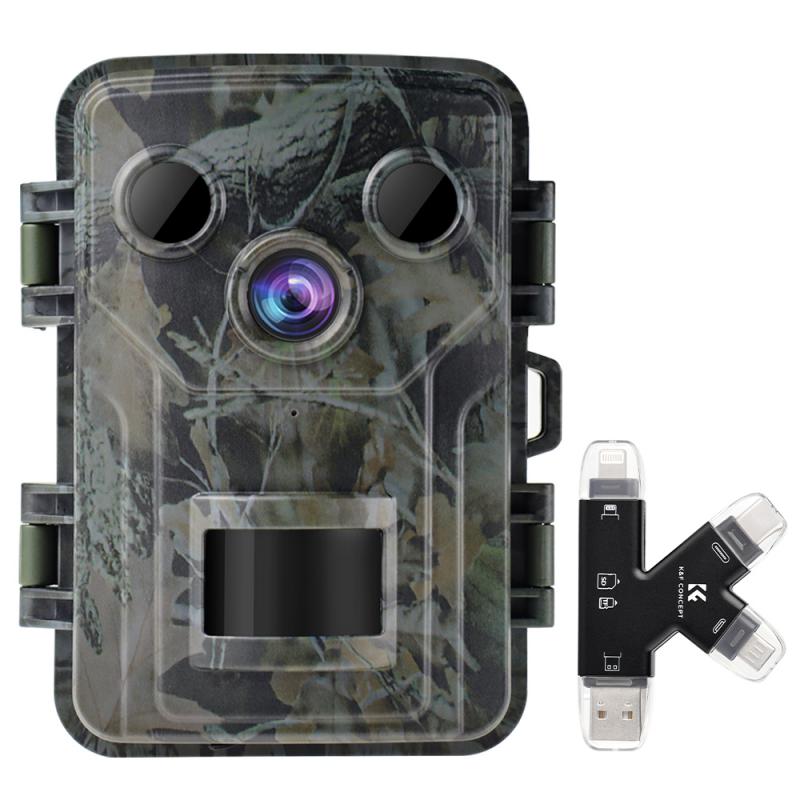
Camera Mounting and Positioning is an essential aspect of installing an Axis camera. Before installing the camera, it is important to determine the best location for the camera to capture the desired view. The camera should be mounted at a height that provides a clear view of the area to be monitored. The camera should also be positioned in a way that minimizes obstructions and maximizes the field of view.
To install an Axis camera, follow these steps:
1. Choose the location for the camera and mount it securely using the appropriate mounting hardware.
2. Connect the camera to the network using an Ethernet cable.
3. Configure the camera using the Axis Camera Management software or a web browser.
4. Adjust the camera's position and settings to optimize the image quality and field of view.
5. Test the camera to ensure that it is functioning properly.
The latest point of view in camera mounting and positioning is the use of artificial intelligence (AI) to optimize camera placement and settings. AI can analyze the camera's field of view and suggest adjustments to improve image quality and coverage. This technology can also detect and alert users to potential obstructions or blind spots in the camera's view. Overall, proper camera mounting and positioning is crucial for effective surveillance and security.
3、 Network Configuration
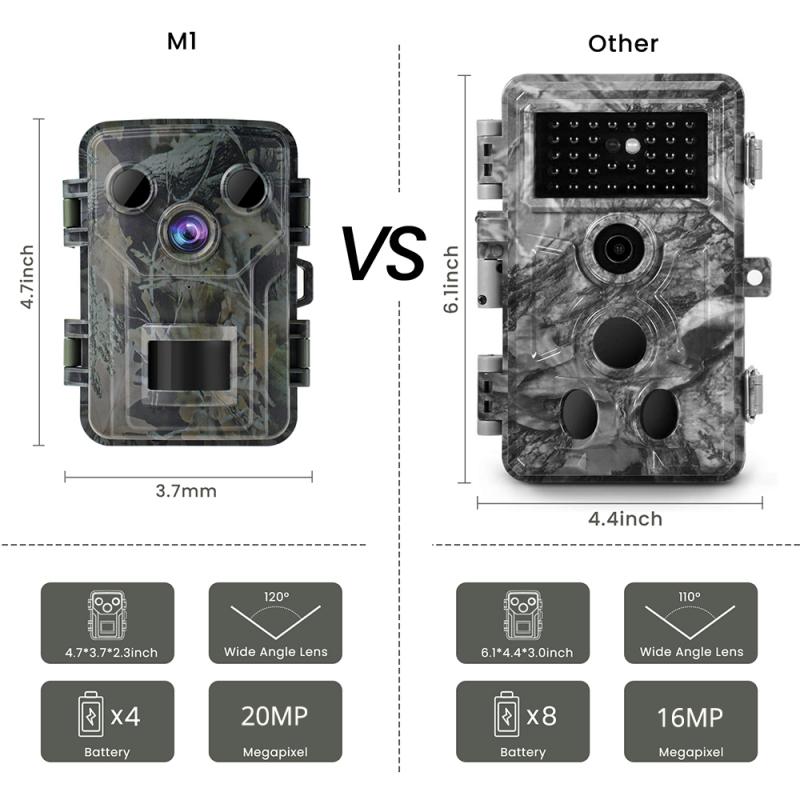
How to install Axis camera:
1. First, connect the camera to your network using an Ethernet cable. Make sure the camera is powered on and connected to a power source.
2. Next, download and install the Axis Camera Management software on your computer. This software will help you discover and configure your camera.
3. Once the software is installed, open it and click on the "Discover Cameras" button. The software will scan your network for any Axis cameras that are connected.
4. Once the camera is discovered, you can configure its network settings. This includes setting a static IP address, configuring the network gateway and DNS settings, and setting up any necessary port forwarding.
5. After the network settings are configured, you can set up any additional features or settings for the camera, such as motion detection, recording schedules, and image settings.
6. Finally, mount the camera in its desired location and test the camera to ensure it is working properly.
Network Configuration:
When configuring the network settings for your Axis camera, it is important to ensure that the camera is on the same network as your computer and other devices. You should also set a static IP address for the camera to ensure that it always has the same IP address on your network. This will make it easier to access the camera and configure it in the future.
Additionally, you may need to configure port forwarding on your router to allow remote access to the camera from outside your network. This will allow you to view the camera's feed from anywhere with an internet connection. However, it is important to ensure that your network is secure and that you have set up proper authentication and encryption to protect your camera and network from unauthorized access.
4、 Camera Setup and Configuration
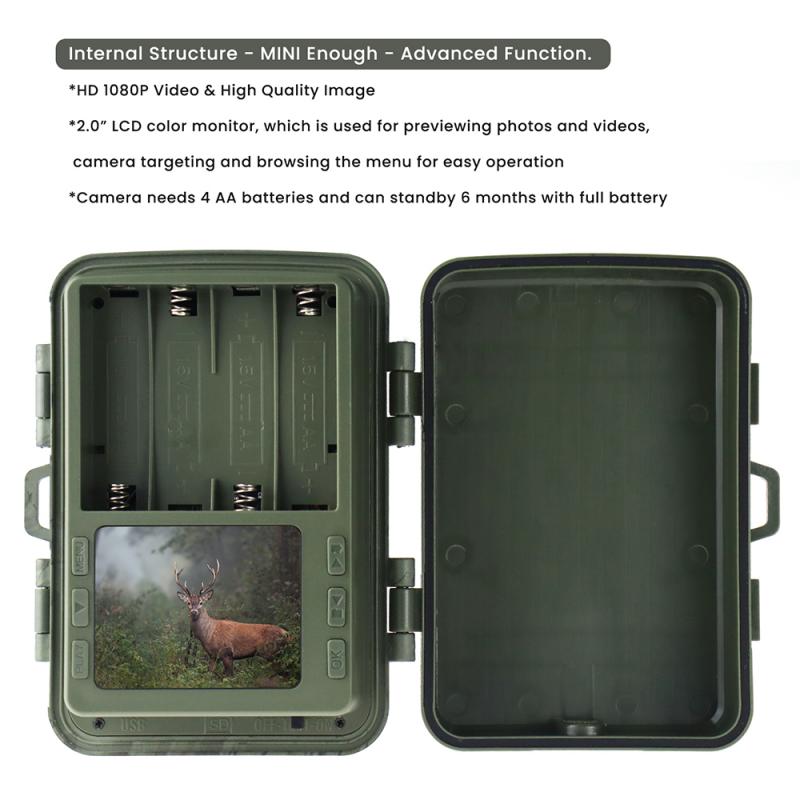
How to Install Axis Camera:
1. Choose the location: Before installing the Axis camera, choose the location where you want to install it. Make sure that the location is suitable for the camera and provides a clear view of the area you want to monitor.
2. Mount the camera: Once you have chosen the location, mount the camera using the mounting bracket provided with the camera. Make sure that the camera is securely mounted and does not move or shake.
3. Connect the camera: Connect the camera to the network using an Ethernet cable. Make sure that the cable is securely connected to both the camera and the network.
4. Power up the camera: Connect the camera to a power source using the power adapter provided with the camera. Make sure that the power adapter is securely connected to the camera and the power source.
5. Configure the camera: Once the camera is powered up, you need to configure it. You can do this by accessing the camera's web interface using a web browser. Enter the camera's IP address in the web browser and log in using the default username and password provided with the camera.
6. Set up the camera: Once you have logged in to the camera's web interface, you can set up the camera according to your requirements. You can configure the camera's resolution, frame rate, and other settings.
7. Test the camera: Once you have configured the camera, test it to make sure that it is working properly. You can do this by accessing the camera's live view and checking the video feed.
The latest point of view is that Axis cameras now come with advanced features such as built-in analytics, edge storage, and remote access. These features make it easier to monitor and manage the camera from anywhere, at any time. Additionally, Axis cameras are now compatible with various third-party software and systems, making it easier to integrate them into existing security systems.

