How To Install Blink Solar Camera ?
To install a Blink solar camera, follow these steps:
1. Choose a suitable location: Select a spot where the camera will have a clear view of the area you want to monitor. Ensure it is within range of your Wi-Fi network.
2. Mount the camera: Use the provided mounting bracket and screws to securely attach the camera to a wall, ceiling, or other surface. Make sure it is positioned at the desired angle.
3. Connect the Sync Module: Plug the Sync Module into a power outlet near the camera. This module acts as a bridge between the camera and your Wi-Fi network.
4. Set up the camera: Download the Blink app on your smartphone and create an account. Follow the on-screen instructions to add the camera to your account and connect it to your Wi-Fi network.
5. Adjust camera settings: Use the app to customize settings such as motion detection sensitivity, recording length, and notifications.
6. Test the camera: Ensure the camera is working properly by triggering the motion detection and checking if it records and sends notifications as expected.
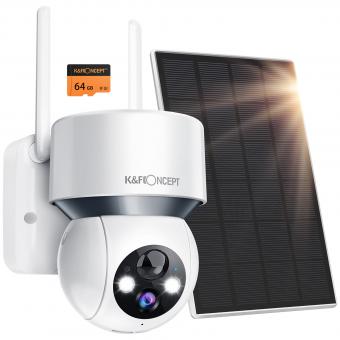
7. Install the solar panel (optional): If you have a Blink solar panel, connect it to the camera using the provided cable. Mount the solar panel in a location that receives ample sunlight to keep the camera's battery charged.
Note: These steps are a general guide, and it's always recommended to refer to the specific instructions provided by Blink for your camera model.
1、 Selecting the ideal location for solar camera installation
Selecting the ideal location for solar camera installation is crucial to ensure optimal performance and security coverage. Here are some steps to help you determine the best placement for your Blink solar camera:
1. Assess your property: Start by evaluating the areas that require surveillance. Identify vulnerable spots such as entrances, driveways, or blind spots where a camera would provide the most benefit.
2. Consider the sun exposure: Solar cameras rely on sunlight to charge their batteries. Choose a location that receives ample sunlight throughout the day. Avoid areas with heavy shade or obstructions like trees or buildings that may block the sunlight.
3. Evaluate the camera's field of view: Determine the camera's field of view and angle to ensure it covers the desired area. Adjust the camera's position and angle to maximize coverage while avoiding any potential obstructions.
4. Mounting options: Blink solar cameras offer versatile mounting options. You can choose to mount them on walls, ceilings, or other surfaces. Ensure the mounting surface is sturdy and can support the weight of the camera.
5. Consider accessibility: While it's important to place the camera in a discreet location, make sure it is easily accessible for maintenance and adjustments. This will allow you to clean the solar panel and ensure optimal charging.
6. Test the signal strength: Before finalizing the installation, check the camera's signal strength at the chosen location. Weak signal strength can affect the camera's performance and connectivity. If needed, consider using a Wi-Fi extender to improve the signal.
7. Security measures: Lastly, consider the security of the camera itself. Ensure it is mounted out of reach to prevent tampering or theft. Additionally, consider using a security lock or enclosure for added protection.
Remember to consult the user manual provided by Blink for specific installation instructions and any updates or recommendations they may have.
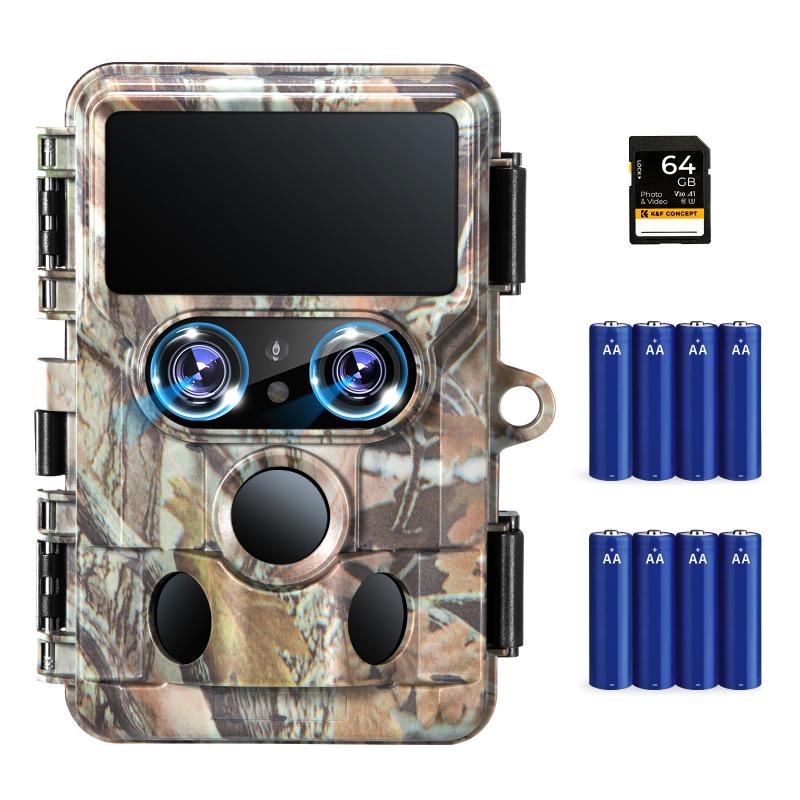
2、 Mounting the solar camera securely
To install a Blink solar camera, follow these steps:
1. Choose the location: Select a spot where the solar camera will have a clear view of the area you want to monitor. Ensure that it receives ample sunlight throughout the day for optimal charging.
2. Mounting the camera: Use the provided mounting bracket to attach the camera to a wall, fence, or any other secure surface. Make sure it is positioned at the desired angle and height for the best coverage. Use screws or adhesive to secure the bracket in place.
3. Connect the camera: Once the camera is mounted, connect it to the Blink Sync Module using the provided USB cable. The Sync Module acts as the central hub for all your Blink cameras.
4. Set up the camera: Download the Blink app on your smartphone and follow the on-screen instructions to set up the camera. This includes connecting the Sync Module to your Wi-Fi network and creating an account.
5. Adjust camera settings: Use the app to customize the camera settings, such as motion detection sensitivity, recording length, and notification preferences. This will ensure that the camera captures the desired footage and alerts you when necessary.
6. Test the camera: After completing the setup, test the camera by walking in front of it to check if it detects motion and records properly. Adjust the camera angle or settings if needed.
Mounting the solar camera securely is crucial to ensure its effectiveness and longevity. Consider the following additional tips:
- Use high-quality screws or mounting adhesive that can withstand outdoor conditions.
- If mounting on a wall, ensure that the camera is securely attached to a stud or use wall anchors for added stability.
- Regularly check the camera's mounting to ensure it remains secure over time.
- Clean the solar panel periodically to remove any dirt or debris that may obstruct sunlight and affect charging efficiency.
- Consider installing a security camera sign near the camera to deter potential intruders.
By following these steps and ensuring a secure mounting, you can enjoy the benefits of a Blink solar camera and have peace of mind knowing your property is being monitored effectively.

3、 Connecting the solar camera to a power source
To install a Blink solar camera, you will need to follow a few simple steps. The first step is to find a suitable location for the camera. It should be placed in an area that receives ample sunlight throughout the day. This will ensure that the solar panel can effectively charge the camera's battery.
Once you have found the ideal location, you can proceed with the installation process. Start by mounting the solar panel in a position where it can capture the maximum amount of sunlight. The panel should be securely attached to a wall or another surface using the provided mounting hardware.
Next, connect the solar panel to the camera using the included cable. The cable should be plugged into the solar panel's output port and the camera's power input port. Make sure the connection is secure to ensure a stable power supply.
After connecting the solar panel, you can proceed with setting up the camera. This typically involves downloading the Blink app on your smartphone and following the on-screen instructions to connect the camera to your Wi-Fi network.
Once the camera is connected to your network, it should start receiving power from the solar panel. The camera's battery will be charged by the solar panel during the day, ensuring continuous operation without the need for frequent battery replacements.
It is important to note that the installation process may vary slightly depending on the specific model of the Blink solar camera you are using. Therefore, it is always recommended to refer to the manufacturer's instructions for detailed installation guidelines.
In conclusion, installing a Blink solar camera involves finding a suitable location, mounting the solar panel, and connecting it to the camera. This will ensure a continuous power supply and hassle-free operation.

4、 Configuring the camera settings and network connection
To install a Blink solar camera, you need to follow a few steps. Firstly, ensure that you have a stable Wi-Fi network connection and a compatible smartphone or tablet. Then, download the Blink Home Monitor app from the App Store or Google Play Store.
Once the app is installed, open it and create a new account or log in to your existing Blink account. After logging in, tap on the "+" icon to add a new device. Select "Blink Camera" from the list of available devices.
Next, follow the on-screen instructions to connect the camera to your Wi-Fi network. Make sure the camera is within range of your Wi-Fi router. The app will guide you through the process of connecting the camera to your network.
Once the camera is connected to your Wi-Fi, you can configure its settings. This includes adjusting motion detection sensitivity, setting up activity zones, and enabling or disabling audio recording. You can also customize the camera's LED indicator light and choose whether to receive push notifications for motion alerts.
Additionally, you can set up cloud storage for your camera's recordings. Blink offers free cloud storage for up to two hours of video clips. If you require more storage, you can subscribe to Blink's cloud storage plans.
In conclusion, installing a Blink solar camera involves configuring the camera settings and connecting it to your Wi-Fi network. The Blink Home Monitor app provides a user-friendly interface to guide you through the installation process.
