How To Install Outdoor Camera ?
To install an outdoor camera, first, choose a suitable location for the camera that provides a clear view of the area you want to monitor. Ensure that the camera is protected from harsh weather conditions and positioned at an appropriate height. Next, mount the camera securely using the provided brackets or mounting hardware. Make sure it is firmly attached to the wall or other surface.
After mounting the camera, connect it to a power source. This can be done by plugging it into an electrical outlet or using a power adapter if the camera is not battery-powered. If the camera requires an internet connection, connect it to your Wi-Fi network by following the manufacturer's instructions.
Once the camera is powered and connected, configure its settings using the manufacturer's app or software. This may involve creating an account, connecting the camera to your home network, and adjusting settings such as motion detection or recording preferences.
Finally, test the camera to ensure it is functioning properly. Check the live feed and adjust the camera angle if needed. It is also recommended to regularly clean the camera lens to maintain clear image quality.
1、 Camera Placement and Mounting Options for Outdoor Installation
Camera Placement and Mounting Options for Outdoor Installation
Installing an outdoor camera is a great way to enhance the security of your property. However, it is important to consider the placement and mounting options to ensure optimal coverage and functionality. Here are some steps to guide you through the installation process:
1. Determine the areas to be monitored: Assess your property and identify the key areas that require surveillance. This could include entry points, driveways, and backyard spaces.
2. Choose the right camera: Select a camera that suits your specific needs. Consider factors such as resolution, night vision capabilities, weather resistance, and connectivity options.
3. Mounting options: There are various mounting options available, including wall mounts, pole mounts, and ceiling mounts. Choose the option that best suits your requirements and provides the desired coverage.
4. Positioning the camera: Ensure that the camera is positioned at the correct angle to capture the desired area. It should be placed high enough to avoid tampering but low enough to capture facial details if necessary.
5. Power source: Determine the power source for your camera. It can be wired or wireless, depending on your preference and the availability of power outlets in the area.
6. Connectivity: If your camera requires an internet connection, ensure that it is within range of your Wi-Fi network. Consider using a Wi-Fi extender if needed.
7. Test and adjust: Once the camera is installed, test its functionality and adjust the positioning if necessary. Ensure that the camera provides clear and unobstructed views of the monitored areas.
It is important to stay updated with the latest advancements in outdoor camera technology. New features such as motion detection, facial recognition, and cloud storage options can greatly enhance the effectiveness of your surveillance system. Additionally, consider investing in cameras with built-in infrared illuminators for improved night vision capabilities.
Remember to check local regulations and laws regarding the installation of outdoor cameras to ensure compliance.
2、 Power and Connectivity Considerations for Outdoor Camera Installation
Power and Connectivity Considerations for Outdoor Camera Installation
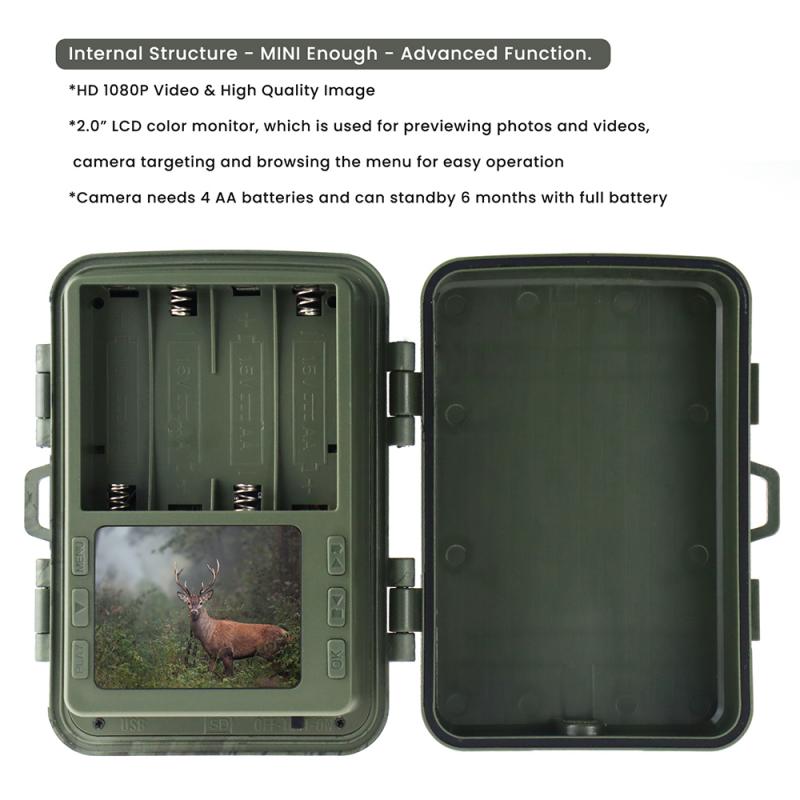
Installing an outdoor camera is a great way to enhance the security of your property. However, there are a few important power and connectivity considerations to keep in mind to ensure a successful installation.
1. Power Source: Outdoor cameras require a reliable power source. You have a few options to consider. One option is to use a camera that is powered by batteries. This eliminates the need for wiring but requires regular battery changes. Another option is to use a camera that is powered by a nearby electrical outlet. This requires running a power cable from the camera to the outlet, which may require professional assistance. Lastly, you can opt for a camera that is powered over Ethernet (PoE), which uses a single cable for both power and data transmission.
2. Connectivity: Outdoor cameras need a stable internet connection to transmit video footage. Ensure that your camera is within range of your Wi-Fi router or consider using a Wi-Fi extender to boost the signal. Additionally, consider the bandwidth requirements of your camera. Higher resolution cameras may require a faster internet connection to ensure smooth video streaming.
3. Weatherproofing: Outdoor cameras are exposed to the elements, so it's crucial to choose a camera that is weatherproof. Look for cameras with an IP rating of at least IP65, which ensures protection against dust and water.
4. Mounting: Properly mounting your outdoor camera is essential for optimal performance. Ensure that the camera is securely attached to a stable surface, such as a wall or ceiling. Consider the camera's field of view and angle of coverage when choosing the mounting location.
5. Security: Protecting your camera from theft or tampering is important. Choose a camera with tamper-resistant features and consider installing it at a height that is difficult to reach. Additionally, ensure that your camera's footage is encrypted and stored securely to protect your privacy.
In conclusion, installing an outdoor camera requires careful consideration of power and connectivity factors. By selecting the right power source, ensuring a stable internet connection, weatherproofing the camera, properly mounting it, and prioritizing security, you can successfully install an outdoor camera to enhance the security of your property.
3、 Weatherproofing and Protection Measures for Outdoor Camera Installation
Weatherproofing and Protection Measures for Outdoor Camera Installation
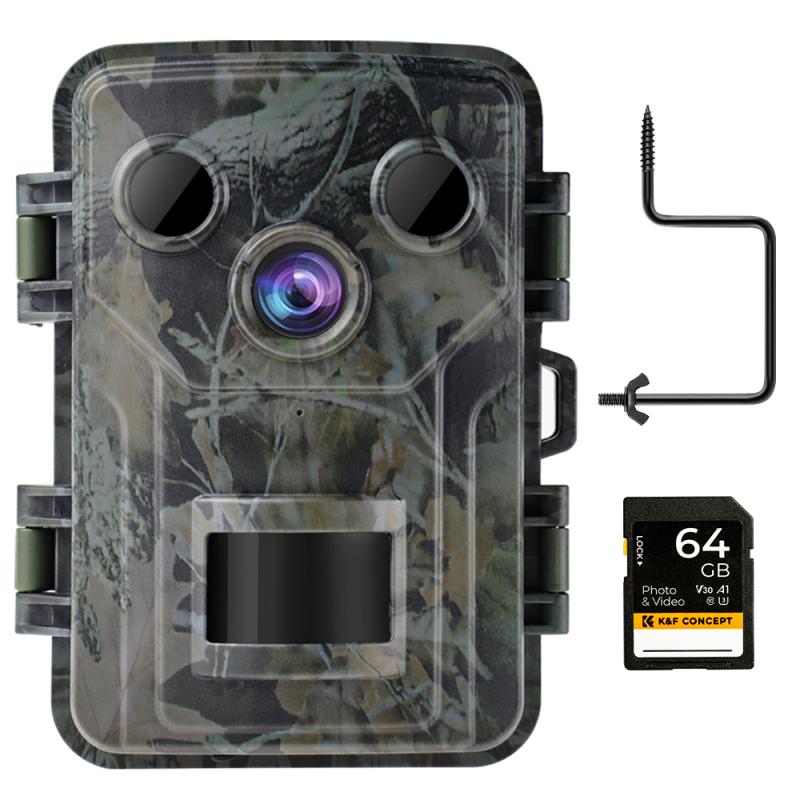
Installing an outdoor camera is a great way to enhance the security of your property. However, it is crucial to ensure that the camera is properly weatherproofed and protected to withstand the elements and provide reliable surveillance. Here are some steps to follow when installing an outdoor camera:
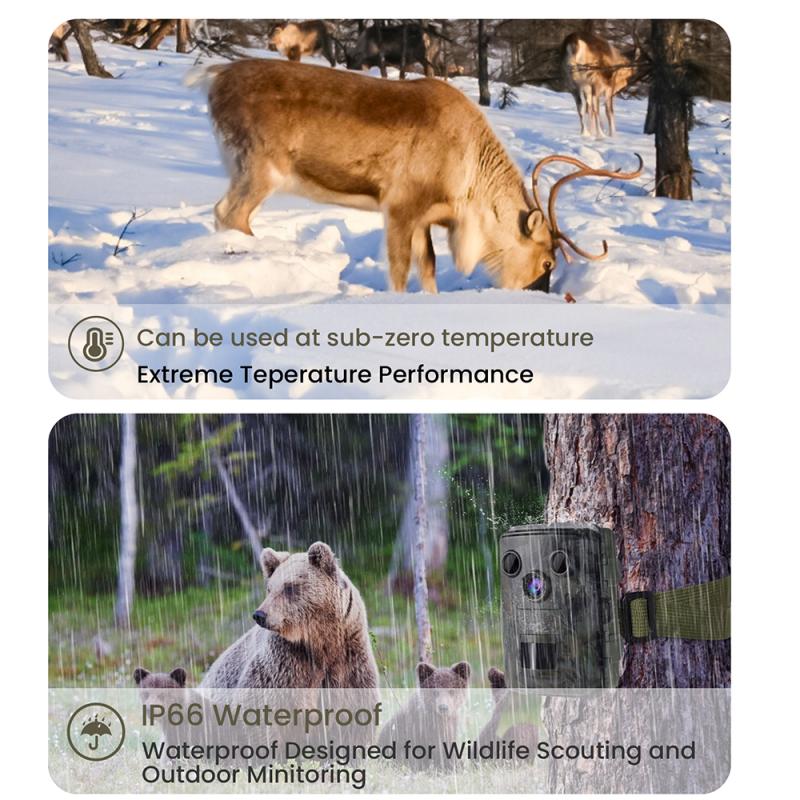
1. Choose a weatherproof camera: Look for a camera specifically designed for outdoor use. These cameras are built to withstand rain, snow, extreme temperatures, and other weather conditions. Ensure that the camera has an IP rating of at least IP65, which indicates its resistance to dust and water.
2. Select a suitable location: Find a location that provides a clear view of the area you want to monitor while minimizing exposure to direct sunlight and extreme weather conditions. Mount the camera at a height that is out of reach but still captures the desired field of view.
3. Use proper mounting hardware: Use sturdy mounting brackets and screws to secure the camera to a wall or other surface. Ensure that the mounting hardware is also weatherproof and resistant to rust and corrosion.
4. Install a protective housing: Consider installing a protective housing or enclosure around the camera to provide an extra layer of protection. These housings are typically made of durable materials such as metal or polycarbonate and can shield the camera from physical damage, vandalism, and harsh weather conditions.
5. Seal cable connections: Use weatherproof cable connectors and seal them with silicone or waterproof tape to prevent moisture from entering the camera's wiring. This will help maintain a reliable connection and prevent damage to the camera.
6. Regular maintenance: Periodically inspect the camera and its housing for any signs of damage or wear. Clean the lens and housing to ensure clear and unobstructed footage. Replace any damaged parts or components promptly.
In addition to these steps, it is essential to stay updated with the latest advancements in outdoor camera technology. Manufacturers are constantly improving the weatherproofing capabilities of their cameras, so it is worth considering the latest models that offer enhanced protection against the elements.
By following these weatherproofing and protection measures, you can ensure that your outdoor camera remains functional and reliable, providing you with the peace of mind and security you desire.
4、 Adjusting Camera Settings and Configurations for Outdoor Surveillance
Installing an outdoor camera is a crucial step in ensuring the security of your property. Here is a step-by-step guide on how to install an outdoor camera:
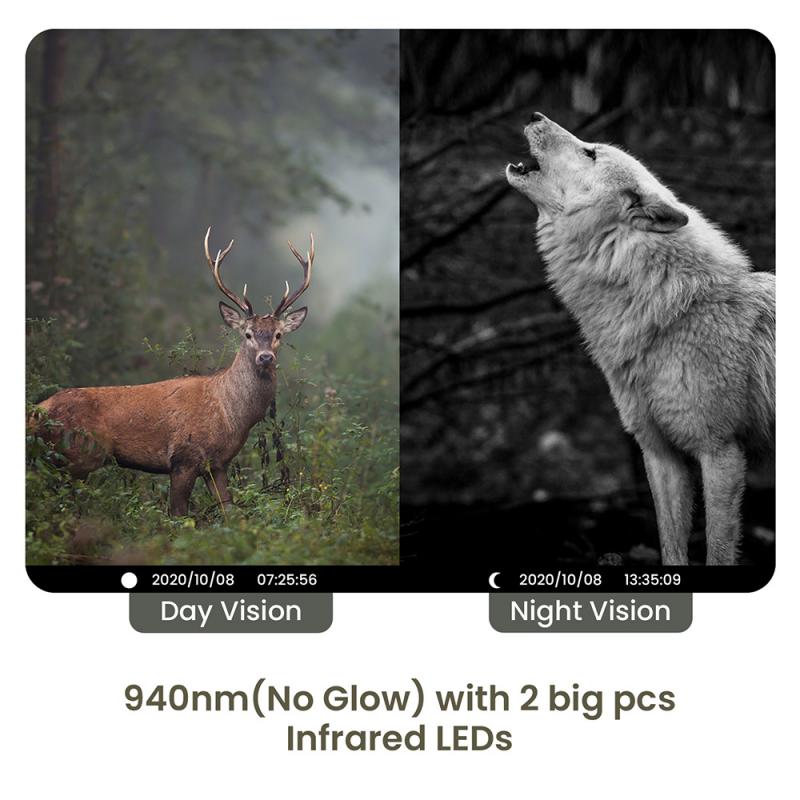
1. Choose the right camera: Select a camera that is specifically designed for outdoor use. Look for features such as weather resistance, night vision, and high-resolution video quality.
2. Determine the camera's location: Identify the areas you want to monitor and choose suitable locations for the camera. Consider factors such as the camera's field of view, accessibility for maintenance, and the presence of power outlets.
3. Mount the camera: Use the appropriate mounting hardware to securely attach the camera to a wall, ceiling, or other surfaces. Ensure that the camera is positioned at the desired angle and height for optimal coverage.
4. Connect the camera: Depending on the camera type, connect it to a power source and a network recorder or a wireless network. Follow the manufacturer's instructions for proper wiring and connection.
5. Adjust camera settings: Access the camera's settings through a web browser or a dedicated mobile app. Configure settings such as motion detection sensitivity, recording schedules, and video quality. Enable features like email alerts or push notifications for real-time monitoring.
6. Test the camera: Once the installation is complete, test the camera to ensure it is functioning correctly. Check the video feed, adjust the camera's angle if necessary, and verify that all settings are working as intended.
7. Regular maintenance: Keep the camera clean and free from obstructions such as spider webs or dirt. Regularly check the camera's connections and ensure that the firmware is up to date to maintain optimal performance.
It is important to note that technology is constantly evolving, and new advancements in outdoor camera installation may arise. Stay updated with the latest information and consult the manufacturer's guidelines for any specific instructions related to your camera model.











There are no comments for this blog.