How To Link Up Camcorder With Camtasia ?
To link up a camcorder with Camtasia, you will need to connect the camcorder to your computer using a compatible cable. Once connected, open Camtasia and select the option to import media or capture video from a device. Camtasia should detect the connected camcorder and allow you to preview and select the desired footage for import. Follow the on-screen instructions to complete the import process and begin editing your camcorder footage in Camtasia.
1、 Connecting the camcorder to your computer via USB cable.
To link up your camcorder with Camtasia, you can follow these steps:
1. Check compatibility: Ensure that your camcorder is compatible with Camtasia. Most modern camcorders have USB connectivity, which makes it easier to connect them to your computer.
2. Connecting the camcorder: Start by connecting your camcorder to your computer using a USB cable. Make sure that both ends of the cable are securely plugged in. If your camcorder uses a different type of cable, such as HDMI or FireWire, you may need to use an adapter or a different connection method.
3. Power on the camcorder: Turn on your camcorder and set it to the appropriate mode for transferring files. This mode is usually called "PC" or "Computer" mode. Refer to your camcorder's manual for specific instructions on how to do this.
4. Computer recognition: Once the camcorder is connected and powered on, your computer should recognize it as a removable storage device. It may prompt you with options for how you want to handle the device. Choose the option that allows you to access the files on the camcorder.
5. Importing footage: Open Camtasia on your computer and create a new project. Then, navigate to the location where your camcorder is recognized as a storage device. You should be able to see the video files stored on your camcorder. Select the files you want to import and drag them into the Camtasia project.
6. Editing and exporting: Once the footage is imported into Camtasia, you can start editing it using the various tools and features available. After editing, you can export the final video in your desired format.
It's important to note that the specific steps may vary depending on the make and model of your camcorder, as well as the version of Camtasia you are using. Always refer to the user manuals and documentation provided by the manufacturers for detailed instructions.
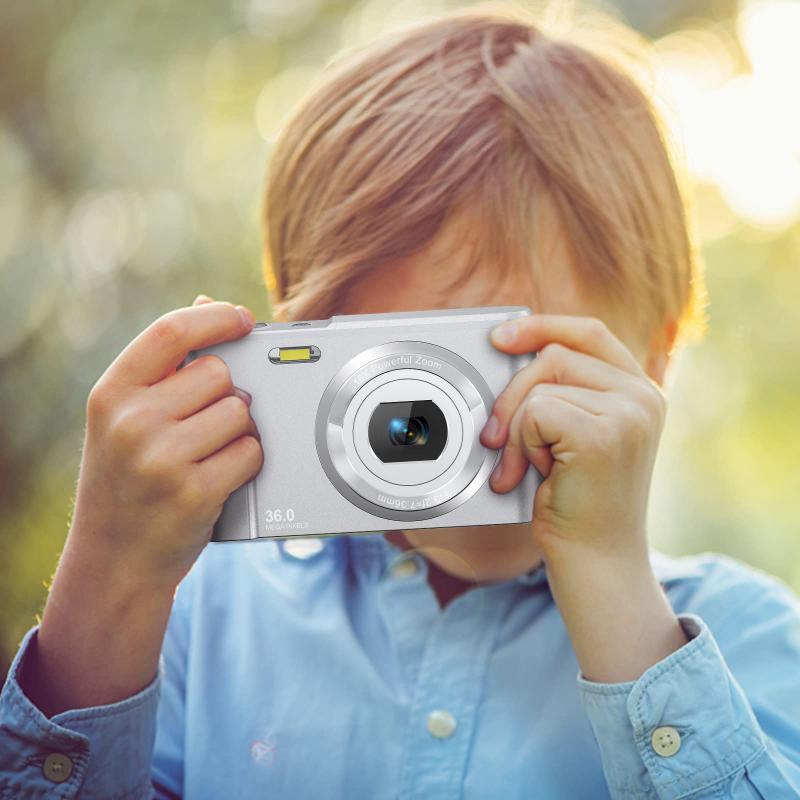
2、 Importing the camcorder footage into Camtasia software.
To link up a camcorder with Camtasia, you need to follow a few simple steps. Here's a guide on how to import camcorder footage into Camtasia software:
1. Connect your camcorder to your computer using a USB cable or any other appropriate connection method. Make sure your camcorder is turned on and set to the correct mode for transferring files.
2. Launch Camtasia software on your computer. If you don't have it installed, you can download and install the latest version from the official TechSmith website.
3. In Camtasia, click on the "Import Media" button, usually located in the top left corner of the interface. This will open a file browser window.
4. Navigate to the location where your camcorder footage is stored. It may be in the internal memory of the camcorder or on an external memory card. Select the files you want to import and click "Open" or "Import."
5. Camtasia will now import the selected footage into the media bin. You can preview and organize the imported files before adding them to your project timeline.
6. Drag and drop the imported footage from the media bin onto the timeline to start editing. You can trim, split, add effects, and perform various other editing tasks using Camtasia's intuitive interface.
It's worth noting that the specific steps may vary slightly depending on the version of Camtasia you are using and the type of camcorder you have. Always refer to the software's documentation or online resources for the most up-to-date instructions.
In conclusion, linking up a camcorder with Camtasia involves connecting the camcorder to your computer and importing the footage into the software. Once imported, you can start editing your videos using Camtasia's powerful editing tools.

3、 Adjusting the video and audio settings in Camtasia.
To link up a camcorder with Camtasia, you will need to follow a few steps. First, make sure your camcorder is connected to your computer via a USB cable or any other appropriate connection method. Once the camcorder is connected, open Camtasia and follow these steps:
1. Launch Camtasia and click on the "Import Media" button. This will open a window where you can browse and select the video files from your camcorder.
2. Locate the video files on your camcorder and select the ones you want to import into Camtasia. You can select multiple files by holding down the Ctrl key (or Command key on Mac) while clicking on the files.
3. After selecting the files, click on the "Import" button to import them into Camtasia. The imported files will appear in the media bin of Camtasia.
4. Drag and drop the imported video files onto the timeline to start editing them. You can trim, split, or rearrange the clips as needed.
5. To adjust the video and audio settings, click on the clip on the timeline and then click on the "Properties" tab in the upper-right corner of the Camtasia interface. Here, you can adjust various settings such as brightness, contrast, saturation, audio volume, and more.
6. Make the necessary adjustments to the video and audio settings to achieve the desired look and sound. You can preview the changes in real-time by playing the video in the preview window.
7. Once you are satisfied with the adjustments, you can further enhance your video by adding transitions, annotations, effects, and other elements available in Camtasia.
Remember to save your project regularly to avoid losing any changes. Additionally, it's always a good idea to consult the user manual or online resources specific to your camcorder model for any additional instructions or troubleshooting tips.
In conclusion, linking up a camcorder with Camtasia involves connecting the camcorder to your computer, importing the video files into Camtasia, and then adjusting the video and audio settings to achieve the desired outcome.
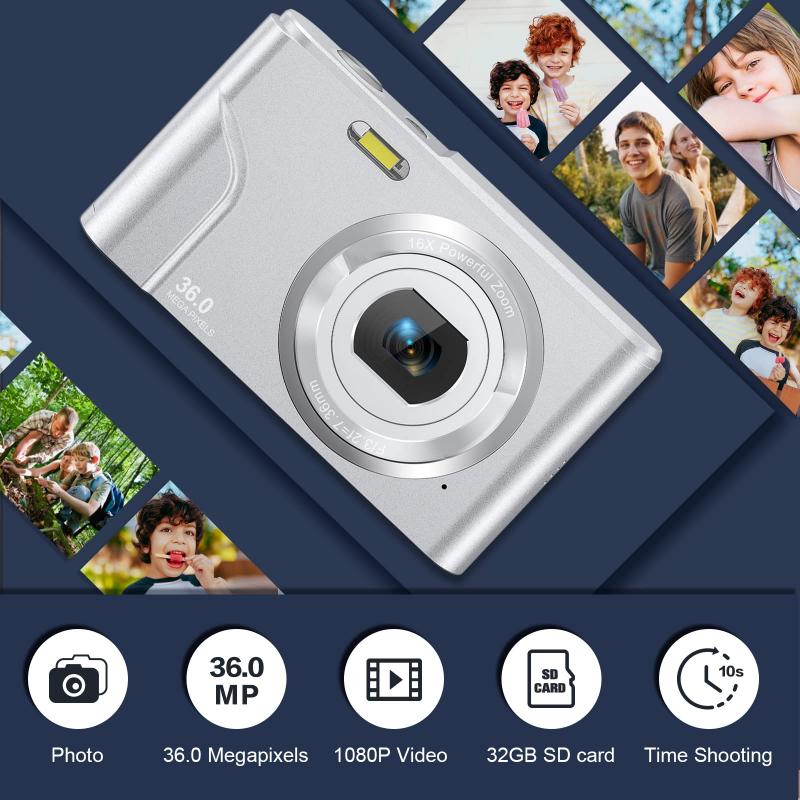
4、 Editing the camcorder footage in Camtasia.
To link up a camcorder with Camtasia, you will need to follow a few steps. First, ensure that your camcorder is compatible with your computer and Camtasia software. Most camcorders have a USB or HDMI output that can be connected to your computer.
1. Connect the camcorder to your computer: Use a USB cable or HDMI cable to connect your camcorder to your computer. Make sure the camcorder is turned on and set to the appropriate mode for transferring footage.
2. Import the footage into Camtasia: Once the camcorder is connected, open Camtasia and select the option to import media. Browse for the connected camcorder and select the footage you want to import. Camtasia will then transfer the footage from the camcorder to your computer.
3. Edit the footage in Camtasia: After the footage is imported, you can start editing it in Camtasia. Use the timeline and editing tools to trim, cut, add effects, and enhance the footage as desired. Camtasia offers a range of features to help you create professional-looking videos.
4. Export the edited video: Once you have finished editing the footage, you can export it in your desired format. Camtasia provides various options for exporting, including popular video formats, YouTube, Vimeo, and more. Choose the appropriate settings and save the video to your computer.
It's worth noting that the specific steps may vary slightly depending on the version of Camtasia and the camcorder you are using. It's always a good idea to consult the user manual or online resources for your specific camcorder and Camtasia version for detailed instructions.
In conclusion, linking up a camcorder with Camtasia involves connecting the camcorder to your computer, importing the footage into Camtasia, editing the footage using the software's features, and exporting the final video.
