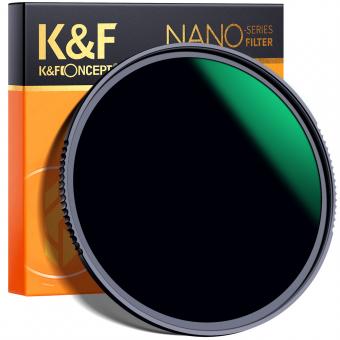
How To Make A 10 Stop Nd Filter ?
To make a 10-stop ND filter, you would need to obtain a piece of glass or acrylic material with the desired density. The density of the filter determines the amount of light it blocks. You can purchase sheets of ND filter material online or from photography supply stores. Once you have the material, you would need to cut it to the appropriate size to fit your lens or filter holder. It is important to ensure that the material is clean and free from any scratches or imperfections that could affect image quality. Finally, you would attach the filter to your lens or filter holder and adjust your camera settings accordingly to compensate for the reduced light transmission.
1、 Introduction to ND filters and their uses in photography
Introduction to ND filters and their uses in photography
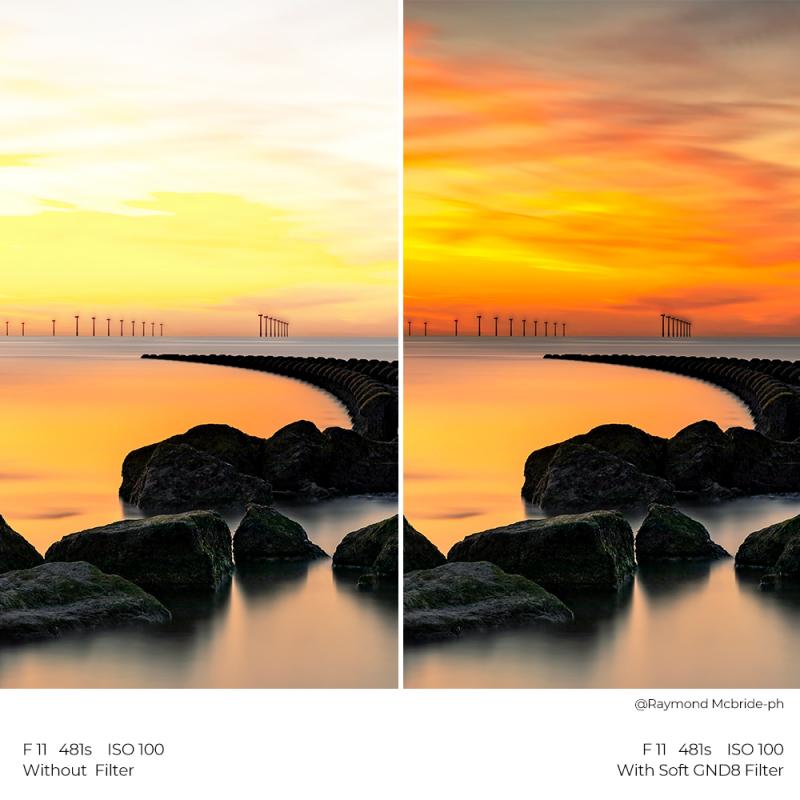
ND filters, or Neutral Density filters, are essential tools for photographers looking to control the amount of light entering their camera lens. These filters are designed to evenly reduce the intensity of light without affecting the color or hue of the image. They are particularly useful in situations where there is too much light, such as when shooting in bright daylight or capturing long exposure shots.
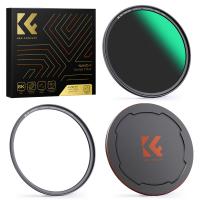
To make a 10 stop ND filter, you will need a piece of glass or acrylic material that is capable of reducing the light by 10 stops. This can be achieved by using a material with a high optical density, such as welding glass or specialized ND filter material. The material should be cut to the size of your lens diameter and mounted in a filter holder or attached directly to the lens using a step-up ring.
It is important to note that making your own ND filter requires careful consideration of the quality and safety of the materials used. Welding glass, for example, may introduce color casts or distortions to the image. Therefore, it is recommended to invest in a high-quality commercially available ND filter for optimal results.
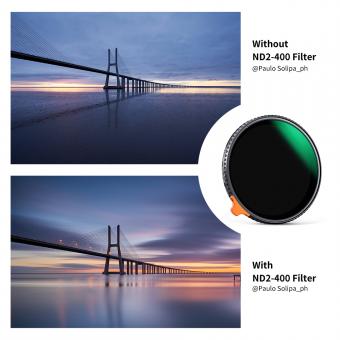
ND filters are commonly used in landscape photography to achieve long exposure effects, such as capturing smooth waterfalls or streaking clouds. They also allow photographers to use wider apertures in bright conditions, creating a shallow depth of field. Additionally, ND filters can be used to reduce the visibility of moving objects in crowded areas, such as removing people from busy city streets.
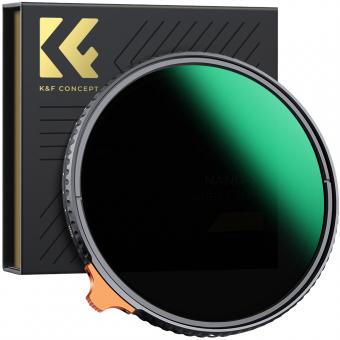
In recent years, advancements in digital photography have led to the development of variable ND filters, which allow photographers to adjust the intensity of light reduction by rotating the filter. These filters offer greater flexibility and convenience compared to fixed ND filters.
In conclusion, ND filters are valuable tools for photographers, enabling them to control light and achieve creative effects in their images. While it is possible to make your own 10 stop ND filter, it is recommended to invest in a high-quality commercially available filter for optimal results and to ensure the safety of your equipment.
2、 Understanding the concept of "stops" in ND filters
Understanding the concept of "stops" in ND filters is crucial in order to comprehend how to make a 10-stop ND filter. In photography, a "stop" refers to a measurement of light. Each stop represents a doubling or halving of the amount of light that reaches the camera's sensor. ND filters, or neutral density filters, are used to reduce the amount of light entering the lens, allowing for longer exposures or wider apertures in bright conditions.
To make a 10-stop ND filter, one must create a filter that reduces the light by 10 stops. This can be achieved by using a material that blocks 10 times the amount of light compared to the original exposure. There are various ways to create such a filter, but one common method is to use multiple layers of darkened glass or plastic.
The latest point of view on creating a 10-stop ND filter involves advancements in technology. Some manufacturers now offer filters with specialized coatings that provide a 10-stop reduction in light without the need for multiple layers. These filters are often made from high-quality glass or resin and are designed to maintain color accuracy and image sharpness.
It is important to note that creating a 10-stop ND filter requires precision and expertise. The filter must be carefully crafted to ensure it effectively reduces the light without introducing unwanted artifacts or color shifts. Therefore, for most photographers, it is recommended to purchase a commercially available 10-stop ND filter from a reputable manufacturer. These filters have been extensively tested and optimized to provide the desired light reduction while maintaining image quality.
In conclusion, understanding the concept of "stops" in ND filters is essential to create a 10-stop ND filter. While advancements in technology have made it possible to manufacture such filters with specialized coatings, it is generally recommended to purchase a commercially available filter to ensure optimal performance and image quality.
3、 Choosing the right materials for a DIY 10-stop ND filter
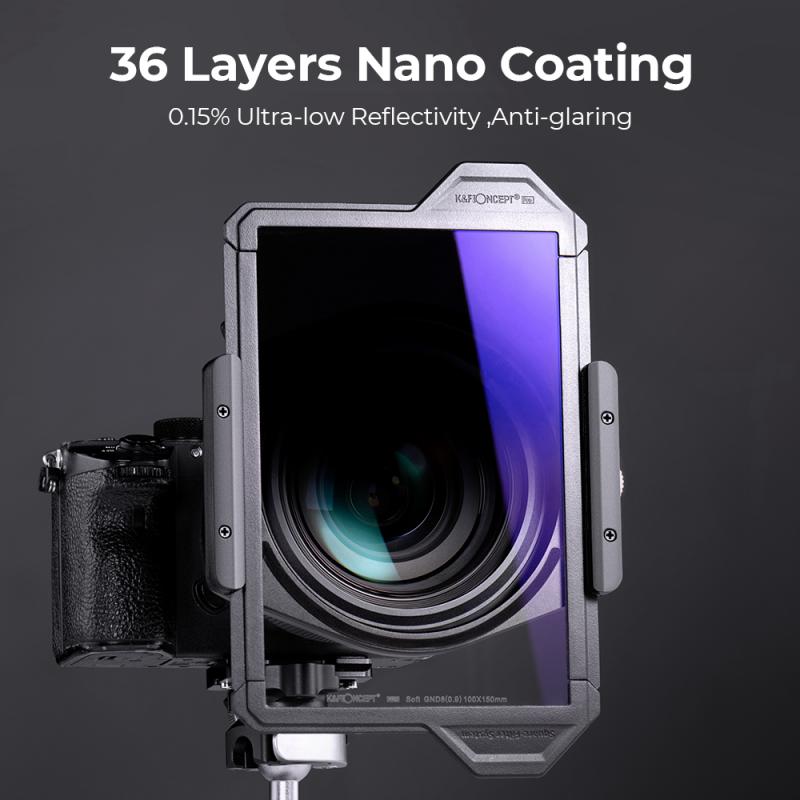
Choosing the right materials for a DIY 10-stop ND filter can be a cost-effective way to enhance your photography skills. Here's a step-by-step guide on how to make a 10-stop ND filter:
1. Research and gather the necessary materials: You will need a square or rectangular filter holder, filter adapter rings, a sheet of high-quality optical glass, and a filter gasket.
2. Measure and cut the optical glass: Using a glass cutter, carefully measure and cut the glass to fit the dimensions of your filter holder. Ensure that the glass is clean and free from any scratches or imperfections.
3. Attach the filter gasket: Apply the filter gasket to the edges of the glass. This will help prevent light leaks and ensure a secure fit within the filter holder.
4. Install the filter holder and adapter rings: Attach the filter holder to your camera lens using the appropriate adapter ring. Make sure it is securely fastened to avoid any movement or light leaks.
5. Test your DIY ND filter: Take a few test shots to ensure that the filter is effectively reducing the amount of light entering the lens. Adjust the exposure settings accordingly to compensate for the increased density.
It's important to note that creating a high-quality 10-stop ND filter requires precision and attention to detail. While a DIY approach can be cost-effective, it may not provide the same level of optical quality as commercially available filters. Additionally, DIY filters may not have the same level of color accuracy or coating technology found in professional filters.
If you are looking for the best image quality and performance, it is recommended to invest in a commercially available 10-stop ND filter from a reputable brand. These filters are specifically designed to provide accurate light reduction and maintain image quality.
4、 Step-by-step guide to assembling a homemade 10-stop ND filter
Step-by-step guide to assembling a homemade 10-stop ND filter:
1. Gather the necessary materials: You will need a square or rectangular filter holder, a piece of glass or acrylic sheet, and a material that can block light, such as welding glass or a black synthetic fabric.
2. Measure and cut the glass or acrylic sheet to fit the filter holder. Make sure it is the same size as the holder to ensure a proper fit.
3. If using welding glass, it may already be the desired density. However, if using a black synthetic fabric, you will need to layer it to achieve the desired light-blocking effect. Experiment with the number of layers to achieve a 10-stop reduction in light.
4. Place the glass or acrylic sheet into the filter holder. If using the black synthetic fabric, sandwich it between two pieces of glass or acrylic to prevent it from moving.
5. Attach the filter holder to your camera lens. Make sure it is securely fastened to avoid any light leaks.
6. Test the filter by taking a few sample shots. Adjust the number of layers if necessary to achieve the desired effect.
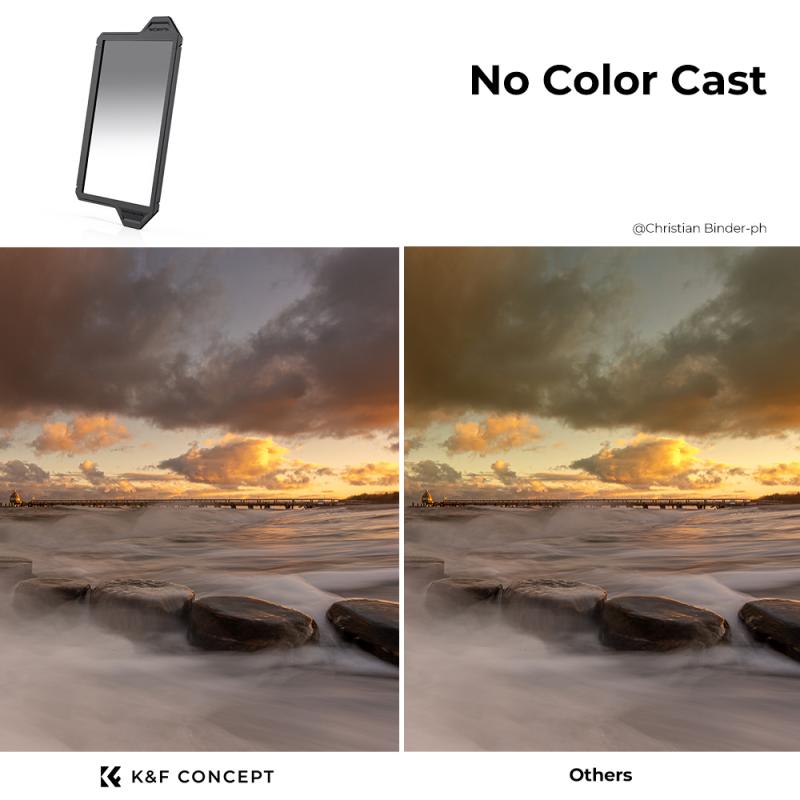
It is important to note that homemade filters may not provide the same level of quality and consistency as commercially available filters. Additionally, using welding glass or other materials not specifically designed for photography may introduce color casts or other unwanted effects. Therefore, it is recommended to invest in a high-quality, commercially available 10-stop ND filter for optimal results.
Please exercise caution when using welding glass, as it can be fragile and may shatter if mishandled.


