How To Make A Camera Backpack ?
To make a camera backpack, you will need a sturdy backpack as the base. Choose one with multiple compartments and padding for protection. Measure and cut foam inserts to fit your camera and accessories, ensuring a snug and secure fit. Use a hot glue gun or adhesive to attach the foam inserts to the backpack's compartments. Consider adding dividers or adjustable straps to further organize your gear. Additionally, you can sew or attach small pockets or pouches to hold smaller items like memory cards or batteries. Finally, make sure the backpack has comfortable shoulder straps and a waist belt for added support when carrying heavy camera equipment.
1、 Choosing the right backpack size and design for camera gear
Choosing the right backpack size and design for camera gear is crucial for photographers and videographers who need to carry their equipment safely and comfortably. A camera backpack should provide adequate protection for delicate gear while also being convenient to use in various shooting environments. Here's a guide on how to make a camera backpack that meets these requirements.
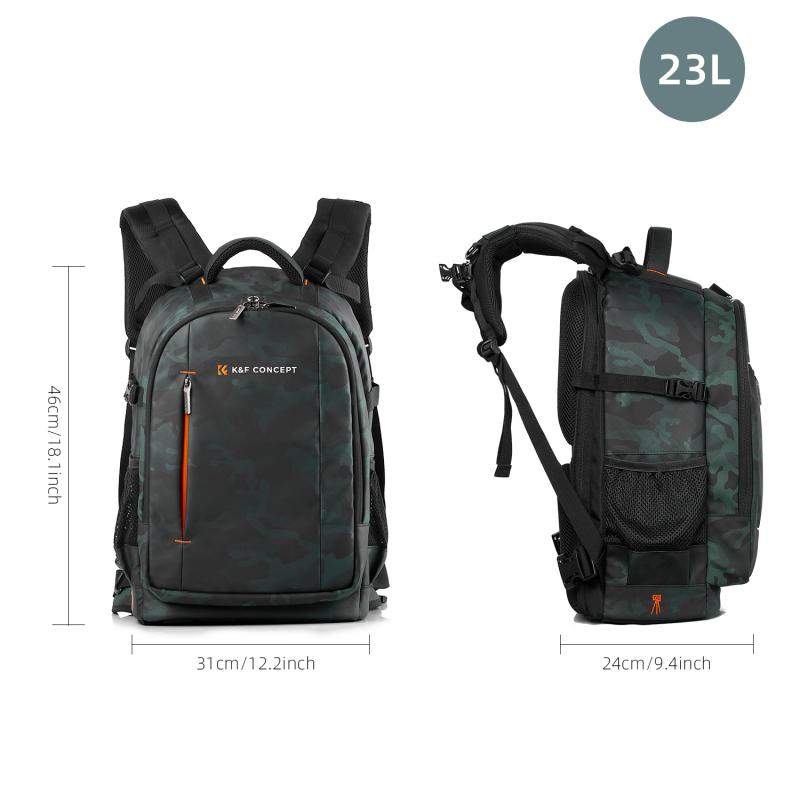
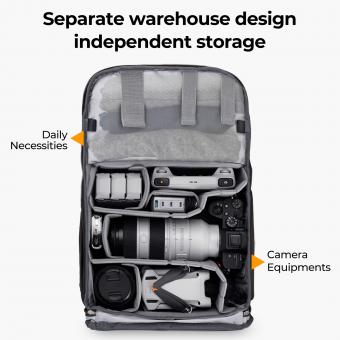
Firstly, consider the size of your camera gear. Determine the number of cameras, lenses, and accessories you typically carry, and choose a backpack with enough compartments and dividers to accommodate them. It's essential to have dedicated padded compartments for each item to prevent them from knocking against each other.
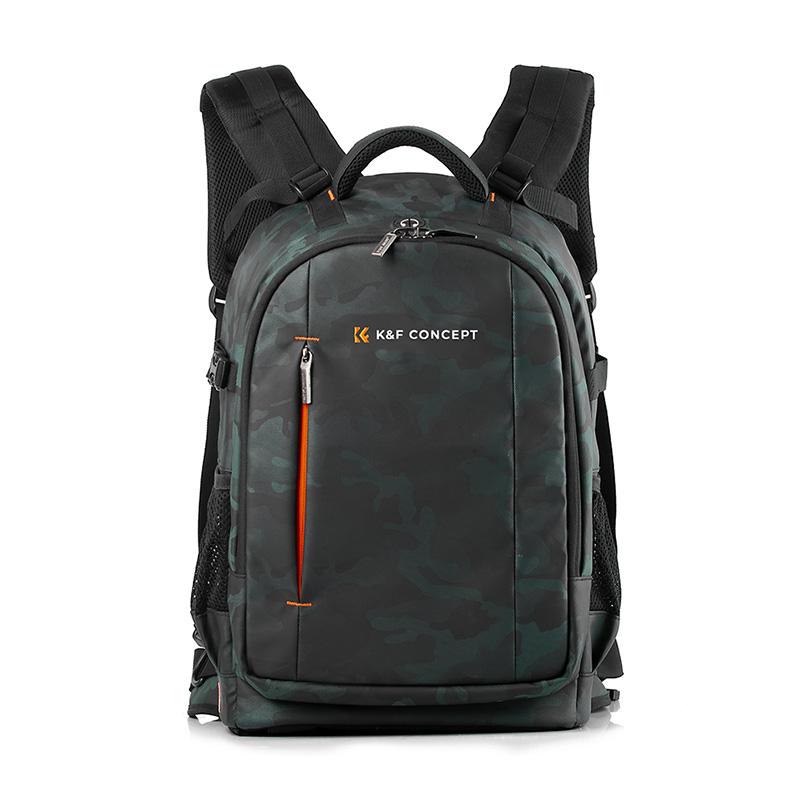
Next, consider the design of the backpack. Look for a backpack with a sturdy and durable exterior material that can withstand different weather conditions. Additionally, opt for a backpack with a waterproof cover or built-in rain protection to safeguard your gear during unexpected rain showers.
Ergonomics is another crucial aspect to consider. Look for a backpack with adjustable shoulder straps and a padded back panel to ensure comfort during long hours of shooting. A waist strap can also help distribute the weight evenly and reduce strain on your shoulders.
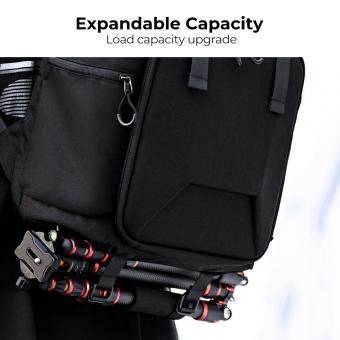
Furthermore, consider additional features that can enhance your shooting experience. Look for a backpack with quick-access pockets or side compartments for easy retrieval of frequently used items like memory cards or batteries. Some backpacks also come with tripod holders or straps to secure your tripod.
Lastly, keep up with the latest trends and innovations in camera backpack design. Manufacturers are constantly introducing new features such as customizable dividers, anti-theft features, and even built-in charging ports for electronic devices. Stay informed about these advancements to ensure you choose a backpack that suits your specific needs.
In conclusion, making a camera backpack involves choosing the right size and design to accommodate your camera gear while providing adequate protection and comfort. Consider the number of items you carry, the durability of the backpack, its ergonomics, and any additional features that can enhance your shooting experience. Stay updated with the latest trends to ensure you make an informed decision.
2、 Incorporating padded compartments and dividers for camera equipment
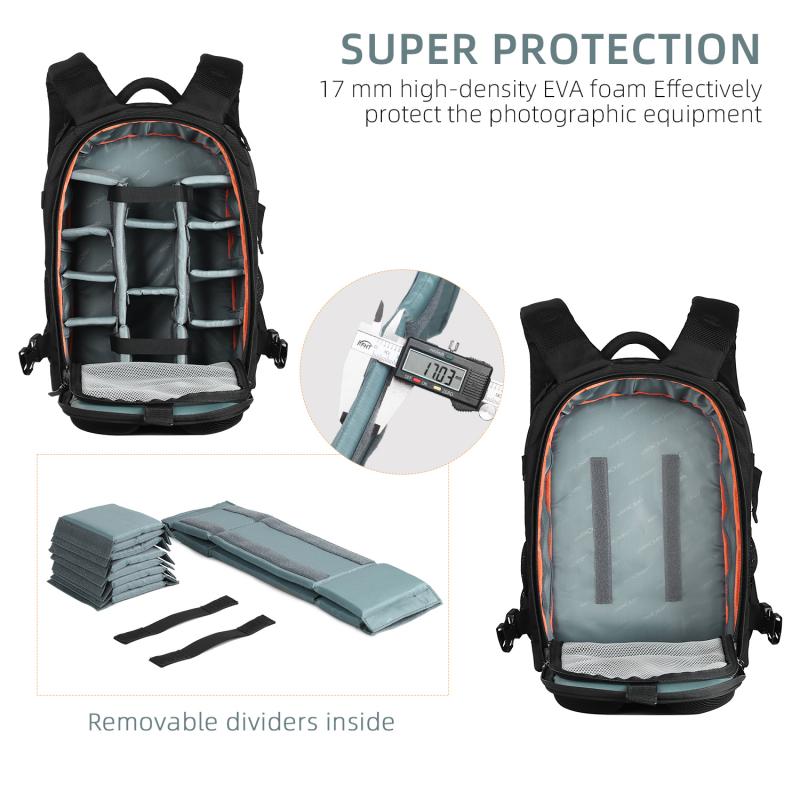
To make a camera backpack, you will need to incorporate padded compartments and dividers for camera equipment. These features are essential to ensure the safety and organization of your gear while on the go.
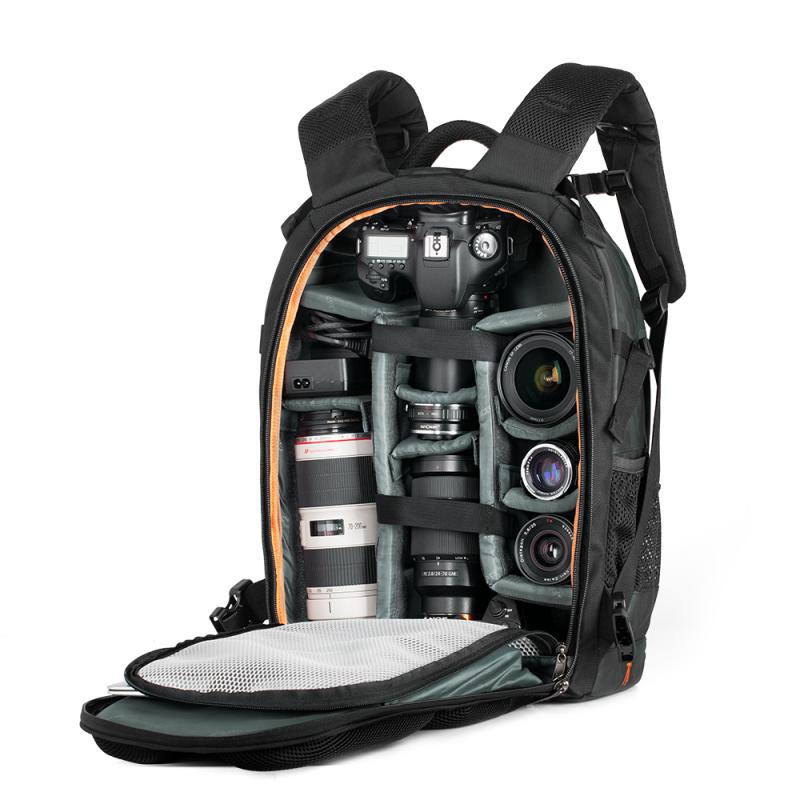
First, choose a backpack that is spacious enough to accommodate your camera and accessories. Look for a backpack with multiple compartments and pockets to keep your equipment organized. It's also important to select a backpack made from durable and water-resistant materials to protect your gear from the elements.
Next, create padded compartments within the backpack to securely hold your camera and lenses. You can use foam inserts or purchase pre-made camera inserts that fit your specific gear. These compartments will provide cushioning and prevent your equipment from shifting or getting damaged during transport.
Additionally, incorporate dividers within the compartments to further organize your gear. Dividers can be adjustable or removable, allowing you to customize the layout based on your specific needs. This will help you keep your camera body, lenses, batteries, and other accessories separate and easily accessible.
Consider adding extra pockets and compartments for smaller accessories such as memory cards, filters, and cleaning supplies. These smaller items can easily get lost or damaged if not properly stored.
Lastly, ensure that the backpack is comfortable to wear for extended periods. Look for padded shoulder straps and a back panel that provides ventilation to prevent discomfort and sweating.
Incorporating these features into your camera backpack will not only protect your gear but also make it easier to access and use while on the go. Remember to regularly assess and adjust the organization of your backpack to accommodate any new equipment or changes in your shooting style.
3、 Adding external attachment points for tripods and other accessories
To make a camera backpack, you will need a few materials and some basic sewing skills. Here's a step-by-step guide on how to create your own camera backpack:
1. Gather the materials: You will need a sturdy backpack, preferably one with multiple compartments and padding for protection. Additionally, you will need nylon webbing, plastic buckles, D-rings, and a sewing kit.
2. Plan the layout: Determine where you want to add the external attachment points for tripods and other accessories. Consider the weight distribution and accessibility when choosing the locations.
3. Measure and cut the webbing: Measure the length needed for each attachment point and cut the nylon webbing accordingly. Make sure to leave some extra length for sewing and adjusting.
4. Sew the webbing: Attach the webbing to the backpack using a sewing kit. Reinforce the stitching by going over it a few times to ensure durability. Sew the webbing in a way that it forms a loop or a strap to hold the tripod securely.
5. Add buckles and D-rings: Sew plastic buckles and D-rings to the webbing straps. These will allow you to adjust the tightness and provide additional attachment points for other accessories like lens cases or water bottle holders.
6. Test and adjust: Once you have attached all the external attachment points, test them by attaching your tripod or other accessories. Make any necessary adjustments to ensure a secure fit.
7. Optional: Consider adding additional padding or protective layers to the backpack to safeguard your camera gear from any potential damage.
Adding external attachment points for tripods and other accessories to your camera backpack can greatly enhance its functionality and convenience. It allows you to carry your equipment securely and have quick access to them when needed. Additionally, it provides flexibility for photographers who often need to carry additional gear or accessories on their shoots.
Remember to regularly inspect the attachment points and stitching to ensure they remain secure and in good condition. With a little creativity and some sewing skills, you can customize your camera backpack to meet your specific needs and preferences.
4、 Including a dedicated laptop compartment for editing on-the-go
To make a camera backpack that includes a dedicated laptop compartment for editing on-the-go, you will need a few materials and a basic understanding of sewing. Here's a step-by-step guide to help you create your own camera backpack:
1. Gather the materials: You will need a sturdy backpack, preferably one with multiple compartments, a laptop sleeve or padded compartment, foam padding, fabric, a sewing machine, thread, scissors, and a zipper.
2. Prepare the backpack: Start by emptying the backpack and removing any unnecessary dividers or compartments. This will create space for your camera gear and laptop.
3. Create the laptop compartment: Measure the dimensions of your laptop and cut a piece of foam padding slightly larger than those measurements. Sew a fabric sleeve for the foam padding, leaving one side open. Insert the foam padding into the sleeve and sew the open side shut. Attach this laptop sleeve to the inside of the backpack using strong stitches or Velcro.
4. Organize camera gear: Use foam padding to create compartments for your camera, lenses, and accessories. Measure and cut the foam padding to fit snugly around each item, ensuring they are well-protected. Sew fabric sleeves for each foam compartment and attach them securely inside the backpack.
5. Add additional features: Consider adding extra pockets or compartments for memory cards, batteries, and other small accessories. You can also attach straps or hooks on the outside of the backpack to carry a tripod or other bulky equipment.
6. Secure the backpack: Finally, add a zipper to the main compartment of the backpack to ensure the safety of your camera gear and laptop. Make sure the zipper is sturdy and runs smoothly.
With this camera backpack, you can conveniently carry your camera gear and laptop in one place, allowing you to edit your photos on-the-go. Remember to customize the design and features according to your specific needs and preferences.








(1)-200x200.jpg)



There are no comments for this blog.