How To Make A Camera Gimbal ?
To make a camera gimbal, you will need a few key components. First, you will need a motorized gimbal controller, which is responsible for stabilizing the camera. Next, you will need brushless motors, which will provide the necessary torque to keep the camera steady. Additionally, you will need an IMU (Inertial Measurement Unit) sensor, which will detect any movements or vibrations and send signals to the controller to adjust the motors accordingly. Finally, you will need a camera mounting plate or platform to securely attach your camera to the gimbal. By assembling these components and following the instructions provided with the gimbal controller, you can create your own camera gimbal for smooth and stable footage.
1、 Understanding the Basics of Camera Gimbals
Understanding the Basics of Camera Gimbals
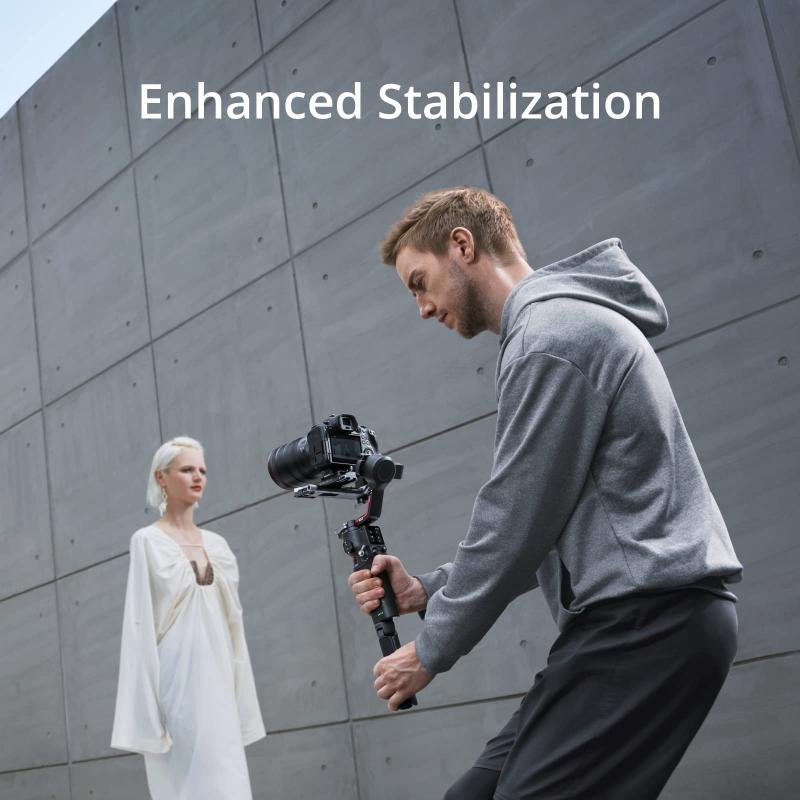
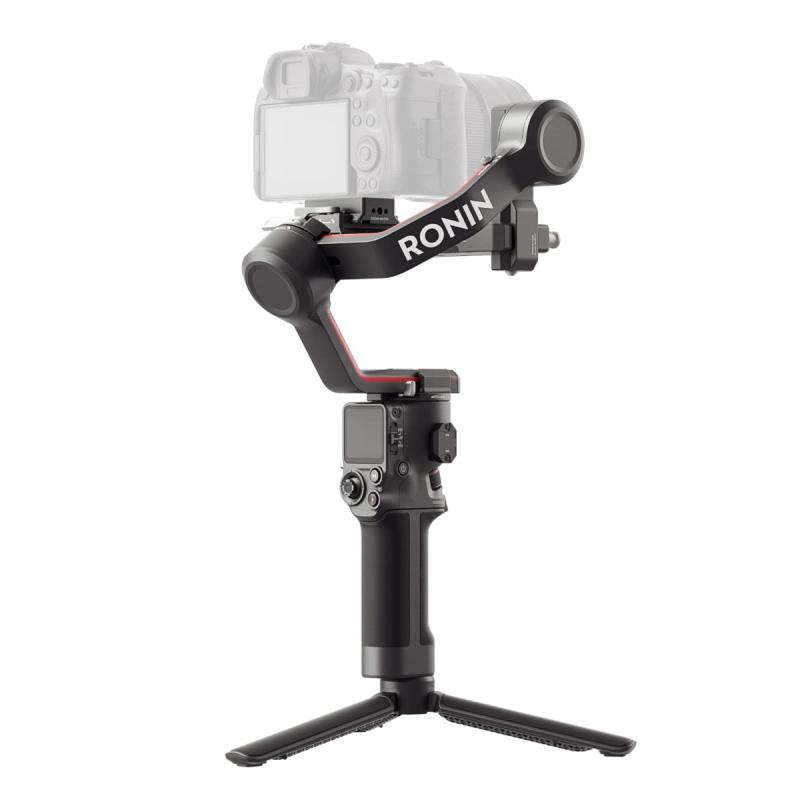
A camera gimbal is a device used to stabilize a camera and eliminate unwanted movements or vibrations during filming. It consists of three axes (pan, tilt, and roll) that allow the camera to rotate smoothly in all directions. This technology has revolutionized the way videos are captured, providing professional-looking footage even in challenging conditions.
To make a camera gimbal, you will need a few key components. Firstly, you will need a brushless motor for each axis of movement. These motors are responsible for stabilizing the camera and keeping it level. Additionally, you will need an IMU (Inertial Measurement Unit) sensor, which detects the camera's movements and sends signals to the motors to adjust accordingly.
Next, you will need a control board or a microcontroller to process the data from the IMU sensor and control the motors. This board will interpret the camera's movements and send commands to the motors to maintain stability.
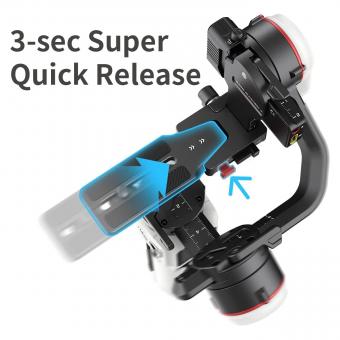
Finally, you will need a frame or structure to mount the motors, control board, and camera. This frame should be lightweight yet sturdy enough to support the weight of the camera and the gimbal components.
It is important to note that making a camera gimbal from scratch can be a complex and time-consuming process, requiring knowledge of electronics and programming. However, there are many pre-made camera gimbal kits available on the market that can be assembled and customized to fit your specific needs.
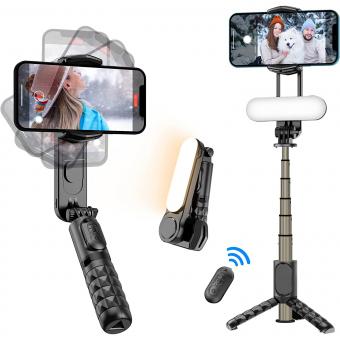
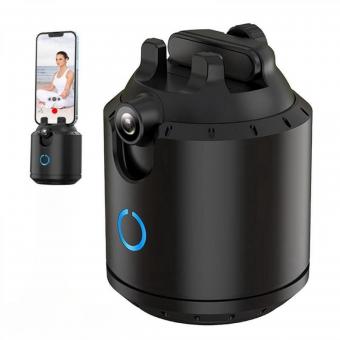
In recent years, advancements in technology have led to the development of more compact and lightweight camera gimbals. These gimbals often incorporate features such as follow focus, object tracking, and smartphone compatibility, making them versatile tools for both amateur and professional filmmakers.
Overall, understanding the basics of camera gimbals is essential for anyone looking to capture smooth and stable footage. Whether you choose to make your own gimbal or invest in a pre-made one, this technology has undoubtedly transformed the way we capture videos.
2、 Selecting the Right Components for Your Camera Gimbal
Selecting the Right Components for Your Camera Gimbal
A camera gimbal is an essential tool for capturing smooth and stable footage, whether you are a professional filmmaker or an amateur videographer. Building your own camera gimbal can be a rewarding and cost-effective option. However, it is crucial to select the right components to ensure optimal performance and functionality.
1. Motors: The motors are the heart of a camera gimbal, responsible for stabilizing the camera. Brushless motors are commonly used due to their efficiency and reliability. Look for motors with high torque and low weight to handle the weight of your camera.
2. Controller: The controller is the brain of the gimbal, responsible for processing sensor data and controlling the motors. Choose a controller that is compatible with your chosen motors and offers advanced features like auto-calibration and adjustable control parameters.
3. IMU (Inertial Measurement Unit): The IMU consists of sensors that detect the gimbal's orientation and movement. Look for an IMU with high accuracy and fast response time to ensure precise stabilization.
4. Frame: The frame holds all the components together and provides stability. Consider a lightweight and durable frame made of carbon fiber or aluminum alloy. It should be able to accommodate your camera's size and weight.
5. Power Supply: A reliable power supply is essential for uninterrupted operation. Choose a battery with sufficient capacity to power the gimbal and your camera for an extended period. Consider using a voltage regulator to ensure stable power delivery.
6. Control Interface: Select a control interface that suits your needs. This could be a joystick, remote control, or smartphone app. Ensure it offers intuitive and responsive control over the gimbal's movements.
7. Latest Point of View: With advancements in technology, some camera gimbals now offer additional features like object tracking, time-lapse modes, and even built-in cameras. Consider these latest innovations to enhance your filming capabilities.
Remember to thoroughly research and compare different components before making your final selection. It is also advisable to consult online forums and communities to gather insights from experienced gimbal builders. By carefully selecting the right components, you can build a camera gimbal that meets your specific requirements and captures stunningly smooth footage.

3、 Building the Frame and Mounting System for the Gimbal
Building a camera gimbal requires careful planning and attention to detail. The first step is to create the frame and mounting system for the gimbal. This involves selecting the appropriate materials and designing a sturdy structure to support the camera.
One option for building the frame is to use lightweight carbon fiber tubes. These tubes are strong and durable, making them ideal for a camera gimbal. They can be cut to the desired length and connected using connectors or clamps. Alternatively, aluminum or steel can also be used for the frame, depending on the desired strength and weight.
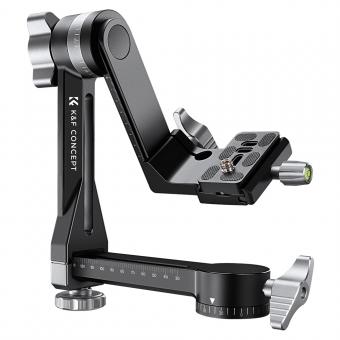
Once the frame is constructed, the next step is to design the mounting system for the camera. This involves creating a platform or cradle that securely holds the camera in place while allowing for smooth movement. The mounting system should be adjustable to accommodate different camera sizes and weights.
To ensure stability and smooth movement, it is important to incorporate dampening mechanisms into the mounting system. This can be achieved by using rubber or foam padding to absorb vibrations and shocks. Additionally, using ball bearings or bushings can help reduce friction and allow for fluid movement.
The latest point of view in camera gimbal design is the incorporation of motorized stabilization systems. These systems use brushless motors and gyroscopes to automatically stabilize the camera and compensate for any movement or vibrations. This technology has revolutionized camera stabilization, allowing for incredibly smooth and professional-looking footage.
In conclusion, building a camera gimbal involves constructing a sturdy frame and designing a mounting system that securely holds the camera. Incorporating dampening mechanisms and motorized stabilization systems can further enhance the performance of the gimbal. With the right materials and attention to detail, it is possible to create a high-quality camera gimbal for capturing smooth and stable footage.
4、 Wiring and Connecting the Motors and Electronics
To make a camera gimbal, one of the crucial steps is wiring and connecting the motors and electronics. This process involves ensuring proper communication between the motors, sensors, and control board to achieve smooth and stable camera movements. Here is a step-by-step guide on how to wire and connect the motors and electronics for a camera gimbal:
1. Gather the necessary components: You will need brushless motors, an IMU (Inertial Measurement Unit), an electronic speed controller (ESC), a control board (such as a microcontroller or a dedicated gimbal controller), and appropriate cables.
2. Mount the motors: Attach the brushless motors to the gimbal frame, ensuring they are securely fastened.
3. Connect the motors to the ESC: Use motor cables to connect each motor to its respective ESC. Follow the manufacturer's instructions for proper wiring.
4. Connect the ESC to the control board: Connect the ESCs to the control board using the appropriate cables. Ensure the correct motor-to-ESC mapping is maintained.
5. Connect the IMU: Connect the IMU to the control board. The IMU provides data on the gimbal's orientation and movement, allowing the control board to make adjustments accordingly.
6. Power the system: Connect a power source, such as a battery, to the ESCs and control board. Ensure the voltage and current ratings are compatible.
7. Calibrate the system: Follow the instructions provided by the gimbal controller manufacturer to calibrate the motors, IMU, and control board. This step ensures accurate sensor readings and proper motor control.
8. Test and fine-tune: Power on the gimbal and test its functionality. Make any necessary adjustments to the control board settings to achieve desired camera stabilization.
It is important to note that the specific wiring and connection process may vary depending on the gimbal design and components used. Always refer to the manufacturer's instructions and guidelines for your specific gimbal model. Additionally, with advancements in technology, there may be new developments and techniques in camera gimbal wiring and connection. Staying updated with the latest resources and forums dedicated to camera gimbal building can provide valuable insights and the latest point of view on this topic.
