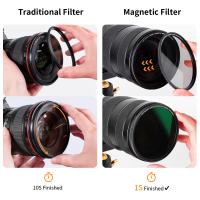
How To Make A Camera Holder ?
To make a camera holder, you can start by gathering materials such as a sturdy base, a flexible arm or tripod, and a camera mount. The base can be made of wood, metal, or any other material that provides stability. The flexible arm or tripod should be adjustable and capable of holding the weight of your camera. You can purchase these items from a camera store or online, or you can repurpose existing materials such as a desk lamp with a flexible arm. The camera mount should be compatible with your camera model and can be attached to the flexible arm or tripod. Ensure that the mount securely holds the camera in place. Once you have all the materials, assemble them according to the instructions provided or based on your own design. Test the camera holder to ensure it is stable and can hold your camera securely. Adjust the flexible arm or tripod as needed to achieve the desired camera angle and position.
1、 DIY Camera Holder: Step-by-step guide for creating a homemade camera holder.
DIY Camera Holder: Step-by-step guide for creating a homemade camera holder.
In today's digital age, capturing moments has become an integral part of our lives. Whether you are a professional photographer or an amateur enthusiast, having a camera holder can greatly enhance your photography experience. While there are various camera holders available in the market, creating your own DIY camera holder can be a fun and cost-effective alternative. Here is a step-by-step guide to help you create your very own camera holder.
Step 1: Gather the materials
To start, you will need a few basic materials such as a sturdy tripod, a ball head mount, a metal plate, a screw, and a drill.
Step 2: Prepare the metal plate
Using a drill, create a hole in the metal plate that matches the size of the screw. This will serve as the base for attaching the ball head mount.
Step 3: Attach the ball head mount
Securely screw the ball head mount onto the metal plate. This will provide the flexibility to adjust the camera's angle and position.
Step 4: Attach the metal plate to the tripod
Using the screw, attach the metal plate with the ball head mount to the top of the tripod. Ensure that it is tightly secured to prevent any wobbling or instability.
Step 5: Test and adjust
Once the camera holder is assembled, test it by attaching your camera and adjusting the angle and position. Make any necessary adjustments to ensure stability and ease of use.
Creating your own camera holder allows you to customize it according to your specific needs and preferences. Additionally, it can be a great way to save money while still achieving professional-looking results.
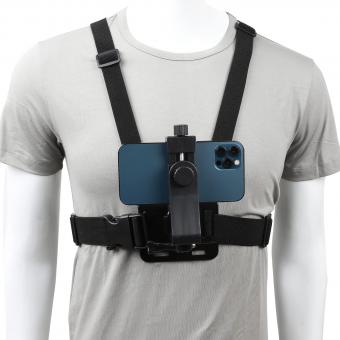
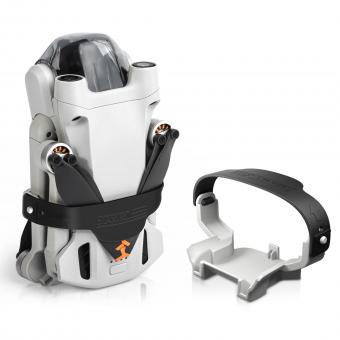
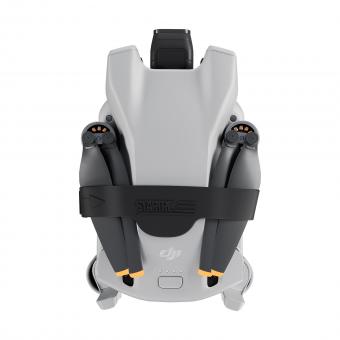
With the advancements in technology, there are also innovative camera holders available in the market. These include smartphone holders, wearable camera mounts, and even drone-mounted camera holders. These options provide additional flexibility and convenience for capturing unique perspectives and angles.
In conclusion, creating a DIY camera holder can be a rewarding and cost-effective project. By following this step-by-step guide, you can create a camera holder that suits your needs and enhances your photography experience. However, it is important to keep in mind that safety should always be a priority when using any camera holder, whether homemade or commercially available.
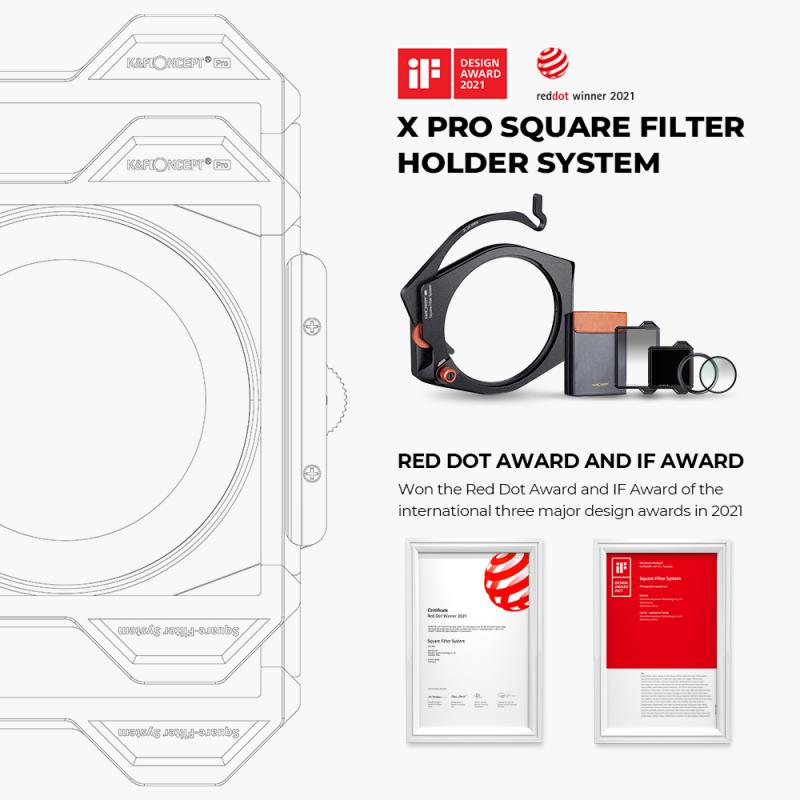
2、 Tripod Camera Holder: Exploring the use of tripods as camera holders.
Tripod Camera Holder: Exploring the use of tripods as camera holders.
A camera holder, such as a tripod, is an essential tool for photographers and videographers. It provides stability and allows for precise positioning of the camera, resulting in sharper images and smoother videos. While there are various types of camera holders available in the market, tripods remain the most popular choice due to their versatility and ease of use.
To make a camera holder using a tripod, follow these steps:
1. Choose a tripod: Select a tripod that suits your needs and budget. Consider factors such as weight capacity, height adjustability, and stability.
2. Attach the camera mount: Most tripods come with a detachable camera mount. Screw the mount onto the tripod's head using the provided screw or quick-release plate.
3. Adjust the tripod height: Extend the tripod legs to your desired height. Make sure the tripod is stable and level by adjusting the leg angles and using a bubble level if available.
4. Position the camera: Attach your camera to the camera mount using the tripod's quick-release mechanism or by screwing it onto the mount. Ensure the camera is securely attached and balanced.
5. Adjust the camera angle: Use the tripod's pan and tilt controls to position the camera at the desired angle. This allows for precise framing and composition.
6. Lock the tripod: Once you have positioned the camera, tighten the tripod's leg locks and head locks to secure the camera holder in place.
From a latest point of view, tripods have evolved over the years to cater to the changing needs of photographers and videographers. Manufacturers now offer tripods with innovative features such as lightweight materials, compact designs, and advanced ball heads for smoother movements. Additionally, some tripods come with built-in level indicators and smartphone mounts, making them versatile tools for various types of cameras and devices.
In conclusion, a tripod camera holder is an indispensable tool for photographers and videographers. By following the steps mentioned above, you can easily create a stable and adjustable camera holder using a tripod. With the latest advancements in tripod technology, photographers now have access to a wide range of options that enhance their shooting experience and help them capture stunning visuals.
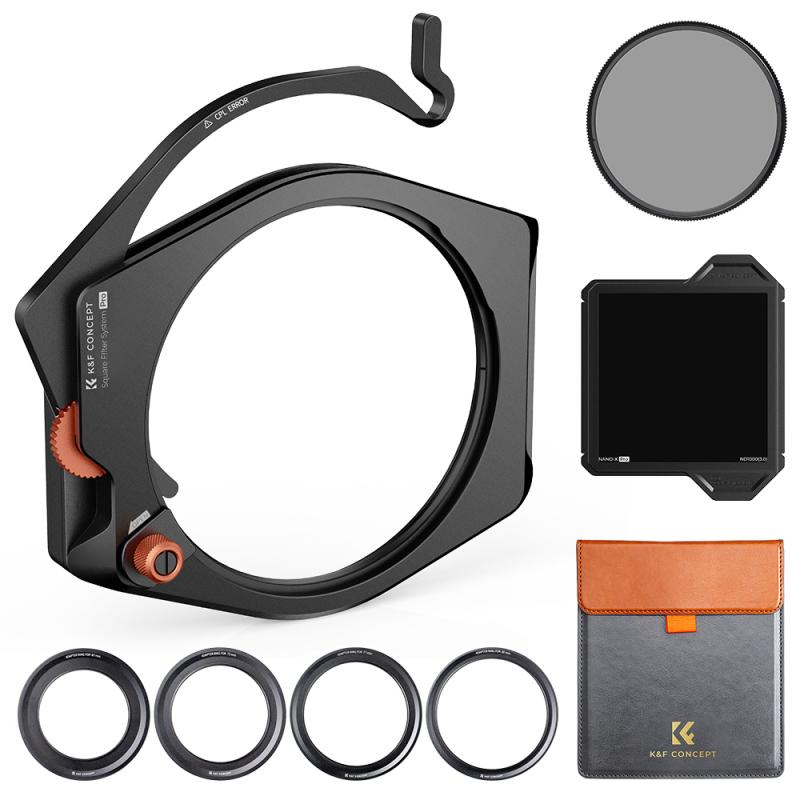
3、 Smartphone Camera Holder: Techniques for creating a holder specifically for smartphones.
Smartphone Camera Holder: Techniques for creating a holder specifically for smartphones.
In today's digital age, smartphones have become an essential tool for capturing high-quality photos and videos. However, holding a smartphone steady while taking pictures or recording videos can be challenging. That's where a smartphone camera holder comes in handy. It provides stability and allows you to capture clear and steady shots.
There are several techniques you can use to create a smartphone camera holder. One popular method is to repurpose everyday objects such as a tripod or a selfie stick. Tripods are versatile and can be adjusted to different heights and angles, providing stability for your smartphone. Selfie sticks, on the other hand, can be extended to give you a wider range of motion while keeping your smartphone steady.
Another technique is to use a DIY approach by creating a holder from scratch. This can be done using materials such as PVC pipes, wood, or even 3D printing. By customizing the dimensions and design, you can create a holder that perfectly fits your smartphone and meets your specific needs.
Additionally, there are various smartphone camera holders available in the market. These holders are specifically designed to accommodate different smartphone models and offer features like adjustable angles, 360-degree rotation, and even remote control functionality. Some holders also come with built-in stabilizers or gimbals, which further enhance the stability and smoothness of your shots.
It's important to consider the latest advancements in smartphone camera technology when creating or purchasing a camera holder. With the introduction of features like optical image stabilization, multiple lenses, and advanced video recording capabilities, it's crucial to ensure that your camera holder can accommodate these features and provide the necessary stability.
In conclusion, creating or purchasing a smartphone camera holder is a great way to enhance your photography and videography skills. Whether you choose to repurpose everyday objects, take a DIY approach, or invest in a specialized holder, having a stable platform for your smartphone will undoubtedly improve the quality of your shots.
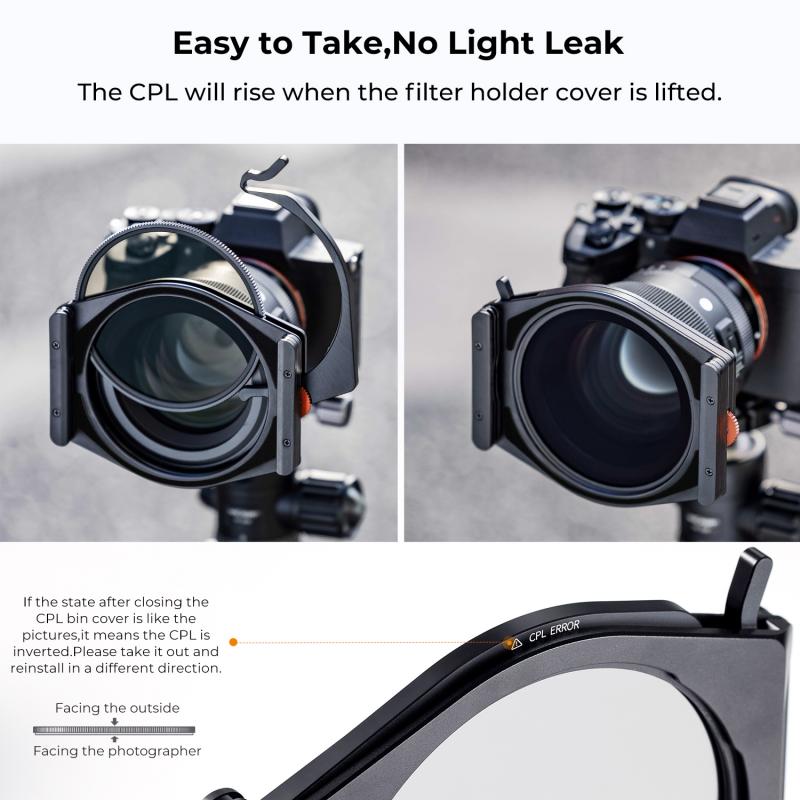
4、 3D Printed Camera Holder: Utilizing 3D printing technology to make a camera holder.
3D Printed Camera Holder: Utilizing 3D printing technology to make a camera holder.
In recent years, 3D printing technology has revolutionized the way we create and manufacture objects. From small trinkets to complex machinery, 3D printing has opened up a world of possibilities. One such application is the creation of camera holders.
To make a camera holder using 3D printing, you will need access to a 3D printer and a design file for the holder. There are numerous websites and online communities where you can find pre-made designs or even create your own using CAD software. Once you have the design file, you can simply load it into the 3D printer and let it work its magic.
The advantage of 3D printing a camera holder is the ability to customize it to your specific needs. You can adjust the size, shape, and even add additional features such as mounting brackets or adjustable angles. This level of customization ensures that your camera holder will perfectly fit your camera and provide the stability and support it needs.
Furthermore, 3D printing allows for the use of various materials, including plastics, metals, and even carbon fiber. This means you can choose a material that suits your requirements in terms of strength, weight, and durability. For example, if you need a lightweight camera holder for outdoor photography, you can opt for a carbon fiber material.
From a sustainability perspective, 3D printing also offers benefits. It reduces waste by only using the necessary amount of material, and it allows for the recycling and reusing of materials. This aligns with the growing trend of eco-friendly practices in manufacturing.
In conclusion, 3D printing technology provides an innovative and customizable solution for creating camera holders. With the ability to tailor the design, choose the material, and reduce waste, 3D printed camera holders offer a practical and sustainable option for photographers and videographers alike.







(1)-200x200.jpg)
