How To Make A Digital Microscope ?
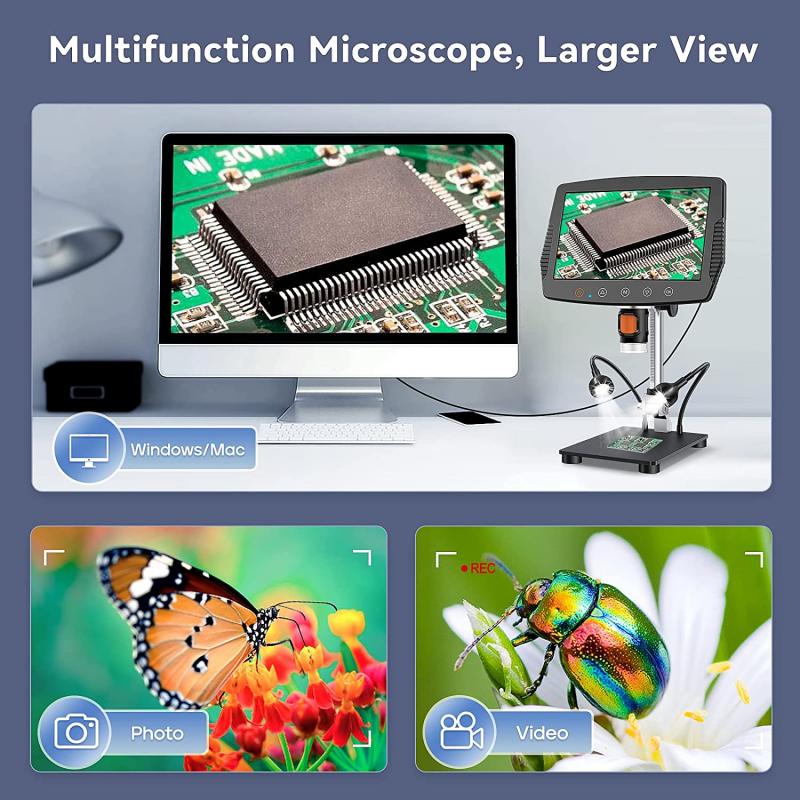
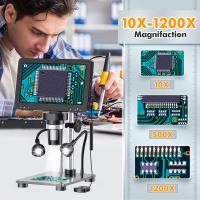
To make a digital microscope, you will need a few basic components such as a microscope, a camera, and a computer. First, attach the camera to the microscope using a camera adapter. Next, connect the camera to the computer using a USB cable. Install the camera software on the computer and adjust the camera settings to get the desired magnification and focus. Finally, open the camera software on the computer and start capturing images or videos of the specimens under the microscope. You can also use image processing software to enhance the images and analyze the data. With a digital microscope, you can easily capture and share high-quality images and videos of microscopic specimens for research, education, or hobby purposes.
1、 Choosing the right lens and camera
Choosing the right lens and camera is a crucial step in making a digital microscope. The lens determines the magnification and resolution of the microscope, while the camera captures the images and sends them to a computer or display.
When selecting a lens, it is important to consider the working distance, field of view, and magnification. A lens with a longer working distance allows for more space between the lens and the object being viewed, which can be useful for larger specimens. A wider field of view allows for a larger area to be viewed at once, while higher magnification provides more detail.
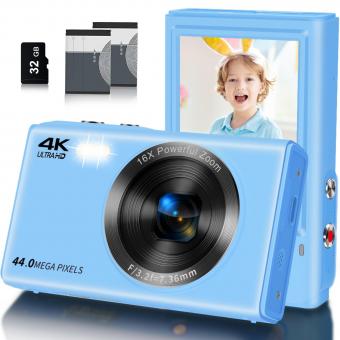
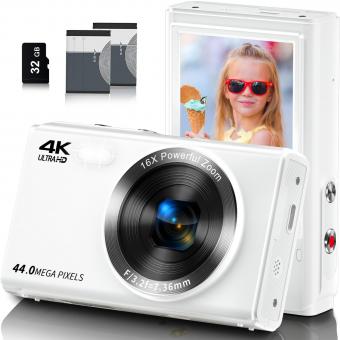
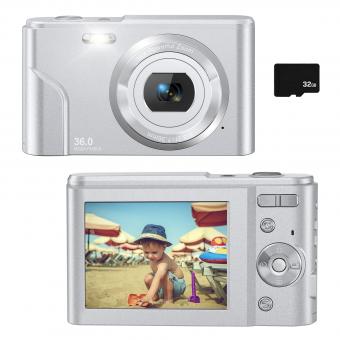
For the camera, it is important to choose one with a high resolution and fast frame rate. A higher resolution camera will capture more detail, while a fast frame rate will allow for smoother video and easier focusing.
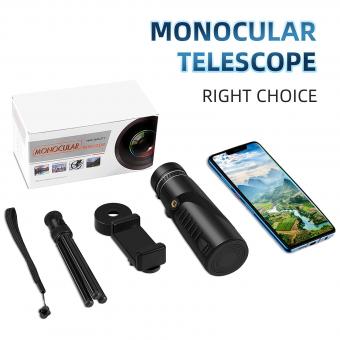
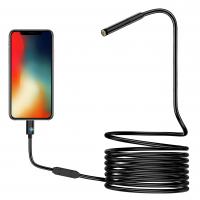
In recent years, there has been a trend towards using smartphone cameras as the camera component in digital microscopes. This is due to the high quality and convenience of smartphone cameras, as well as the ability to easily share and store images and videos.
Overall, choosing the right lens and camera is essential in creating a high-quality digital microscope. It is important to consider the specific needs and applications of the microscope, as well as the latest advancements in technology.

2、 Building the microscope stand
Building the microscope stand is an essential step in making a digital microscope. The stand provides stability and support for the microscope, ensuring that the images captured are clear and accurate. Here are the steps to build a microscope stand:
1. Choose the material: The stand can be made from various materials such as wood, metal, or plastic. The choice of material depends on the user's preference and the availability of resources.
2. Design the stand: The stand should be designed to hold the microscope securely and at the right height. The design should also allow for easy adjustment of the microscope's position.
3. Cut the material: Using the design as a guide, cut the material to the required size and shape. Ensure that the cuts are precise to avoid any wobbling or instability.
4. Assemble the stand: Assemble the stand using screws, bolts, or glue, depending on the material used. Ensure that the stand is sturdy and can support the weight of the microscope.
5. Add a base: To provide additional stability, add a base to the stand. The base can be made from the same material as the stand or a different material.
6. Test the stand: Once the stand is assembled, test it to ensure that it is stable and can hold the microscope securely. Make any necessary adjustments to the stand to improve its stability.
In recent years, there has been an increase in the availability of 3D printing technology, which can be used to create custom microscope stands. This technology allows for the creation of complex designs that can be tailored to the user's specific needs. Additionally, some digital microscopes come with their own stands, eliminating the need to build one from scratch.
3、 Wiring and connecting the camera to a computer
How to make a digital microscope:
1. Choose a camera: The first step in making a digital microscope is to choose a camera. A good option is a USB microscope camera, which can be easily connected to a computer.
2. Select a lens: Once you have a camera, you need to select a lens. A microscope lens is ideal, but you can also use a macro lens or a telephoto lens.
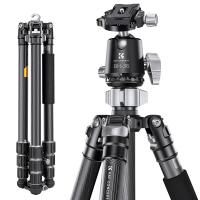
3. Build a stand: You will need a stand to hold the camera and lens in place. You can use a tripod or build a custom stand using PVC pipes or other materials.
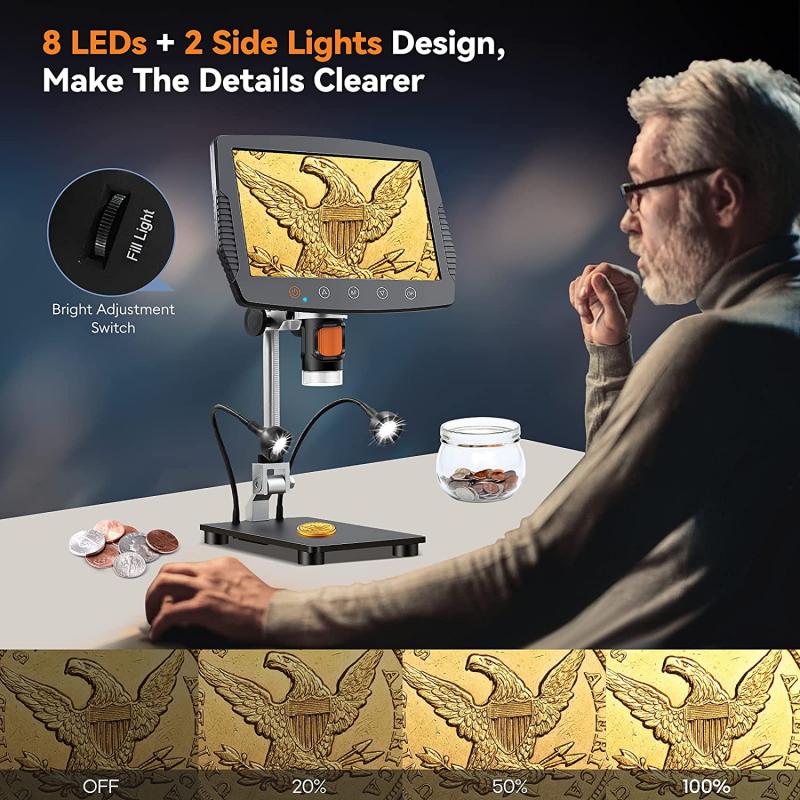
4. Wiring and connecting the camera to a computer: Connect the camera to your computer using a USB cable. Install any necessary software or drivers for the camera.
5. Adjust the focus: Use the focus ring on the lens to adjust the focus of the microscope. You can also adjust the exposure and other settings in the camera software.
6. Use the microscope: Once everything is set up, you can use your digital microscope to view and capture images of small objects.
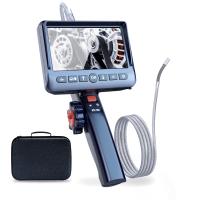
From a modern point of view, there are now many affordable digital microscopes available on the market that are easy to use and require no assembly. These microscopes often come with built-in cameras and software, making it easy to capture and analyze images. Additionally, there are also smartphone apps that can turn your phone's camera into a digital microscope, allowing you to view and capture images of small objects on the go.
4、 Installing and configuring microscope software
How to make a digital microscope:
1. Choose a microscope: The first step in making a digital microscope is to choose a microscope that can be easily adapted for digital imaging. A stereo microscope is a good choice as it provides a 3D view of the specimen.
2. Add a camera: A digital camera can be attached to the microscope using a camera adapter. The camera should have a high resolution and be able to capture images in real-time.
3. Connect the camera to a computer: The camera can be connected to a computer using a USB cable. This will allow the images to be viewed on the computer screen.
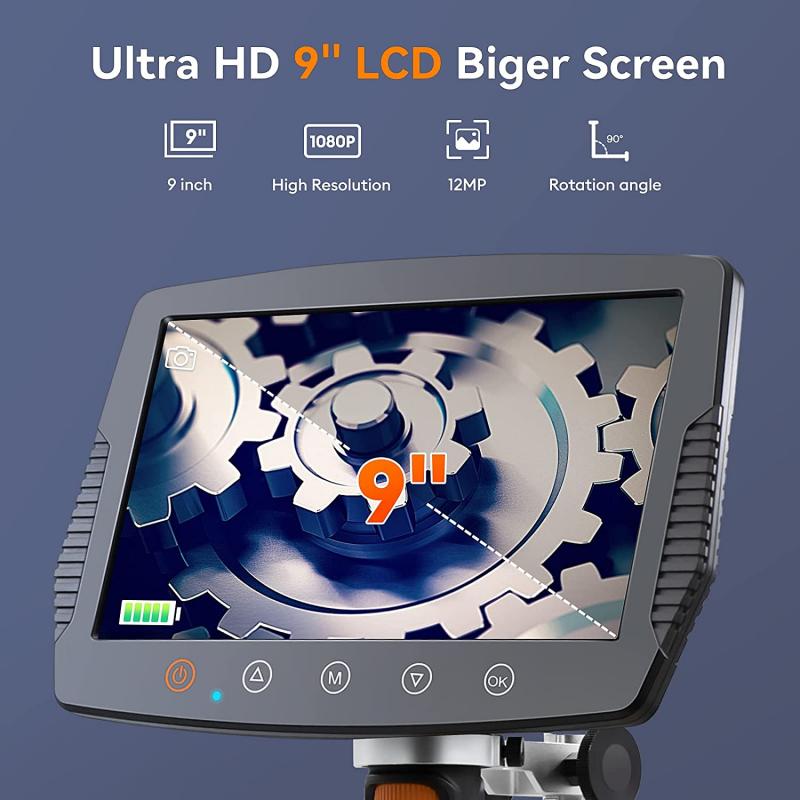
4. Install and configure microscope software: Microscope software is needed to control the camera and capture images. There are many different software options available, such as Micro-Manager, which is open-source and free to use.
5. Calibrate the microscope: Before using the digital microscope, it is important to calibrate it to ensure accurate measurements. This can be done using a calibration slide or stage micrometer.
6. Start imaging: Once the microscope is calibrated and the software is configured, you can start imaging. The software will allow you to adjust the camera settings, capture images, and save them for later analysis.
In recent years, there has been a growing trend towards using smartphones as digital microscopes. This involves attaching a smartphone camera to the microscope and using an app to capture and analyze images. This approach is more affordable and portable than traditional digital microscopes, making it a popular choice for fieldwork and education.
