How To Make A Homemade Camera Tripod ?
To make a homemade camera tripod, you can use various materials and techniques. One simple method is to repurpose an old table or floor lamp. Remove the lampshade and attach a camera mount or tripod head to the top of the lamp base. This will provide a stable platform for your camera. Another option is to use PVC pipes and fittings to construct a tripod. Cut the pipes to the desired length and connect them using the fittings to create a tripod shape. Attach a camera mount or tripod head to the top of the PVC tripod. You can also use a sturdy wooden dowel or broomstick as the central support and attach three smaller wooden dowels or sticks as legs using screws or brackets. Secure a camera mount or tripod head to the top of the central support. Remember to ensure stability and balance when constructing your homemade camera tripod to prevent any accidents or damage to your camera.
1、 DIY Camera Tripod: Using Everyday Household Items
DIY Camera Tripod: Using Everyday Household Items
In today's digital age, capturing high-quality photographs and videos has become an integral part of our lives. However, not everyone has access to professional camera equipment, including a tripod. But fear not! With a little creativity and resourcefulness, you can easily make a homemade camera tripod using everyday household items.
One of the simplest and most effective ways to create a DIY camera tripod is by using a stack of books. Find a sturdy hardcover book and place it on a flat surface. Open the book to a 90-degree angle and position your camera on top, ensuring it is secure. You can adjust the height by adding more books to the stack or by using a smaller book as a base.
Another option is to utilize a table lamp. Remove the lampshade and extend the lamp's arm to its maximum length. Then, carefully attach your camera to the end of the arm using a clamp or a rubber band. Make sure the lamp is stable and won't tip over. This method allows you to adjust the height and angle of your camera easily.
If you have a selfie stick lying around, you can repurpose it as a camera tripod. Extend the stick to your desired height and secure it in place. Then, attach your camera to the selfie stick's phone holder using a phone mount adapter. This makeshift tripod offers flexibility and stability for capturing steady shots.
Lastly, if you have a sturdy water bottle or a can of beans, you can use it as a makeshift tripod by attaching your camera to the top using a rubber band or duct tape. This method works best for smaller cameras or smartphones.
While these homemade camera tripods may not offer the same level of stability and versatility as professional ones, they can still be a great solution for capturing steady shots in a pinch. Remember to exercise caution and ensure the stability of your DIY tripod before using it.
In conclusion, making a homemade camera tripod using everyday household items is a practical and cost-effective solution for those who don't have access to professional equipment. With a little ingenuity, you can capture stunning photographs and videos without breaking the bank. So, grab those books, lamps, or selfie sticks, and start exploring your creativity!
2、 Building a Sturdy Camera Tripod with Basic Materials
Building a Sturdy Camera Tripod with Basic Materials
If you're looking to make a homemade camera tripod, there are several ways you can achieve stability and functionality with basic materials. Here's a step-by-step guide to help you create your own tripod:
1. Gather the materials: You'll need three sturdy wooden dowels or metal rods, a drill, screws, a saw, a measuring tape, and a tripod head (which can be purchased separately).
2. Measure and cut the dowels: Determine the desired height of your tripod and cut the dowels accordingly. Make sure to cut them all to the same length.
3. Drill holes: On one end of each dowel, drill a hole large enough to fit the screws. These holes will be used to attach the tripod head.
4. Attach the tripod head: Secure the tripod head to the top of one of the dowels using screws. This will serve as the mounting point for your camera.
5. Connect the dowels: Place the dowels parallel to each other, forming a triangle shape. Drill holes near the top of each dowel and connect them using screws. This will create the base of your tripod.
6. Reinforce the connections: To ensure stability, add additional screws or brackets at the joints where the dowels meet.
7. Test and adjust: Place your camera on the tripod head and adjust the height and angle as needed. Make sure the tripod is stable and can support the weight of your camera.
It's important to note that while this homemade tripod can be functional, it may not provide the same level of stability and versatility as a professionally made tripod. Additionally, it may not be suitable for heavy or professional-grade cameras. However, for basic photography needs, this DIY tripod can be a cost-effective solution.
Remember to always exercise caution when using homemade equipment and be aware of any potential risks or limitations.
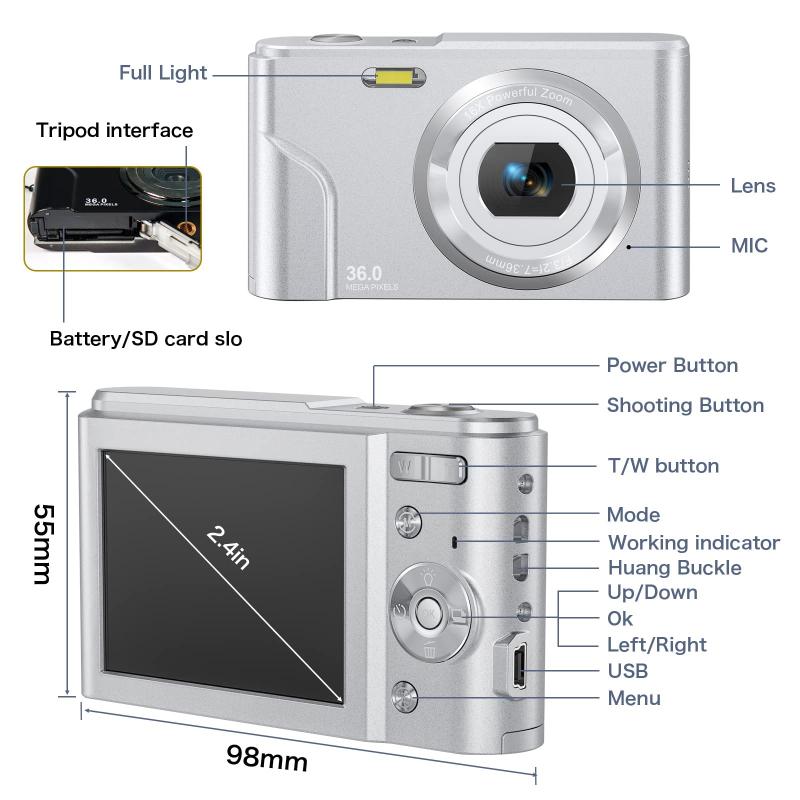
3、 Homemade Camera Tripod: Step-by-Step Guide for Beginners
Homemade Camera Tripod: Step-by-Step Guide for Beginners
If you're an aspiring photographer or simply enjoy taking pictures, having a camera tripod can greatly enhance the quality of your shots. While there are plenty of tripods available on the market, making your own can be a fun and cost-effective alternative. Here is a step-by-step guide to help you create your very own homemade camera tripod.
Materials you will need:
1. PVC pipes: Choose a size that suits your camera and desired height.
2. PVC connectors: These will be used to join the pipes together.
3. Screws and nuts: These will secure the camera mount to the tripod head.
4. A camera mount: You can purchase one or repurpose an old tripod head.
5. A drill and drill bits: These will be used to create holes for the screws.
Step 1: Measure and cut the PVC pipes to your desired height. It's recommended to have three legs for stability, so cut three equal lengths.
Step 2: Attach the PVC connectors to the ends of the pipes. These connectors will allow you to easily assemble and disassemble the tripod.
Step 3: Drill holes in the PVC connectors to attach the camera mount. Make sure the holes are aligned properly to ensure stability.
Step 4: Secure the camera mount to the PVC connectors using screws and nuts. Ensure it is tightly fastened to prevent any accidents.
Step 5: Test the stability of your homemade tripod by setting it up and placing your camera on top. Adjust the height and angle as needed.
It's important to note that while a homemade camera tripod can be a cost-effective option, it may not provide the same level of stability and durability as a professionally made tripod. Additionally, it may not be suitable for heavy or professional-grade cameras. However, for beginners or casual photographers, a homemade tripod can still be a useful tool.
Remember to always exercise caution when using your homemade tripod and ensure it is securely set up before placing your camera on top.

4、 Crafting a DIY Camera Tripod from PVC Pipes
Crafting a DIY Camera Tripod from PVC Pipes
If you're looking for an affordable and customizable camera tripod, making one from PVC pipes is a great option. Not only is it cost-effective, but it also allows you to create a tripod that suits your specific needs. Here's a step-by-step guide on how to make a homemade camera tripod using PVC pipes.
Materials you'll need:
- PVC pipes (1-inch diameter)
- PVC connectors (T-shaped and elbow-shaped)
- PVC caps
- Screws
- Drill
- Saw
- Sandpaper
- Tripod head (can be purchased separately)
Step 1: Measure and cut the PVC pipes to your desired length. You'll need three equal-length pipes for the tripod legs and one shorter pipe for the center column.
Step 2: Sand the edges of the cut pipes to ensure they are smooth and won't damage your camera.
Step 3: Attach the T-shaped connectors to the top of each tripod leg. These connectors will hold the center column.
Step 4: Connect the three tripod legs using the elbow-shaped connectors. This will form the base of the tripod.
Step 5: Attach the shorter pipe to the top of the T-shaped connectors. This will serve as the center column.
Step 6: Drill a hole in the center of the PVC cap and attach it to the top of the center column. This will act as the mount for your camera.
Step 7: Secure the tripod head to the PVC cap using screws. The tripod head allows you to adjust the angle and position of your camera.
Step 8: Test the stability of your homemade tripod by placing your camera on it. Adjust the legs and center column as needed to achieve the desired height and stability.
While PVC pipe tripods can be a cost-effective solution, it's important to note that they may not provide the same level of stability and durability as professional tripods. Additionally, they may not be suitable for heavy cameras or professional photography equipment. However, for casual use and lightweight cameras, a homemade PVC tripod can be a practical and fun DIY project.
