How To Make A Leather Camera Case ?
To make a leather camera case, you will need to start by measuring your camera and creating a pattern. Then, cut out the leather pieces and stitch them together using a leather needle and waxed thread. You can add a closure, such as a snap or buckle, and a strap if desired. It is important to use high-quality leather and to take your time with the stitching to ensure a durable and professional-looking case. There are many tutorials and patterns available online to guide you through the process.
1、 Leatherworking basics
How to make a leather camera case:
1. Gather materials: You will need leather, a leather needle, waxed thread, a ruler, a cutting mat, a rotary cutter, and a leather punch.
2. Measure and cut the leather: Measure your camera and add an inch to each side. Cut the leather to size using a rotary cutter and a ruler.
3. Punch holes: Use a leather punch to create holes along the edges of the leather. These holes will be used to stitch the case together.
4. Stitch the case: Thread your needle with waxed thread and begin stitching the case together. Start at one corner and work your way around the case, making sure to keep your stitches even and tight.
5. Finish the edges: Use a leather edge beveler to smooth the edges of the leather. You can also use a leather burnisher to create a polished finish.
6. Add a closure: You can add a snap or a buckle to keep your camera case closed.
Leatherworking basics:
Leatherworking is a craft that has been around for centuries. It involves working with leather to create a variety of items, from clothing to accessories to furniture. To get started with leatherworking, you will need some basic tools, including a leather needle, waxed thread, a ruler, a cutting mat, a rotary cutter, and a leather punch.
One of the most important things to keep in mind when working with leather is to use the right type of leather for your project. There are many different types of leather available, each with its own unique characteristics and properties. Some common types of leather include cowhide, sheepskin, and goatskin.
Another important aspect of leatherworking is stitching. Stitching leather requires a different technique than stitching fabric, as leather is thicker and more durable. To stitch leather, you will need to use a leather needle and waxed thread, and you will need to create holes in the leather using a leather punch.
Overall, leatherworking is a rewarding and satisfying craft that allows you to create beautiful and functional items that will last for years to come.
2、 Measuring and cutting leather
How to make a leather camera case:
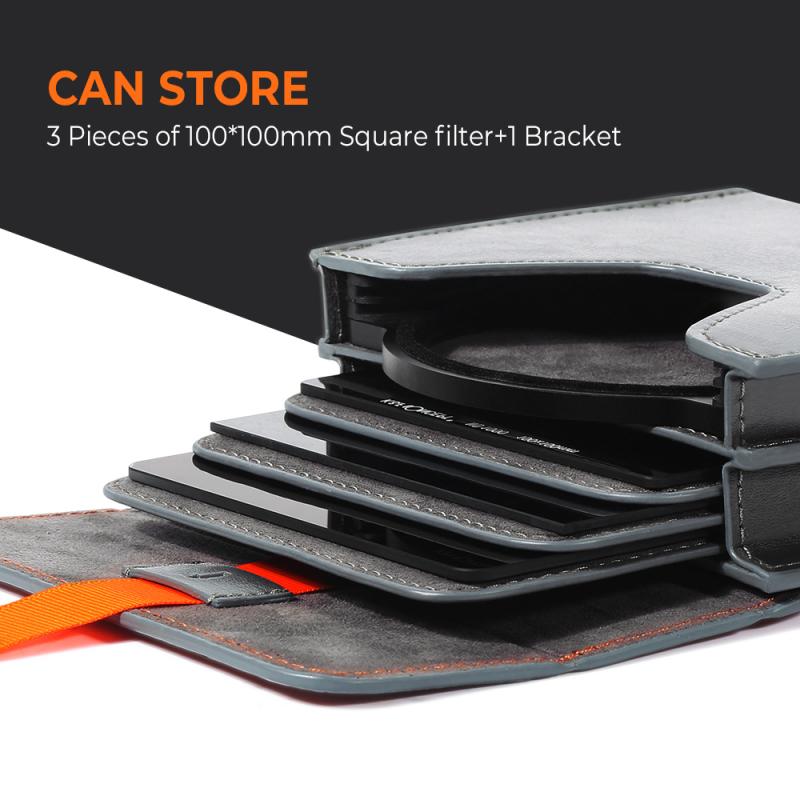
1. Measuring and cutting leather: The first step in making a leather camera case is to measure the dimensions of your camera and cut the leather accordingly. You will need to measure the length, width, and height of your camera and add an extra inch to each measurement to allow for seam allowances. Once you have your measurements, use a sharp knife or rotary cutter to cut the leather to size.
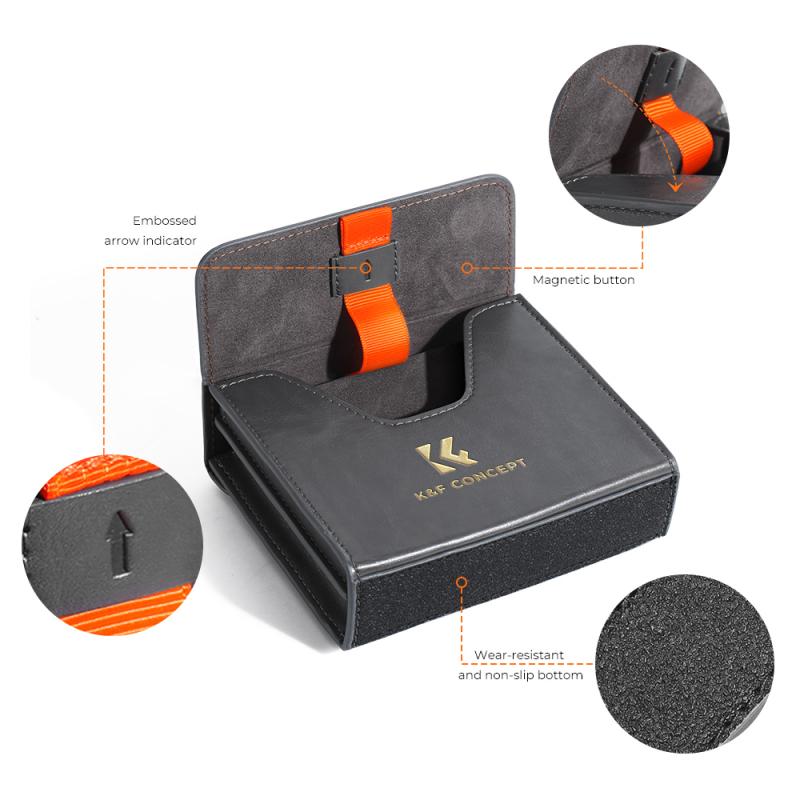
2. Designing the case: Once you have your leather cut to size, you can start designing the case. You can choose to add pockets or compartments for accessories, or keep it simple with just a basic case. You can also add decorative elements such as stitching or embossing to give your case a unique look.
3. Sewing the case: After you have designed your case, it's time to sew it together. Use a leather needle and heavy-duty thread to sew the pieces together, making sure to leave openings for the camera lens and any other necessary openings. You can use a sewing machine or sew by hand, depending on your preference and skill level.
4. Finishing touches: Once your case is sewn together, you can add any finishing touches such as snaps, buckles, or straps. You can also apply a leather conditioner or wax to protect and preserve the leather.
In recent years, there has been a growing trend towards using sustainable and eco-friendly materials in crafting, including leatherworking. Many leatherworkers are now using vegetable-tanned leather, which is a more environmentally friendly alternative to traditional chrome-tanned leather. Additionally, there are now many online resources and tutorials available for those interested in learning how to make a leather camera case, making it more accessible to beginners.
3、 Stitching techniques
How to make a leather camera case:
1. Gather materials: leather, thread, needle, scissors, ruler, and a pattern.
2. Cut out the pattern from the leather using the scissors and ruler.
3. Fold the leather in half and stitch the sides together using a saddle stitch. This stitch is strong and durable, making it perfect for a camera case.
4. Once the sides are stitched together, fold the bottom of the case up and stitch it in place.
5. Cut out a piece of leather for the flap and stitch it to the top of the case.
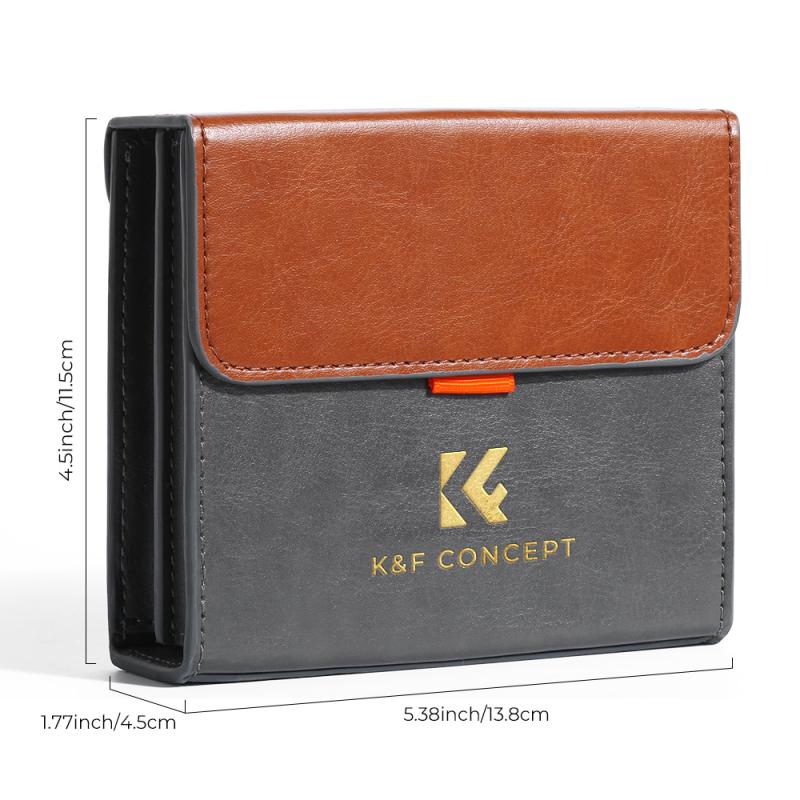
6. Add a closure to the flap, such as a snap or buckle.
7. Finish the edges of the case with a leather edge finisher or burnisher.
8. Optional: add a strap to the case for easy carrying.
Stitching techniques:
When stitching leather, it's important to use a strong and durable stitch. The saddle stitch is a popular choice for leatherworking because it creates a strong and durable seam. To saddle stitch, thread a needle with waxed thread and tie a knot at the end. Insert the needle through the first hole and pull the thread through until the knot catches. Then, insert the needle through the second hole and pull the thread through. Repeat this process, alternating between the two holes until the seam is complete. To finish the stitch, tie a knot and cut the thread close to the knot.
In addition to the saddle stitch, there are other stitching techniques that can be used for leatherworking, such as the lock stitch and the whip stitch. It's important to choose the right stitch for the project and to practice the technique before starting the project to ensure a clean and professional finish.
4、 Adding hardware and closures
Adding hardware and closures is an important step in making a leather camera case. This step not only adds functionality to the case but also enhances its overall appearance. There are various types of hardware and closures that can be used, such as buckles, snaps, zippers, and clasps.
To add hardware and closures to a leather camera case, you will need to first determine the type of closure that you want to use. Once you have decided on the type of closure, you will need to measure and mark the placement of the hardware on the leather. It is important to ensure that the placement is accurate and symmetrical.
Next, you will need to make holes in the leather for the hardware. This can be done using a leather punch or an awl. The size of the hole should be slightly smaller than the hardware to ensure a snug fit.
Once the holes have been made, you can insert the hardware into the leather. If you are using a buckle or clasp, you will need to attach it to the leather using rivets or stitching. If you are using snaps or zippers, you will need to attach them using a special tool.
Finally, you can test the closure to ensure that it is secure and functioning properly. Adding hardware and closures to a leather camera case can be a fun and rewarding process that adds both style and functionality to your case.










There are no comments for this blog.