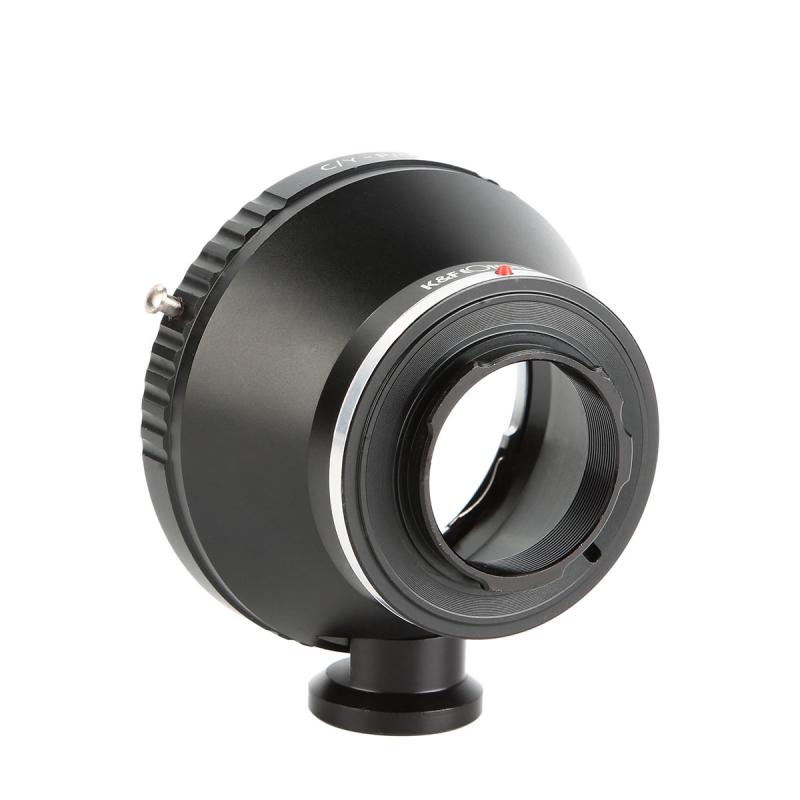
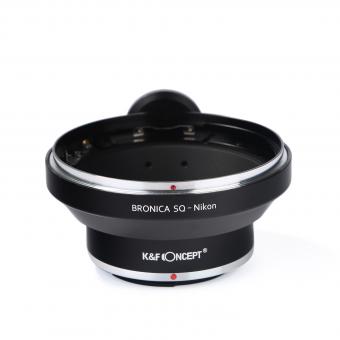
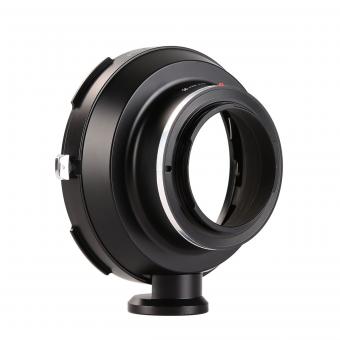
How To Make A Lens Tripod Mount ?
To make a lens tripod mount, you will need to follow these steps:
1. Measure the diameter of your lens barrel and purchase a lens collar that fits your lens.
2. Attach the lens collar to your lens barrel using the screws provided.
3. Purchase a tripod mount ring that fits your lens collar.
4. Attach the tripod mount ring to the lens collar using the screws provided.
5. Attach the tripod mount ring to your tripod using the screw provided.
6. Adjust the position of your lens on the tripod mount ring to achieve the desired balance.
7. Tighten the screws on the lens collar and tripod mount ring to secure your lens in place.
With these steps, you can make a lens tripod mount that will allow you to securely attach your lens to your tripod for stable and precise shooting.
1、 Choosing the Right Tripod Mount for Your Lens
Choosing the Right Tripod Mount for Your Lens:
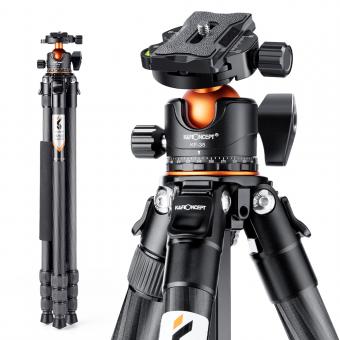
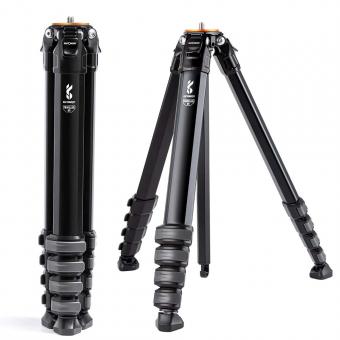
When it comes to photography, having a stable and secure platform for your camera and lens is crucial. A tripod mount is an essential accessory that allows you to attach your lens to a tripod, providing stability and support for your camera. Here are some factors to consider when choosing the right tripod mount for your lens:
1. Compatibility: Make sure the tripod mount is compatible with your lens. Different lenses have different mount types, so it's important to choose a mount that matches your lens.
2. Weight Capacity: Consider the weight of your lens and camera when choosing a tripod mount. Make sure the mount can support the weight of your equipment.
3. Material: Tripod mounts are made of different materials, including plastic, aluminum, and steel. Choose a mount that is durable and can withstand the wear and tear of regular use.
4. Size: The size of the tripod mount should match the size of your lens. A mount that is too small or too large can cause stability issues.
5. Brand: Consider purchasing a tripod mount from the same brand as your lens. This ensures compatibility and may provide a better fit.
How to Make a Lens Tripod Mount:
If you're feeling handy, you can make your own tripod mount for your lens. Here's how:
1. Measure the diameter of your lens barrel.
2. Cut a piece of PVC pipe to the same length as your lens barrel.
3. Cut a slit down the length of the PVC pipe.
4. Sand the edges of the slit to smooth them out.
5. Attach the PVC pipe to your tripod using a screw and washer.
6. Slide your lens into the PVC pipe and tighten the screw to secure it in place.
While making your own tripod mount can be a fun DIY project, it's important to ensure that it is secure and stable before using it with your camera.
2、 Tools and Materials Needed for DIY Lens Tripod Mount
How to Make a Lens Tripod Mount:
Making a lens tripod mount is a simple and cost-effective way to stabilize your camera and lens while shooting. Here are the steps to make a DIY lens tripod mount:
Step 1: Measure the diameter of your lens barrel and cut a piece of aluminum or plastic sheet to fit around it.
Step 2: Drill a hole in the center of the sheet that matches the size of your tripod screw.
Step 3: Cut a strip of rubber or foam and glue it to the inside of the sheet to prevent scratches on your lens.
Step 4: Attach the sheet to your lens barrel using screws or adhesive.
Step 5: Screw the mount onto your tripod and adjust the angle of your camera as needed.
Tools and Materials Needed for DIY Lens Tripod Mount:
- Aluminum or plastic sheet
- Drill
- Screwdriver
- Rubber or foam strip
- Glue
- Tripod screw
Making a lens tripod mount is a great way to save money and improve the stability of your camera while shooting. However, it's important to note that not all lenses are compatible with tripod mounts, so be sure to check your lens specifications before attempting to make a mount. Additionally, some lenses may require a more complex mount design, so it's always a good idea to do some research before starting your DIY project.
3、 Step-by-Step Guide to Making a Lens Tripod Mount
Step-by-Step Guide to Making a Lens Tripod Mount
A lens tripod mount is an essential accessory for photographers who use heavy lenses. It helps to stabilize the lens and prevent it from wobbling or shaking during photography. Making a lens tripod mount is a simple process that can be done with a few basic tools and materials. Here is a step-by-step guide to making a lens tripod mount:
Step 1: Gather Materials
To make a lens tripod mount, you will need a few materials, including a piece of aluminum or steel plate, a drill, a saw, a file, and a tripod screw.
Step 2: Cut the Plate
Using a saw, cut the aluminum or steel plate to the desired size. The size of the plate will depend on the size of your lens.
Step 3: Drill Holes
Using a drill, make two holes in the plate. One hole should be in the center of the plate, and the other should be near the edge of the plate.
Step 4: File the Edges
Using a file, smooth out the edges of the plate to prevent any sharp edges from damaging your lens.
Step 5: Attach the Tripod Screw
Insert the tripod screw into the center hole of the plate and tighten it securely.
Step 6: Attach the Lens
Attach the lens to the plate by screwing it onto the edge hole of the plate.
Step 7: Test the Mount
Attach the lens tripod mount to your tripod and test it to ensure that it is stable and secure.
In conclusion, making a lens tripod mount is a simple process that can be done with a few basic tools and materials. It is an essential accessory for photographers who use heavy lenses and can help to stabilize the lens and prevent it from wobbling or shaking during photography. With this step-by-step guide, you can easily make your own lens tripod mount and improve the quality of your photography.
4、 Tips for Ensuring Stability and Balance of Your Lens
Tips for Ensuring Stability and Balance of Your Lens:
1. Use a tripod: A tripod is the most effective way to ensure stability and balance of your lens. It provides a solid base for your camera and lens, reducing the risk of camera shake and blurry images.
2. Use a lens tripod mount: A lens tripod mount is a device that attaches to the bottom of your lens and allows you to mount it directly onto a tripod. This provides additional stability and balance, especially for larger lenses.
How to make a lens tripod mount:
1. Determine the size of your lens: Measure the diameter of the lens barrel where you want to attach the mount.
2. Purchase a lens collar: A lens collar is a ring that attaches to the lens and provides a mounting point for the tripod. You can purchase a lens collar that is specifically designed for your lens, or you can purchase a universal lens collar that fits a range of lens sizes.
3. Attach the lens collar: Attach the lens collar to the lens barrel using the screws provided. Make sure the collar is securely attached and does not move or wobble.
4. Mount the lens onto the tripod: Attach the tripod head to the lens collar and mount the lens onto the tripod. Make sure the lens is securely attached and does not move or wobble.
In addition to using a tripod and lens tripod mount, there are other ways to ensure stability and balance of your lens. These include using a remote shutter release, using a cable release, and using a mirror lock-up function. It is also important to use proper technique when handling your camera and lens, such as holding the camera with both hands and keeping your elbows close to your body.
