How To Make A Microscope At Home ?
Making a microscope at home can be a fun and educational project. To make a basic microscope, you will need a small glass or plastic lens, such as a magnifying glass, and a sturdy base to hold the lens. You can attach the lens to the base using tape or glue, ensuring that it is securely in place. To use the microscope, place the object you want to examine on a flat surface and position the lens directly above it. Adjust the distance between the lens and the object until you achieve a clear magnified image. You can also experiment with different lenses or add a light source to enhance the visibility of the object. Remember to handle the lens carefully to avoid scratching or damaging it.
1、 Basic principles of microscopy
Basic principles of microscopy involve the use of lenses to magnify and visualize objects that are too small to be seen with the naked eye. Microscopes have been instrumental in advancing scientific research and have become an essential tool in various fields such as biology, medicine, and materials science.
To make a microscope at home, you will need a few basic materials. Start by obtaining a small, high-powered lens, such as a magnifying glass or a camera lens. Secure the lens onto a stand or a stable surface. Next, position a light source, such as a flashlight or a lamp, to illuminate the object you want to observe. Place the object under the lens and adjust the distance between the lens and the object until a clear image is formed. Finally, position your eye close to the lens and observe the magnified image.
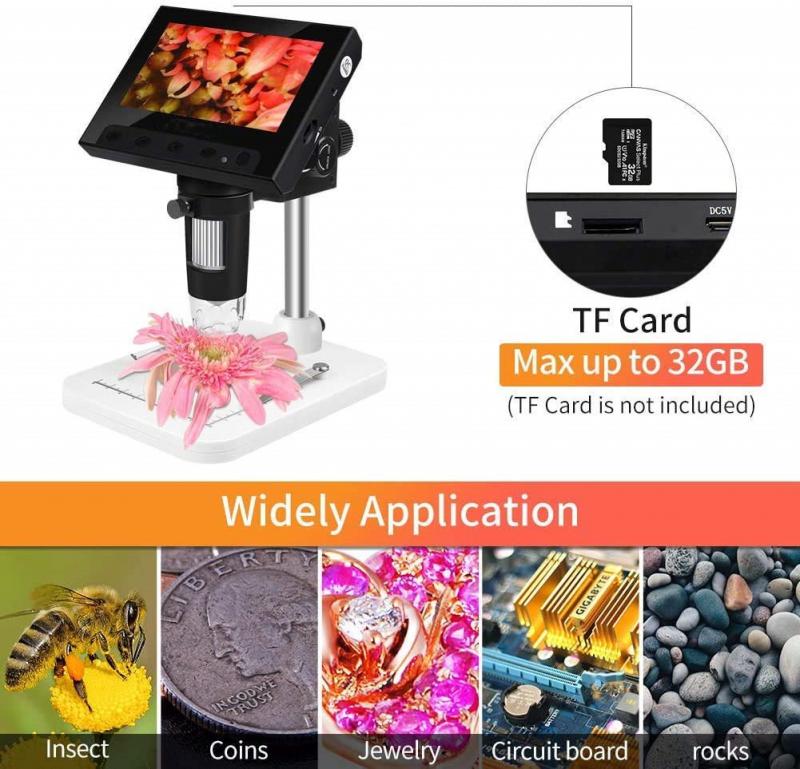
However, it is important to note that homemade microscopes may not provide the same level of clarity and precision as professional microscopes. Modern microscopes are equipped with advanced features such as multiple lenses, adjustable focus, and digital imaging capabilities. They also utilize techniques like fluorescence and electron microscopy to visualize specific structures or molecules within a sample.
In recent years, there have been significant advancements in microscopy technology. Super-resolution microscopy techniques, such as stimulated emission depletion (STED) microscopy and single-molecule localization microscopy (SMLM), have pushed the limits of resolution beyond the diffraction barrier. These techniques allow scientists to visualize structures at the nanoscale level, providing valuable insights into cellular processes and molecular interactions.
While making a microscope at home can be a fun and educational activity, it is important to recognize the limitations of homemade setups. For more accurate and detailed observations, it is recommended to use professional microscopes that are specifically designed for scientific research.
2、 Gathering materials for a homemade microscope
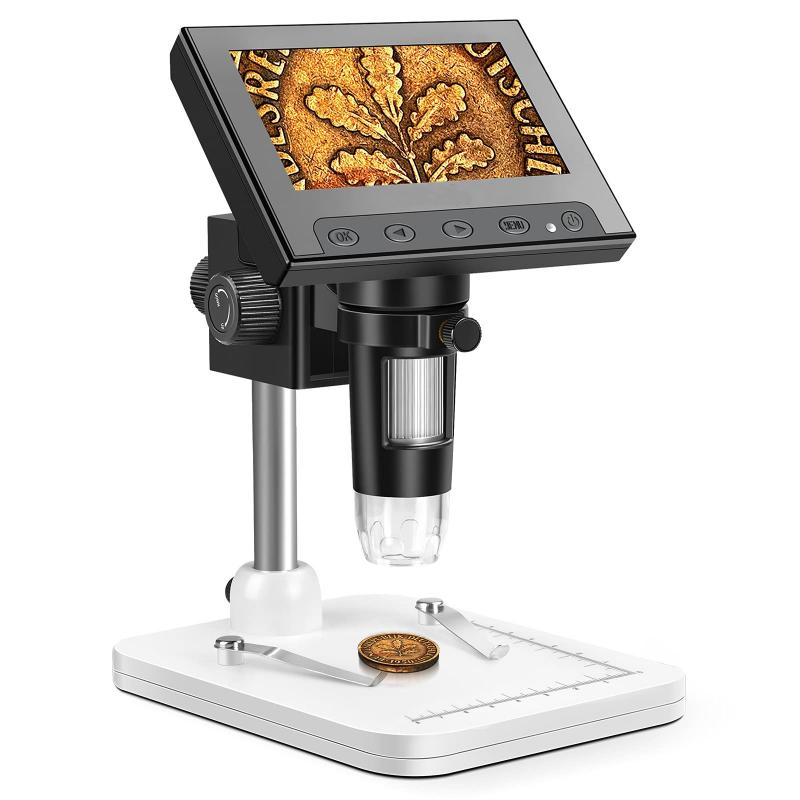
Gathering materials for a homemade microscope is a great way to explore the microscopic world from the comfort of your own home. While it may not provide the same level of magnification as a professional microscope, it can still be a fun and educational project. Here's how you can get started:
1. Lens: The most crucial component of a microscope is the lens. You can use a small magnifying glass, a camera lens, or even the lens from an old pair of binoculars. The lens should have a focal length of at least 10mm for better magnification.
2. Light source: A good light source is essential to illuminate the specimen. You can use a small LED flashlight or a smartphone flashlight. Position it in a way that directs light onto the specimen.
3. Stage: The stage is where you place the specimen. A glass slide or a piece of clear plastic can serve as a stage. You can secure the specimen with tape or a small drop of water.
4. Stand: To hold the lens and the stage in place, you can use a sturdy base like a wooden block or a stack of books. Make sure the lens is positioned above the stage at a suitable distance for focusing.
5. Adjustments: To focus on the specimen, you can move the lens closer or farther away from the stage. Experiment with different distances until you achieve a clear image.
It's important to note that a homemade microscope may not provide the same level of clarity and precision as a professional one. However, it can still be a fun and educational tool for observing small objects and exploring the microscopic world. Remember to handle the materials with care and have fun experimenting with different specimens and lighting conditions.
3、 Constructing the microscope body
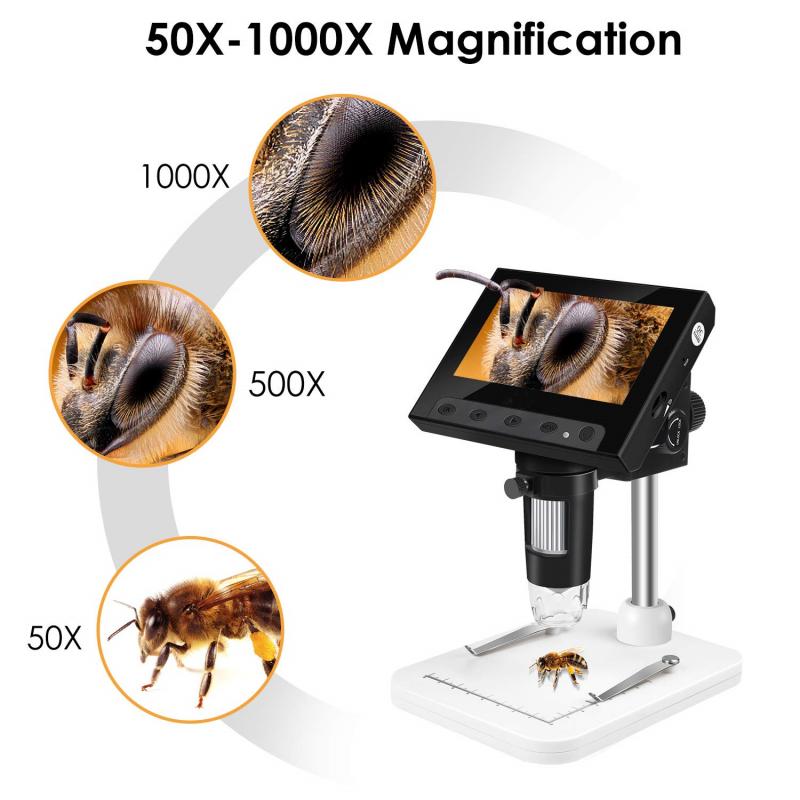
Constructing the microscope body is the first step in making a microscope at home. While it may seem like a complex task, it can be achieved with some basic materials and a little bit of patience. Here's a step-by-step guide on how to construct the microscope body:
1. Gather the materials: You will need a small, sturdy box or container to serve as the base of the microscope. Additionally, you will need a lens or magnifying glass, a small LED light, a piece of cardboard or plastic, and some tape or glue.
2. Prepare the base: Take the box or container and ensure it is clean and free from any debris. This will serve as the foundation of your microscope.
3. Attach the lens: Using tape or glue, secure the lens or magnifying glass to the top of the box. Make sure it is positioned in a way that allows you to easily view objects placed underneath.
4. Create the stage: Cut a small piece of cardboard or plastic and attach it to the top of the box, just below the lens. This will serve as the stage where you can place the objects you want to observe.
5. Add the light source: Attach the LED light to the side or bottom of the box, positioning it in a way that illuminates the stage. This will provide adequate lighting for better visibility.
6. Fine-tune and test: Once everything is securely attached, make any necessary adjustments to ensure the lens, stage, and light are properly aligned. Test the microscope by placing small objects on the stage and observing them through the lens.
It's important to note that while constructing a homemade microscope can be a fun and educational project, it may not provide the same level of magnification and clarity as a professional microscope. However, it can still be a great way to explore the microscopic world and gain a basic understanding of how microscopes work.
4、 Assembling the lenses and focusing mechanism
Assembling the lenses and focusing mechanism is a crucial step in making a microscope at home. To begin, gather the necessary materials: two convex lenses (one with a shorter focal length), a small tube or cylinder, a small piece of cardboard or plastic, and adhesive tape or glue.
First, take the shorter focal length lens and attach it to one end of the tube using adhesive tape or glue. Ensure that it is securely fixed in place. This lens will serve as the objective lens, responsible for magnifying the specimen.
Next, take the longer focal length lens and attach it to the other end of the tube. This lens will act as the eyepiece, allowing you to view the magnified image. Again, ensure it is firmly attached.
Now, cut a small piece of cardboard or plastic to create a diaphragm. This will help control the amount of light entering the microscope. Attach the diaphragm near the objective lens, making sure it does not obstruct the view.
To focus the microscope, move the objective lens closer or further away from the specimen. This can be done by sliding the tube in or out of a larger tube or by adjusting the distance between the lenses if they are fixed.
It is important to note that while assembling the lenses and focusing mechanism is a crucial step, it is just one part of building a functional microscope. Other components, such as a light source and a stage to hold the specimen, are also necessary for a complete setup. Additionally, the quality and magnification capabilities of a homemade microscope may not match those of commercially available microscopes. However, building a microscope at home can still be a fun and educational project, allowing you to explore the microscopic world with a basic setup.
