How To Make A Microscope Out Of Cardboard ?
To make a microscope out of cardboard, you can start by cutting out two small rectangular pieces of cardboard. Then, create a small hole in the center of one of the pieces. Next, attach a small glass bead or a drop of water on the hole using tape or glue. Place the second piece of cardboard on top of the first one, aligning the holes. Make sure the two pieces are securely attached together.
To use the cardboard microscope, place a small object or specimen on a flat surface. Hold the microscope above the object, aligning the hole with the specimen. Look through the hole from the top and adjust the distance between the specimen and the glass bead or water droplet until you can see a magnified image. The glass bead or water droplet acts as a lens, magnifying the object beneath it.
Please note that this homemade cardboard microscope will have limited magnification and may not provide the same level of clarity and precision as a professional microscope.
1、 Cardboard Microscope: Step-by-Step Guide for DIY Construction
Cardboard Microscope: Step-by-Step Guide for DIY Construction
Microscopes are essential tools for scientific exploration, allowing us to observe and study the microscopic world. While professional microscopes can be expensive, you can create your own functional microscope using simple materials like cardboard. This step-by-step guide will walk you through the process of constructing a cardboard microscope.
Materials needed:
1. Sturdy cardboard
2. Magnifying lens or a small glass bead
3. Small LED light
4. Glue
5. Scissors
6. Ruler
7. Pencil
8. Tape
Step 1: Design and cut the base
Using a ruler and pencil, draw a rectangular shape on the cardboard to serve as the base of your microscope. Cut it out carefully, ensuring straight edges.
Step 2: Create the body
Cut two long strips of cardboard and glue them vertically onto the base, forming an "L" shape. This will serve as the body of the microscope.
Step 3: Attach the lens
Using tape or glue, secure the magnifying lens or glass bead at the top of the body. Make sure it is positioned in a way that allows you to focus on objects placed beneath it.
Step 4: Add the light source
Attach the LED light to the side of the body, ensuring it is positioned to illuminate the area beneath the lens. You can use tape or glue to secure it in place.
Step 5: Test and adjust
Place a small object, such as a leaf or insect, beneath the lens and adjust the focus by moving the object closer or further away from the lens. Experiment with different lighting angles to enhance visibility.
Remember, this DIY cardboard microscope may not provide the same level of magnification and clarity as professional microscopes. However, it can still serve as a fun and educational tool for exploring the microscopic world. So, grab some cardboard and get creative with your own homemade microscope!
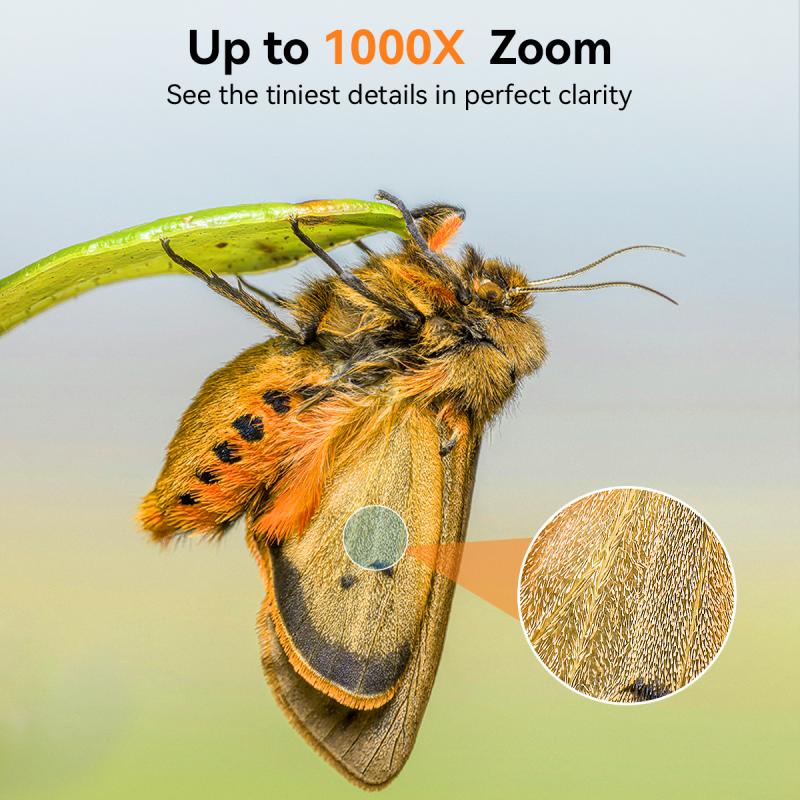
2、 Materials Needed for Building a Cardboard Microscope
Materials Needed for Building a Cardboard Microscope:
1. Cardboard: You will need a sturdy piece of cardboard to serve as the base and body of the microscope. Ensure it is thick enough to provide stability.
2. Lenses: Acquire two convex lenses of different magnifications. These can be found in old cameras, binoculars, or purchased online. The lenses will determine the magnification power of your microscope.
3. LED Light: A small LED light source is essential for illuminating the specimen. You can use a small flashlight or purchase a miniature LED light.
4. Battery: To power the LED light, you will need a small battery. A button cell battery is commonly used for this purpose.
5. Glue: Use strong adhesive glue or a hot glue gun to secure the various components together.
6. Rubber Bands: These will be used to hold the lenses in place and allow for easy adjustment of focus.
Building a Cardboard Microscope:
1. Begin by cutting out the base and body of the microscope from the cardboard. Ensure the base is wide enough to provide stability.
2. Attach the lenses to the body of the microscope using rubber bands. Position them at appropriate distances to achieve the desired magnification.
3. Create a small hole in the body of the microscope to insert the LED light. Secure it in place using glue.
4. Connect the LED light to the battery, ensuring the positive and negative terminals are correctly aligned.
5. Attach the battery to the base of the microscope using glue or a small compartment.
6. Test the microscope by placing a specimen on the base and adjusting the lenses and focus until a clear image is obtained.
It is important to note that while a cardboard microscope can provide basic magnification, it may not offer the same level of clarity and precision as a professional microscope. However, it can still be a fun and educational DIY project, especially for children or those with a limited budget.
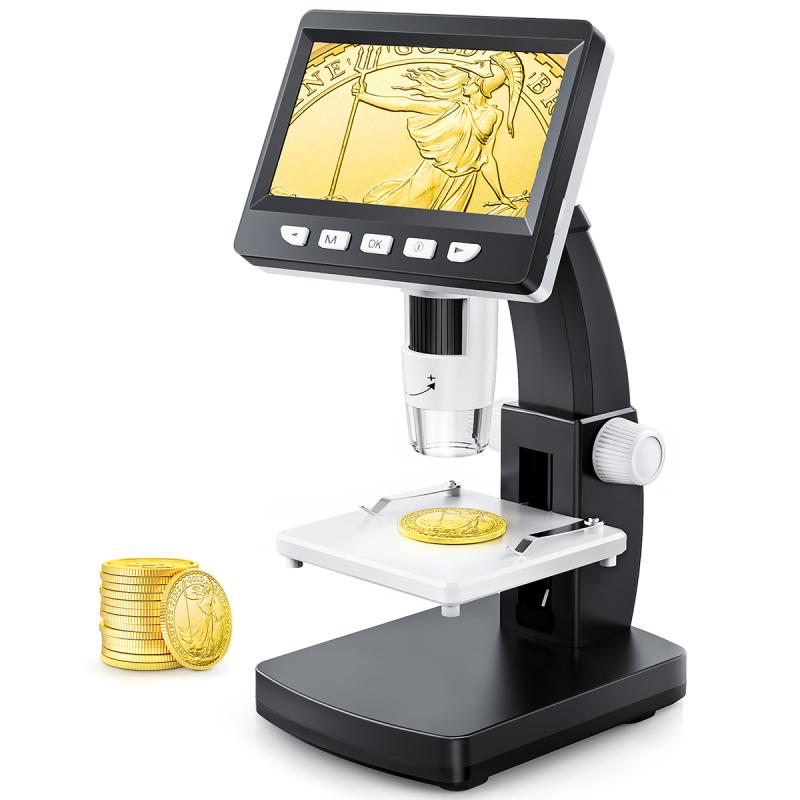
3、 Assembly Instructions for Constructing a Functional Cardboard Microscope
Assembly Instructions for Constructing a Functional Cardboard Microscope
Materials needed:
- Cardboard (preferably thick and sturdy)
- Magnifying lens (available at craft stores or online)
- Small LED light
- Glue or tape
- Scissors or craft knife
- Ruler
- Pencil
Step 1: Design and cut out the microscope body
Using a ruler and pencil, draw the shape of the microscope body on the cardboard. The design should include a rectangular base and two vertical sides that taper towards the top. Cut out the shape carefully using scissors or a craft knife.
Step 2: Create the lens holder
Measure the diameter of the magnifying lens and draw a circle of the same size on a piece of cardboard. Cut out the circle and make a small hole in the center. Insert the magnifying lens into the hole, ensuring it fits snugly. Glue or tape the lens holder to the top of one of the vertical sides of the microscope body.
Step 3: Add the LED light
Cut out a small rectangular piece of cardboard and fold it in half. Attach the folded piece to the other vertical side of the microscope body, near the top. This will serve as a holder for the LED light. Insert the LED light into the holder and secure it with glue or tape.
Step 4: Final touches
Ensure that all the components are securely attached to the microscope body. Test the magnifying lens and LED light to make sure they are functioning properly. If necessary, make adjustments or reinforce the connections with additional glue or tape.
Note: While a cardboard microscope can provide a basic level of magnification, it may not offer the same level of clarity and precision as a professional microscope. However, it can still be a fun and educational tool for exploring small objects and observing details.
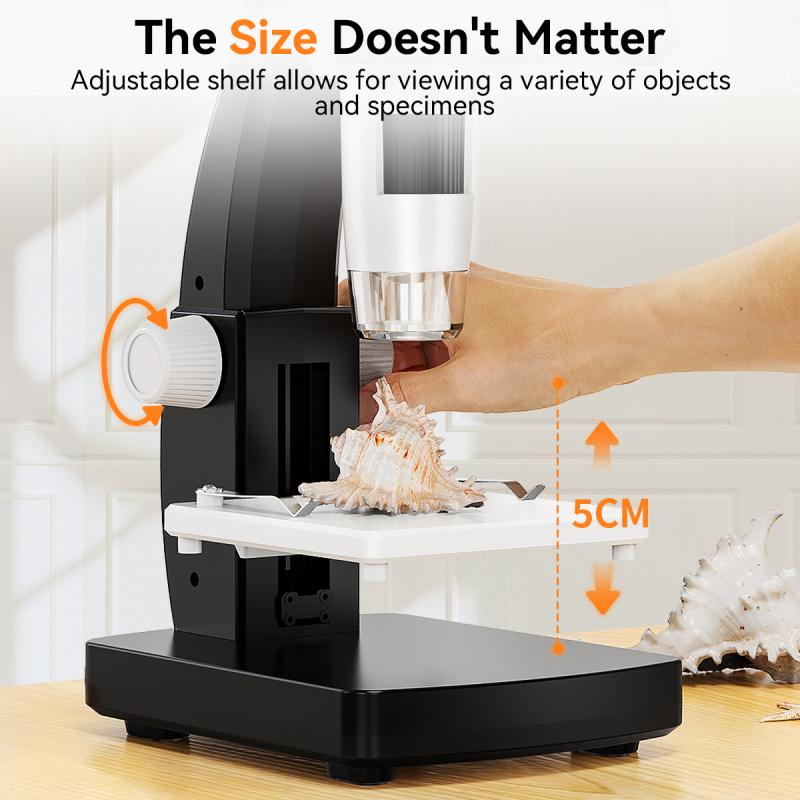
4、 Tips for Enhancing the Optics and Performance of a Cardboard Microscope
Tips for Enhancing the Optics and Performance of a Cardboard Microscope
Making a microscope out of cardboard can be a fun and educational project. While it may not provide the same level of magnification as a professional microscope, it can still be a useful tool for observing small objects. Here are some tips for enhancing the optics and performance of a cardboard microscope:
1. Improve the lens quality: The quality of the lens used in the microscope greatly affects the clarity and magnification. Consider using a high-quality magnifying glass or a small lens from a disposable camera. These lenses can provide better optics and improve the overall performance of the microscope.
2. Enhance lighting: Adequate lighting is crucial for clear observation. You can add LED lights or small bulbs to the microscope to improve illumination. Position the lights strategically to minimize shadows and enhance visibility.
3. Stabilize the stage: The stage is where the object being observed is placed. To ensure stability and prevent vibrations, reinforce the stage with additional layers of cardboard or use a more rigid material like plastic. This will help in keeping the object steady and in focus.
4. Use a focusing mechanism: A focusing mechanism is essential for adjusting the distance between the lens and the object. Consider adding a small knob or lever that can move the lens closer or farther from the object. This will allow for better focus and clearer images.
5. Reduce light interference: Light can sometimes interfere with the observation process, causing glare or reflections. To minimize this, use a black matte material inside the microscope to absorb excess light. Additionally, consider adding a small aperture or diaphragm to control the amount of light entering the microscope.
6. Experiment with different magnification levels: Depending on the lens used, you can experiment with different magnification levels. Try using different lenses or adjusting the distance between the lens and the object to achieve the desired level of magnification.
Remember, a cardboard microscope may not provide the same level of precision and magnification as a professional microscope, but it can still be a valuable tool for learning and exploration. Enjoy the process of building and improving your cardboard microscope, and have fun exploring the microscopic world around you!






![Carbon Monoxide Detectors Portable Temperature Detector/Humidity Sensor/Air Quality Meter Smoke CO Gas Monitor [3 in 1] Alarm Carbon Monoxide Detectors Portable Temperature Detector/Humidity Sensor/Air Quality Meter Smoke CO Gas Monitor [3 in 1] Alarm](https://img.kentfaith.de/cache/catalog/products/de/GW40.0007/GW40.0007-1-200x200.jpg)


There are no comments for this blog.