How To Make A Neutral Density Filter ?
To make a neutral density filter, you will need a piece of optical-quality glass or acrylic material. Start by cutting the material to the desired size and shape for your filter. Next, you will need to apply a neutral density coating to the surface of the material. This can be done by using a specialized neutral density filter spray or by applying a neutral density gel or film onto the surface. Make sure to follow the manufacturer's instructions for applying the coating and allow it to dry completely. Once the coating is dry, you can attach the filter to a lens or camera using a filter holder or adapter ring. This will allow you to control the amount of light entering the lens and achieve the desired neutral density effect.
1、 Introduction to Neutral Density Filters
Introduction to Neutral Density Filters
Neutral density filters are essential tools for photographers and videographers who want to control the amount of light entering their cameras. These filters are particularly useful in situations where the available light is too bright, such as when shooting in bright sunlight or capturing long exposure shots. By reducing the amount of light that reaches the camera sensor, neutral density filters allow for greater creative control over exposure settings.
To make a neutral density filter, you will need the following materials:
1. Optical glass or acrylic sheet: Choose a high-quality, optically clear material that can effectively reduce light transmission without distorting the image.
2. Filter holder or mount: This is necessary to attach the filter to your camera lens securely. There are various types of filter holders available, including screw-on filters and square filter systems.
3. Filter material: To create the neutral density effect, you will need a material that can evenly reduce the amount of light passing through it. This can be achieved by using specialized neutral density filter sheets or by applying a neutral density coating to the optical glass or acrylic sheet.
4. Cutting and shaping tools: Depending on the type of filter holder or mount you choose, you may need to cut and shape the filter material to fit properly.
It is important to note that creating a high-quality neutral density filter requires precision and expertise. While it is possible to make a DIY filter, it may not provide the same level of optical quality as commercially available filters. Additionally, DIY filters may not have the same durability or resistance to scratches and other damage.
Therefore, it is recommended to invest in a professionally manufactured neutral density filter from a reputable brand. These filters are designed and tested to provide accurate and consistent results, ensuring optimal image quality and color accuracy.
In conclusion, neutral density filters are valuable tools for photographers and videographers seeking to control light exposure. While it is possible to make a DIY neutral density filter, it is advisable to invest in a professionally manufactured filter for optimal results and long-term durability.
2、 Types of Neutral Density Filters
Neutral density (ND) filters are essential tools for photographers and videographers to control the amount of light entering the camera lens. They are particularly useful in situations where the available light is too bright, such as when shooting in bright sunlight or capturing long-exposure shots. ND filters come in various types, each with its own characteristics and applications.
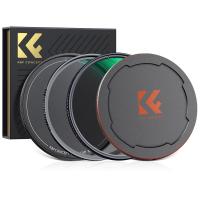
1. Solid ND Filters: These filters have a consistent density throughout the entire filter, reducing the amount of light entering the lens by a specific number of stops. They are available in different strengths, such as 1-stop, 2-stop, or 10-stop filters, allowing photographers to choose the desired level of light reduction.
2. Graduated ND Filters: These filters have a gradient density, with one half being darker than the other. They are primarily used in landscape photography to balance the exposure between the bright sky and the darker foreground. Graduated ND filters come in different variations, including hard-edge and soft-edge filters, depending on the transition between the dark and clear areas.
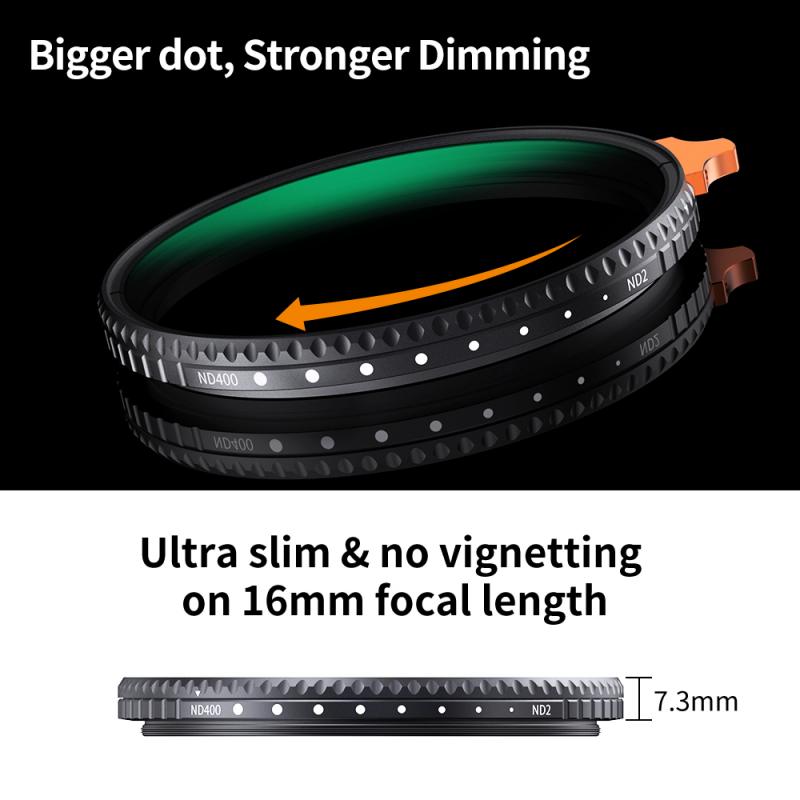
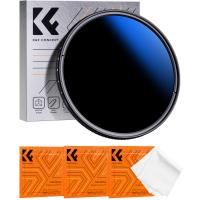
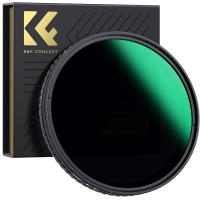
3. Variable ND Filters: These filters offer adjustable light reduction by rotating the filter ring. They are convenient for situations where the lighting conditions change rapidly, as they eliminate the need to carry multiple filters with different densities. However, variable ND filters can sometimes introduce color casts or image quality degradation, so it is important to invest in high-quality ones.
How to Make a Neutral Density Filter:
While it is possible to make a DIY neutral density filter using materials like welding glass or exposed film negatives, it is generally recommended to purchase professionally made filters. DIY filters may not provide accurate light reduction or could introduce unwanted artifacts into the images. Moreover, they may not be compatible with the specific lens or camera system being used.
In conclusion, neutral density filters are essential tools for photographers and videographers to control the amount of light entering the camera lens. Solid ND filters, graduated ND filters, and variable ND filters are the main types available, each with its own applications. While DIY options exist, it is generally advisable to invest in professionally made filters to ensure accurate light reduction and optimal image quality.
3、 Materials and Tools for Making a Neutral Density Filter
How to Make a Neutral Density Filter: Materials and Tools for Making a Neutral Density Filter
A neutral density (ND) filter is a valuable tool for photographers and videographers, allowing them to control the amount of light entering the camera lens. While there are various commercially available ND filters, making your own can be a cost-effective alternative. Here is a guide on how to make a neutral density filter, along with the materials and tools you will need.
Materials:
1. Optical glass or acrylic sheet: Choose a high-quality, clear material that can transmit light evenly.
2. ND filter material: This can be a sheet of ND filter gel or a piece of welding glass.
3. Filter holder or lens adapter: To attach the filter to your camera lens.
4. Adhesive: A strong adhesive that can securely attach the ND filter material to the optical glass or acrylic sheet.
5. Cutting tools: Such as a glass cutter or a precision knife to cut the materials to the desired size.
6. Sandpaper: To smooth the edges of the filter.
Tools:
1. Ruler or measuring tape: To measure the dimensions of the filter.
2. Cutting surface: A flat and stable surface to cut the materials on.
3. Clamps or weights: To hold the materials in place while cutting.
4. Cleaning cloth: To wipe away any dust or debris from the filter.
The process of making a neutral density filter involves cutting the optical glass or acrylic sheet to the desired size, attaching the ND filter material to it using adhesive, and then smoothing the edges with sandpaper. Finally, the filter can be attached to the camera lens using a filter holder or lens adapter.
It is important to note that making your own ND filter may not provide the same level of quality and precision as commercially available filters. Professional ND filters are often made with specialized coatings to minimize color shifts and maintain image clarity. However, for amateur photographers or those on a budget, a homemade ND filter can still be a useful tool for achieving creative effects in photography or videography.
Before attempting to make your own ND filter, it is recommended to research and understand the specific requirements and limitations of your camera and lens setup. Additionally, experimenting with different ND filter densities and techniques can help you achieve the desired results in your photography.
4、 Step-by-Step Guide to Making a Neutral Density Filter
Step-by-Step Guide to Making a Neutral Density Filter
Neutral density (ND) filters are essential tools for photographers and videographers, allowing them to control the amount of light entering the camera lens. These filters are particularly useful in situations where a long exposure is desired, such as capturing smooth waterfalls or creating motion blur in a busy cityscape. While there are various ND filters available in the market, making your own can be a cost-effective and creative option. Here's a step-by-step guide to making a neutral density filter:
1. Gather the materials: You will need an optical-quality glass or acrylic sheet, a filter holder or adapter ring that fits your camera lens, and a cutting tool suitable for the chosen material.
2. Measure and cut the sheet: Measure the dimensions of your filter holder or adapter ring and mark the sheet accordingly. Use the cutting tool to carefully cut the sheet to the desired size. Ensure that the edges are smooth and free from any sharp edges.
3. Determine the desired density: Decide on the strength of the ND filter you want to create. ND filters are rated by the number of stops they reduce the light by, such as ND2, ND4, or ND8. The higher the number, the darker the filter.
4. Apply the neutral density material: To achieve the desired density, you can either use a neutral density gel or a spray-on neutral density coating. Follow the manufacturer's instructions to evenly apply the material onto the sheet. Ensure that the coating is uniform and free from any streaks or bubbles.
5. Allow the filter to dry: Give the filter ample time to dry completely. This may vary depending on the type of material used, so refer to the instructions provided.
6. Attach the filter to your camera: Once the filter is dry, attach it to your camera lens using the filter holder or adapter ring. Ensure that it is securely fastened to avoid any accidental damage or movement during shooting.
It's important to note that making your own neutral density filter may not yield the same optical quality as commercially available filters. However, it can be a fun and cost-effective way to experiment with different densities and create unique effects. Additionally, always exercise caution when cutting and handling glass or acrylic sheets to avoid injury.
As technology advances, there are now alternative options available, such as digital neutral density filters that can be applied in post-processing. These software-based solutions offer greater flexibility and control, allowing photographers to simulate the effects of ND filters without physically attaching them to the lens. However, for those who prefer the traditional approach or enjoy hands-on experimentation, making a neutral density filter can be a rewarding DIY project.










There are no comments for this blog.