How To Make A Simple Microscope At Home ?
To make a simple microscope at home, you can start by gathering a few materials. You will need a small glass or plastic lens, such as a magnifying glass or a camera lens. Next, find a sturdy base to hold the lens, such as a small block of wood or a plastic container. Attach the lens to the base using adhesive or by creating a small hole to fit the lens snugly.
Once the lens is securely attached, you can use your homemade microscope by placing small objects or specimens on a flat surface. Hold the lens above the object and adjust the distance until the object comes into focus. You can also experiment with different lighting conditions to enhance the visibility of the object.
It's important to note that a homemade microscope may not provide the same level of magnification and clarity as a professional microscope. However, it can still be a fun and educational tool for exploring the microscopic world from the comfort of your home.
1、 Materials needed for a homemade microscope
Making a simple microscope at home can be a fun and educational project. While it may not have the same level of magnification as a professional microscope, it can still provide a closer look at small objects and organisms. Here is a step-by-step guide on how to make a simple microscope at home:
Materials needed for a homemade microscope:
1. A small glass or plastic lens: This can be obtained from an old magnifying glass or even a pair of reading glasses. The lens should have a focal length of around 5-10 cm.
2. A small, sturdy base: This can be a wooden block or a thick piece of cardboard. It should be able to hold the lens securely.
3. A small object to observe: This can be anything from a leaf to a drop of water containing microorganisms.
4. A light source: This can be a flashlight or a desk lamp. The light should be directed towards the object being observed.
5. A piece of white paper or a white surface: This will serve as the background for the object being observed.
Steps to make a simple microscope:
1. Place the lens in the center of the base and secure it in place using tape or glue.
2. Position the object to be observed on the white surface.
3. Hold the base with the lens close to the object, making sure the lens is between the object and the light source.
4. Adjust the distance between the lens and the object until a clear image is formed on the white surface.
5. Observe the object through the lens and adjust the focus by moving the base closer or further away from the object.
It is important to note that this homemade microscope will have limitations in terms of magnification and resolution. However, it can still provide a basic understanding of how microscopes work and allow for the observation of small objects and organisms.
In recent years, there have been advancements in smartphone technology that allow for the conversion of smartphones into makeshift microscopes. By attaching a lens to the smartphone camera, users can capture images and videos of microscopic objects. This provides a more convenient and portable option for observing small specimens.
In conclusion, making a simple microscope at home can be a fun and educational project. With just a few materials, it is possible to observe small objects and organisms up close. While the magnification may be limited, it can still provide a basic understanding of microscopy. Additionally, advancements in smartphone technology have opened up new possibilities for homemade microscopes, allowing for more convenience and portability.
2、 Constructing the basic structure of the microscope
Constructing the basic structure of a microscope at home is a fascinating project that can be accomplished with a few simple materials. Here is a step-by-step guide on how to make a simple microscope at home:
1. Gather the materials: You will need a small glass or plastic lens (such as a magnifying glass or a camera lens), a small piece of cardboard or wood, a small LED light, a battery, and some wires.
2. Start by constructing the base: Cut the cardboard or wood into a rectangular shape, approximately 10 cm by 15 cm. This will serve as the base of your microscope.
3. Attach the lens: Place the lens in the center of the base and secure it using glue or tape. Make sure the lens is positioned in a way that allows you to focus on objects placed beneath it.
4. Add the light source: Attach the LED light to one side of the base using glue or tape. Connect the LED light to the battery using the wires, ensuring that the light is positioned to illuminate the object being observed.
5. Test your microscope: Place a small object, such as a leaf or an insect, beneath the lens and adjust the focus until the object appears magnified. Turn on the LED light to enhance visibility.
It is important to note that this simple microscope may not provide high magnification or resolution compared to professional microscopes. However, it can still be a fun and educational tool for observing small objects and exploring the microscopic world around us.
In recent years, there have been advancements in DIY microscope designs using smartphone cameras. By attaching a smartphone to the eyepiece of a traditional microscope or using a smartphone lens attachment, it is possible to capture high-resolution images and videos of microscopic specimens. This allows for easy sharing and analysis of the observed samples. Additionally, there are open-source projects and online communities dedicated to developing affordable and accessible microscope designs, making it easier for individuals to construct more sophisticated microscopes at home.
3、 Assembling the lens system for magnification
Assembling the lens system for magnification is a crucial step in making a simple microscope at home. This process involves combining different lenses to achieve the desired level of magnification. Here is a step-by-step guide on how to assemble the lens system for a basic microscope:
1. Gather the necessary materials: You will need two convex lenses with different focal lengths, a small glass slide, a light source (such as a flashlight), and a sturdy base to hold the lenses.
2. Place the lenses: Start by placing the lens with the longer focal length on the base. This will serve as the objective lens, responsible for magnifying the specimen.
3. Position the slide: Place the glass slide with the specimen on top of the objective lens. Ensure that the specimen is centered and in focus.
4. Add the eyepiece lens: Take the lens with the shorter focal length and hold it above the slide. Adjust the distance between the lenses until the image appears clear and magnified.
5. Fine-tune the focus: Move the lenses slightly closer or farther apart to achieve the best focus. You can also adjust the distance between the slide and the objective lens for further clarity.
6. Illuminate the specimen: Use the light source to illuminate the slide from below. This will enhance the visibility of the specimen.
It is important to note that while this method can provide basic magnification, the quality and resolution of the image may not be as high as that of a professional microscope. Additionally, the lenses used in this homemade setup may not have the same level of precision as those found in commercial microscopes.
In recent years, there have been advancements in DIY microscope designs using smartphone cameras and 3D printing technology. These innovations allow for higher magnification and better image quality. However, they require more specialized knowledge and equipment.
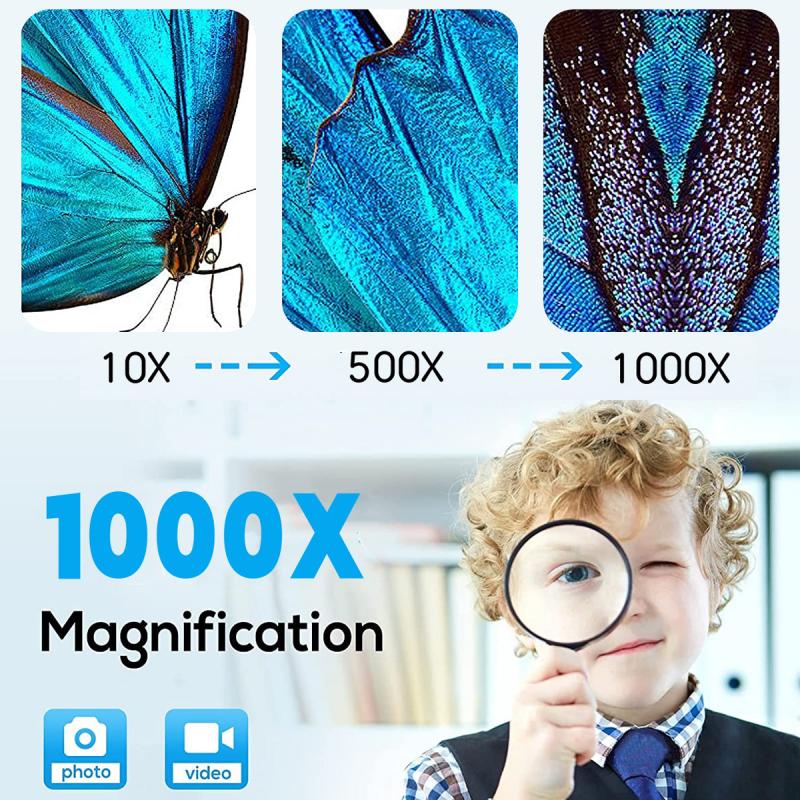
4、 Adjusting focus and improving image clarity
How to make a simple microscope at home:
Making a simple microscope at home can be a fun and educational project. Here is a step-by-step guide to help you create your own microscope using materials readily available at home.
Materials needed:
1. A small glass or plastic lens (such as a magnifying glass)
2. A small, sturdy stand or base
3. A light source (such as a flashlight)
4. A small object to observe (such as a leaf or insect wing)
5. Optional: a smartphone or digital camera for capturing images
Instructions:
1. Place the lens on the stand or base, ensuring it is stable and secure.
2. Position the light source behind the lens, ensuring it illuminates the object you want to observe.
3. Place the object on a flat surface directly under the lens.
4. Adjust the distance between the lens and the object until a clear image is visible.
5. To improve image clarity, you can experiment with different lighting angles and intensities. Additionally, try using a thin piece of glass or plastic as a slide to hold the object, as this can help focus the image.
Latest point of view:
While making a simple microscope at home can be a fun DIY project, it is important to note that the magnification and image quality achieved may be limited compared to professional microscopes. However, with advancements in technology, there are now affordable digital microscopes available for home use that offer higher magnification and image clarity. These digital microscopes can be connected to a computer or smartphone, allowing for easy image capture and sharing. Additionally, there are smartphone apps available that can turn your phone's camera into a makeshift microscope, further enhancing accessibility to microscopy at home. These developments have made it easier than ever for individuals to explore the microscopic world from the comfort of their own homes.
