How To Make An Analog Camera Digital ?
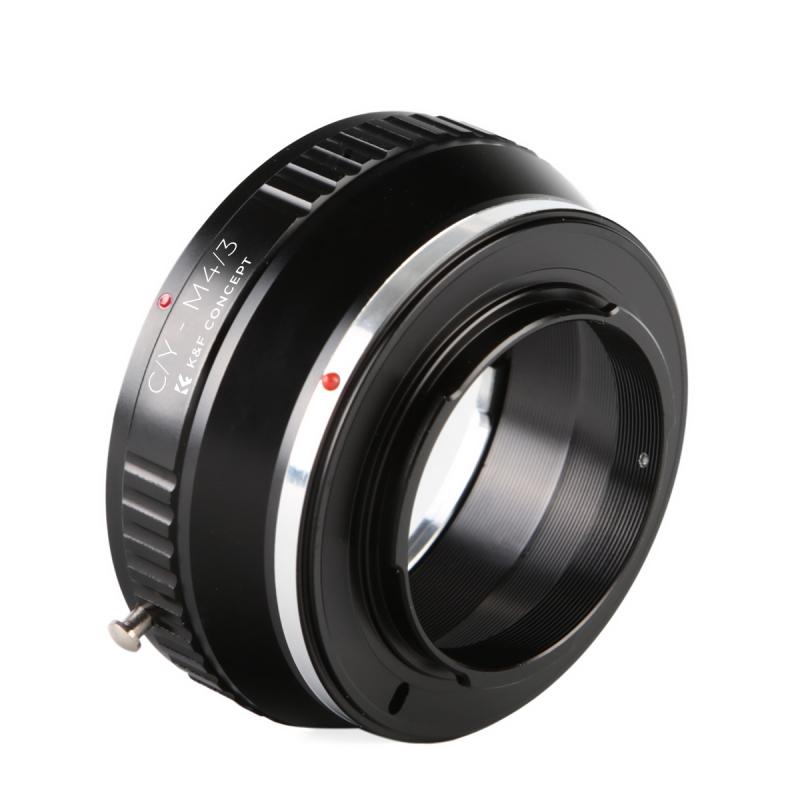
To make an analog camera digital, you would need to attach a digital camera back or a digital camera module to the existing analog camera body. This allows the analog camera to capture images digitally instead of using traditional film. The digital camera back or module typically includes a sensor, image processor, and memory card slot, enabling the camera to capture and store digital images. This conversion allows you to take advantage of the benefits of digital photography, such as instant image review, easy sharing, and post-processing capabilities.
1、 Camera Modification: Converting Analog Camera to Digital
Camera Modification: Converting Analog Camera to Digital
Converting an analog camera to digital is a process that allows photographers to breathe new life into their old equipment. With the advancements in digital technology, this modification can provide photographers with the benefits of both worlds - the vintage charm of an analog camera and the convenience and versatility of digital photography.
To make an analog camera digital, there are a few steps involved:
1. Choose the right camera: Selecting the right analog camera for conversion is crucial. Look for a camera that is in good condition and has interchangeable lenses, as this will allow for more flexibility in the digital conversion process.
2. Remove the film mechanism: The first step in the modification process is to remove the film mechanism from the camera. This involves carefully disassembling the camera and removing the film transport system, including the film compartment, spool, and winding mechanism.
3. Install a digital sensor: Once the film mechanism is removed, a digital sensor needs to be installed in its place. This sensor will capture the light and convert it into digital information. It is important to choose a sensor that is compatible with the camera and provides good image quality.
4. Connect the sensor to a digital back: The digital sensor needs to be connected to a digital back, which will process the captured information and allow for image preview and storage. The digital back can be a separate device or integrated into the camera body, depending on the modification process chosen.
5. Adjust the camera settings: After the modification is complete, the camera settings need to be adjusted to ensure proper exposure and focus. This may involve calibrating the sensor, setting the ISO, and configuring other camera parameters.
It is worth noting that converting an analog camera to digital requires technical expertise and knowledge of camera mechanics. Therefore, it is recommended to seek professional assistance or consult online resources that provide detailed instructions and guidance.
In conclusion, converting an analog camera to digital can be a rewarding project for photographers who want to combine the vintage appeal of analog cameras with the convenience of digital technology. With the right equipment and proper modification, photographers can enjoy the best of both worlds and capture stunning images with their newly transformed camera.
2、 Image Sensor Integration: Upgrading Analog Camera with Digital Sensor
To make an analog camera digital, one can follow the process of image sensor integration. This involves upgrading the analog camera with a digital sensor, which allows for capturing and storing images in a digital format. Here is a step-by-step guide on how to make this conversion:
1. Choose the right digital sensor: Select a digital sensor that is compatible with the analog camera model. Consider factors such as resolution, sensor size, and sensitivity to ensure optimal image quality.
2. Disassemble the camera: Carefully dismantle the analog camera, taking note of the existing components and their positions. This step requires technical expertise and precision to avoid damaging any parts.
3. Remove the film mechanism: Since analog cameras use film to capture images, the film mechanism needs to be removed. This includes the film reel, film advance mechanism, and any other related components.
4. Install the digital sensor: Place the digital sensor in the camera body, ensuring it is securely positioned. Connect the necessary cables and wires to establish communication between the sensor and other camera components.
5. Integrate supporting electronics: Depending on the analog camera model, additional electronics may be required to support the digital sensor. This can include an image processor, memory card slot, and LCD screen for previewing and reviewing images.
6. Reassemble the camera: Put the camera back together, ensuring all components are properly aligned and secured. Double-check the connections and cables to avoid any loose connections.
7. Test and calibrate: Once the camera is reassembled, test its functionality by taking sample images. Adjust the settings and calibrate the sensor if necessary to achieve the desired image quality.
From a latest point of view, it is worth mentioning that advancements in technology have made the process of upgrading analog cameras with digital sensors more accessible. There are now conversion kits available in the market that simplify the integration process, making it feasible for photography enthusiasts to undertake this conversion themselves. Additionally, the integration of digital sensors allows for greater flexibility and convenience in image capture, as digital images can be instantly reviewed, edited, and shared. However, it is important to note that the conversion process may vary depending on the specific analog camera model and the digital sensor being used. Therefore, it is recommended to consult manufacturer guidelines or seek professional assistance to ensure a successful conversion.
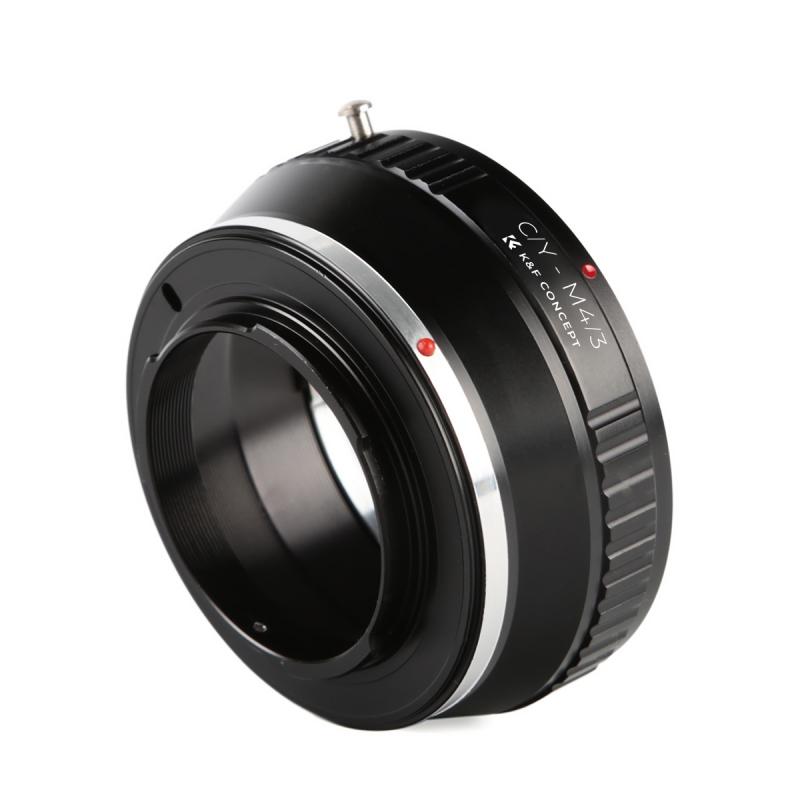
3、 Digital Back Attachment: Adding Digital Capabilities to Analog Camera
Digital Back Attachment: Adding Digital Capabilities to Analog Camera
In today's digital age, many photographers still appreciate the unique qualities and nostalgic feel of analog cameras. However, they may also desire the convenience and flexibility that digital photography offers. Fortunately, there is a solution that allows photographers to combine the best of both worlds: digital back attachments.
A digital back attachment is a device that can be added to an analog camera, transforming it into a digital camera. This attachment replaces the film compartment of the analog camera with a digital sensor, allowing photographers to capture images digitally. The digital back attachment also includes an LCD screen, which enables instant image review and adjustments.
To make an analog camera digital, one must first select a compatible digital back attachment. There are various options available on the market, ranging from basic models to high-end professional attachments. It is important to choose a digital back attachment that is compatible with the specific analog camera model being used.
Once the digital back attachment is acquired, the process of attaching it to the analog camera is relatively straightforward. The film compartment of the analog camera is removed, and the digital back attachment is securely fitted in its place. The attachment is then connected to the camera's power source and control system.
With the digital back attachment in place, photographers can now enjoy the benefits of digital photography while still using their beloved analog camera. They can capture images in digital format, review them instantly on the LCD screen, and make adjustments as needed. Additionally, digital back attachments often offer features such as image stabilization, multiple exposure capabilities, and even wireless connectivity for transferring images to other devices.
It is worth noting that digital back attachments have evolved significantly in recent years, with advancements in sensor technology and image processing capabilities. This means that the latest digital back attachments can produce high-quality images with excellent resolution, dynamic range, and color accuracy. Photographers can now achieve the best of both worlds, combining the unique characteristics of analog cameras with the convenience and versatility of digital photography.
In conclusion, making an analog camera digital is possible through the use of a digital back attachment. This attachment replaces the film compartment of the analog camera with a digital sensor and LCD screen, allowing photographers to capture and review images digitally. With the latest advancements in digital back attachment technology, photographers can now enjoy the benefits of digital photography while still using their beloved analog cameras.
4、 Scanning and Digitizing: Converting Analog Prints to Digital Format
Scanning and Digitizing: Converting Analog Prints to Digital Format
To make an analog camera digital, the most common and effective method is to scan and digitize the analog prints. This process involves converting physical prints into digital files that can be stored, edited, and shared digitally. Here's a step-by-step guide on how to accomplish this:
1. Gather the necessary equipment: You will need a scanner capable of scanning prints, a computer with image editing software, and a storage device to save the digital files.
2. Prepare the prints: Ensure that the prints are clean and free from dust or scratches. If needed, use a soft cloth or compressed air to gently clean them.
3. Scan the prints: Place the prints on the scanner bed, aligning them properly. Adjust the scanner settings to your desired resolution and file format. Higher resolutions will result in better image quality but larger file sizes. Start the scanning process.
4. Edit the digital files: Once the prints are scanned, transfer the digital files to your computer. Use image editing software to enhance the scanned images if necessary. Adjust brightness, contrast, and color balance to achieve the desired result.
5. Organize and store the digital files: Create a folder structure on your computer or external storage device to organize the digital files. Consider using a naming convention that makes it easy to identify and locate specific images.
6. Backup the digital files: It is crucial to create backups of your digital files to prevent loss. Consider using cloud storage or external hard drives for additional security.
From a modern perspective, advancements in technology have made the process of scanning and digitizing analog prints more accessible and efficient. High-resolution scanners and powerful image editing software allow for greater control and quality in the digitization process. Additionally, cloud storage and online platforms provide convenient ways to store and share digital images.
In conclusion, converting analog prints to digital format through scanning and digitizing is the most practical way to make an analog camera digital. This process allows for the preservation, editing, and sharing of images in the digital age.
