How To Make An Overhead Tripod ?
To make an overhead tripod, you will need a few materials such as a sturdy tripod, a boom arm, a clamp, and a camera mount. First, attach the boom arm to the tripod using the clamp. Make sure the clamp is tight and secure. Then, attach the camera mount to the end of the boom arm. Adjust the height and angle of the boom arm to get the desired overhead shot. Finally, attach your camera to the camera mount and make any necessary adjustments to the camera settings. You now have an overhead tripod ready to use for your photography or videography needs.
1、 DIY Overhead Tripod: Step-by-Step Guide
DIY Overhead Tripod: Step-by-Step Guide
An overhead tripod is a useful tool for capturing overhead shots of products, food, and other items. It can be expensive to purchase one, but with a few materials and some basic tools, you can make your own overhead tripod at home. Here's how:
Materials:
- PVC pipes (1 inch diameter)
- PVC elbows (1 inch diameter)
- PVC T-joints (1 inch diameter)
- PVC end caps (1 inch diameter)
- 1/4 inch bolt and nut
- 1/4 inch wing nut
- 1/4 inch washer
- 1/4 inch tripod screw
- Drill
- Saw
- Sandpaper
Step 1: Cut the PVC pipes to the desired length for the tripod legs and the overhead arm. Sand the edges of the pipes to remove any roughness.
Step 2: Assemble the tripod legs by connecting the PVC pipes with the T-joints and elbows. Use the end caps to close off the ends of the pipes.
Step 3: Drill a hole in the center of the PVC T-joint that will be used as the tripod head. Insert the 1/4 inch bolt through the hole and secure it with a nut.
Step 4: Attach the tripod screw to the end of the overhead arm using the wing nut and washer.
Step 5: Attach the overhead arm to the tripod head by inserting the bolt through the T-joint and securing it with a wing nut.
Step 6: Adjust the height and angle of the overhead arm as needed for your shot.
This DIY overhead tripod is a cost-effective solution for capturing overhead shots. It can be easily disassembled for storage and transportation. However, it is important to note that this tripod may not be as sturdy as a professional-grade tripod, so it is important to use caution when using it.
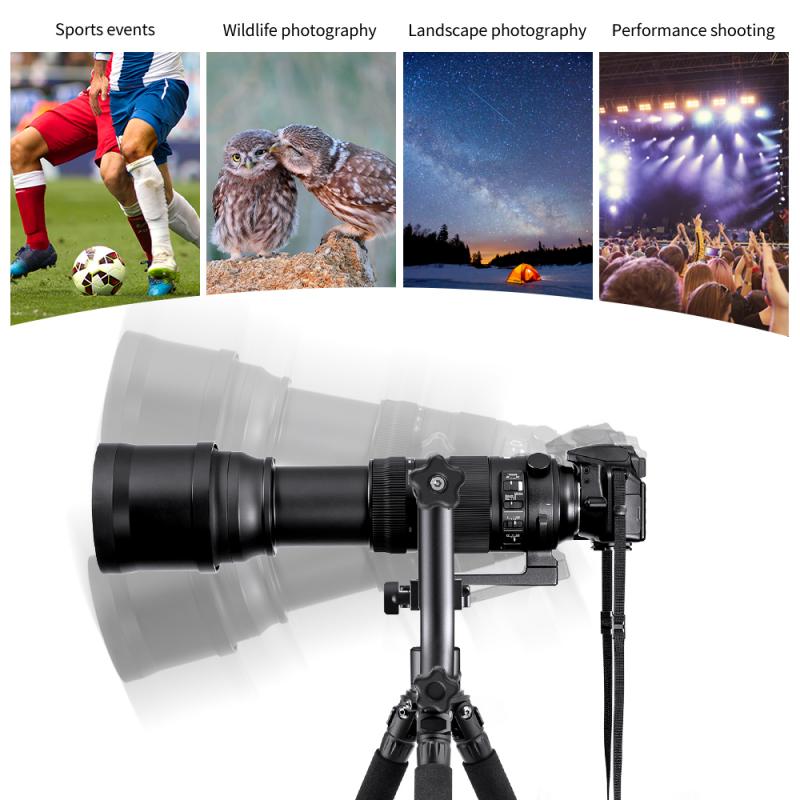
2、 Materials Needed for Building an Overhead Tripod
How to Make an Overhead Tripod:
An overhead tripod is a useful tool for photographers and videographers who need to capture shots from above. Here are the steps to make an overhead tripod:
Step 1: Gather Materials
You will need a few materials to make an overhead tripod, including a sturdy tripod, a boom arm, a clamp, and a camera mount. You can purchase these items separately or buy a kit that includes everything you need.
Step 2: Attach the Boom Arm
Attach the boom arm to the tripod using the clamp. Make sure the clamp is tight and secure.
Step 3: Attach the Camera Mount
Attach the camera mount to the end of the boom arm. Make sure it is secure and level.
Step 4: Adjust the Height and Angle
Adjust the height and angle of the boom arm to get the shot you want. You can also adjust the tripod legs to stabilize the setup.
Step 5: Test and Adjust
Test the setup and make any necessary adjustments to get the shot you want.
Materials Needed for Building an Overhead Tripod:
To build an overhead tripod, you will need a few materials, including:
1. Tripod: A sturdy tripod is essential for supporting the weight of the boom arm and camera.
2. Boom Arm: The boom arm is the extension that holds the camera. It should be strong enough to support the weight of your camera and any accessories.
3. Clamp: The clamp attaches the boom arm to the tripod. It should be strong and secure.
4. Camera Mount: The camera mount attaches to the end of the boom arm and holds your camera. It should be level and secure.
5. Optional Accessories: You may also want to consider adding accessories like a counterweight or sandbag to stabilize the setup.
Overall, building an overhead tripod can be a cost-effective way to get the shots you need. With the right materials and a little bit of know-how, you can create a stable and secure setup that will help you capture stunning overhead shots.
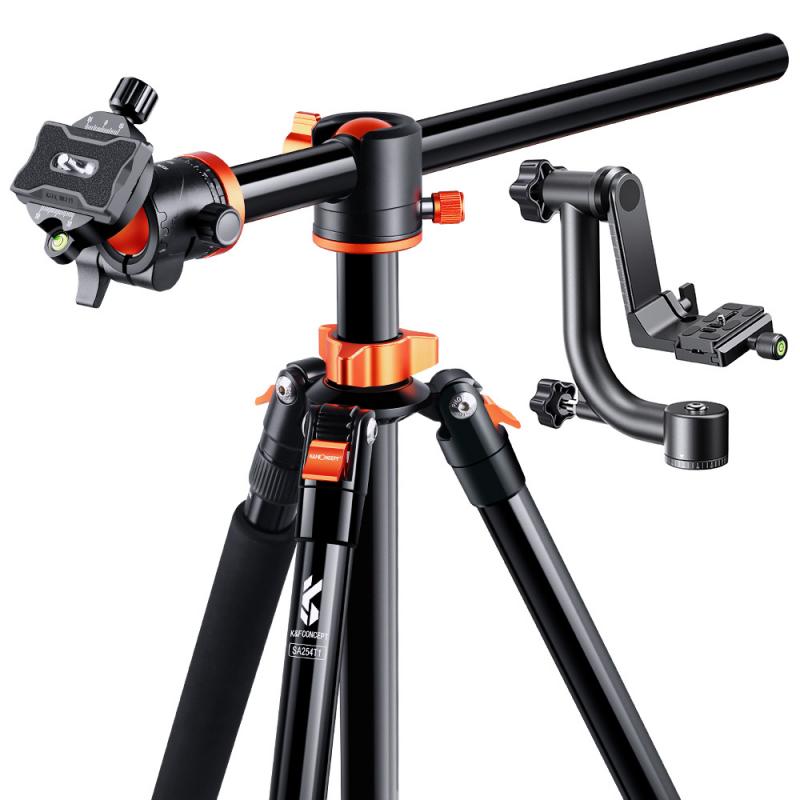
3、 Tips for Stabilizing Your Overhead Tripod
How to Make an Overhead Tripod:
Making an overhead tripod can be a cost-effective solution for those who want to capture overhead shots without breaking the bank. Here are the steps to make an overhead tripod:
1. Get a sturdy tripod: Choose a tripod that can support the weight of your camera and any additional equipment you may use.
2. Get a boom arm: A boom arm is a long, extendable arm that attaches to the tripod. You can purchase a boom arm or make one yourself using PVC pipes.
3. Attach the boom arm to the tripod: Secure the boom arm to the tripod using clamps or screws.
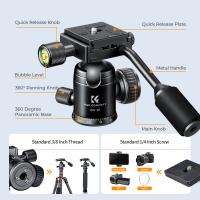
4. Attach your camera: Attach your camera to the end of the boom arm using a ball head or other mounting device.
5. Adjust the height and angle: Adjust the height and angle of the boom arm to get the desired overhead shot.
Tips for Stabilizing Your Overhead Tripod:
1. Use a counterweight: A counterweight can help balance the weight of your camera and prevent the tripod from tipping over. You can use a sandbag or other heavy object as a counterweight.
2. Use a level: Make sure your tripod is level to prevent any unwanted tilting or shifting.
3. Use a remote shutter release: Using a remote shutter release can prevent any camera shake that may occur when pressing the shutter button.
4. Use a stabilizer: A stabilizer can help reduce any unwanted movement or vibration in your camera.
5. Use a heavier tripod: A heavier tripod can provide more stability and prevent any unwanted movement or shaking.
In conclusion, making an overhead tripod can be a cost-effective solution for capturing overhead shots. However, it is important to stabilize your tripod to prevent any unwanted movement or shaking. Using a counterweight, level, remote shutter release, stabilizer, or heavier tripod can all help stabilize your overhead tripod and ensure you get the best possible shot.
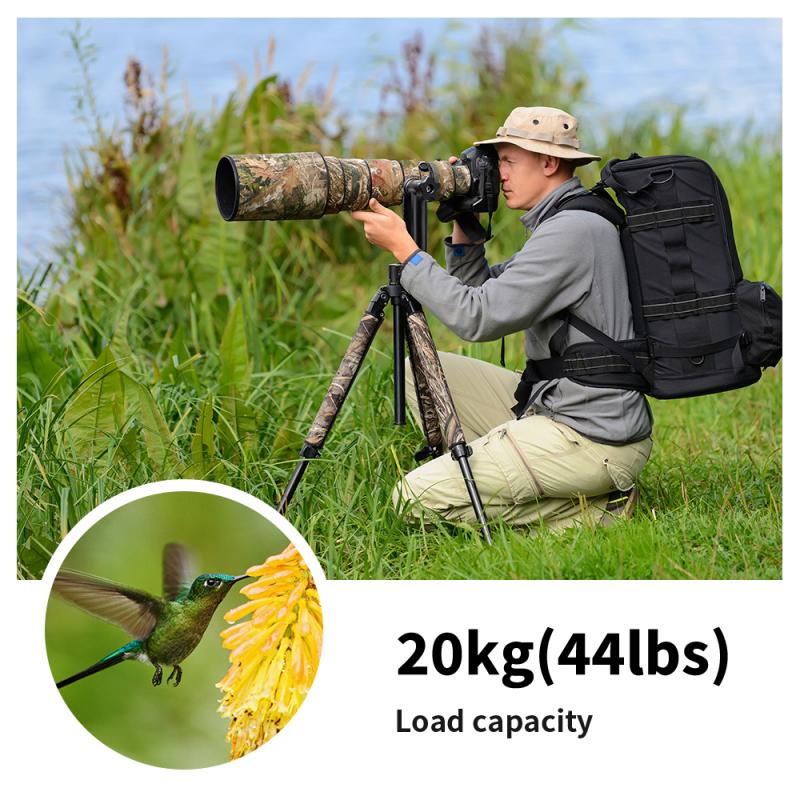
4、 Adjusting the Height and Angle of Your Overhead Tripod
How to Make an Overhead Tripod:
To make an overhead tripod, you will need a few materials such as a sturdy tripod, a boom arm, and a camera mount. The boom arm should be long enough to extend over your workspace, and the camera mount should be able to securely hold your camera. Attach the boom arm to the tripod and mount the camera on the camera mount. Adjust the height and angle of the tripod to get the desired overhead shot.
Adjusting the Height and Angle of Your Overhead Tripod:
Once you have set up your overhead tripod, you can adjust the height and angle to get the perfect shot. To adjust the height, simply extend or retract the legs of the tripod. If you need to adjust the angle, loosen the tripod head and tilt it to the desired angle. You can also adjust the boom arm to get the camera closer or further away from your workspace.
It is important to note that when using an overhead tripod, you should be mindful of the weight of your camera and any additional equipment you may be using. Make sure that the tripod is stable and secure before starting your shoot. Additionally, consider using a remote shutter release or timer to avoid any camera shake when taking the shot.
Overall, an overhead tripod can be a useful tool for capturing unique and creative shots. With a little bit of setup and adjustment, you can achieve the perfect overhead shot for your project.
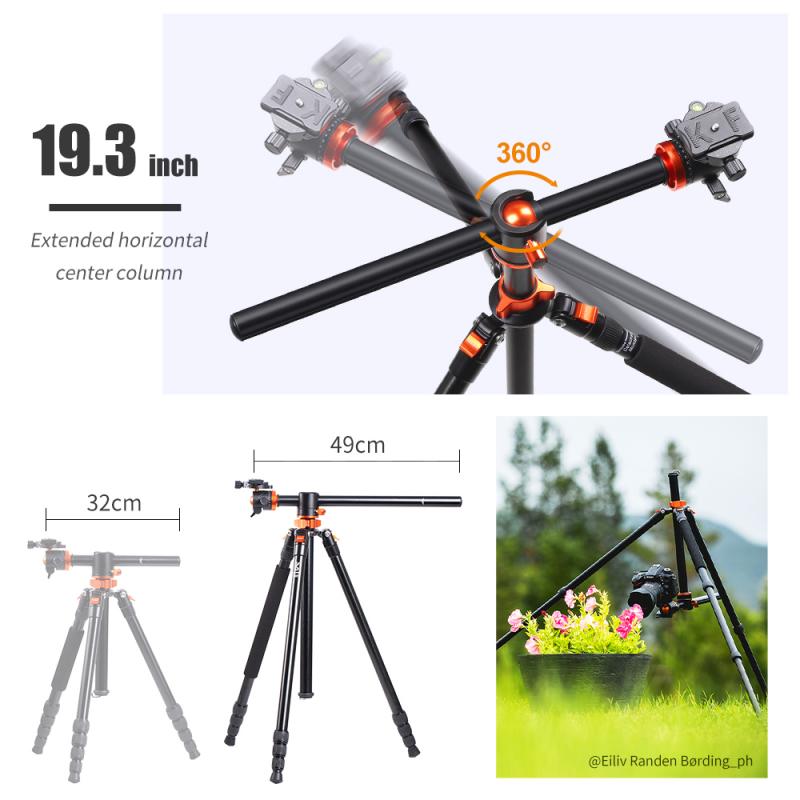











There are no comments for this blog.