How To Make Own Camera Tripod ?
To make your own camera tripod, you will need a few materials such as a wooden dowel, a metal rod, a metal plate, screws, and a few other tools. First, cut the wooden dowel to the desired length and drill a hole in the center. Then, attach the metal rod to the wooden dowel using screws. Next, attach the metal plate to the top of the metal rod using screws. Finally, attach your camera to the metal plate using a screw or clamp. Your homemade camera tripod is now ready to use.
1、 Choosing the right materials for your DIY tripod
How to make own camera tripod:
Making your own camera tripod can be a fun and rewarding project. Here are the steps to follow:
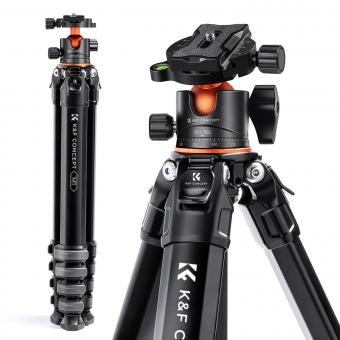
1. Choose the right materials: You will need three legs, a center column, and a head. The legs can be made from wood, metal, or PVC pipe. The center column can be made from a metal rod or a wooden dowel. The head can be made from a ball head or a pan-tilt head.
2. Cut the legs to the desired length: The length of the legs will depend on how tall you want your tripod to be. Make sure the legs are all the same length.
3. Attach the legs to the center column: Drill holes in the center column and attach the legs using screws or bolts.
4. Attach the head to the center column: The head will allow you to adjust the angle of your camera. Attach the head to the center column using screws or bolts.
5. Test your tripod: Make sure your tripod is stable and can hold the weight of your camera.
Choosing the right materials for your DIY tripod:
When choosing materials for your DIY tripod, it's important to consider the weight of your camera and the stability of the tripod. Metal legs are strong and durable, but they can be heavy. Wooden legs are lightweight, but they may not be as strong as metal. PVC pipe is a lightweight and inexpensive option, but it may not be as stable as metal or wood.
For the center column, a metal rod is strong and durable, but it can be heavy. A wooden dowel is lightweight, but it may not be as strong as metal. When choosing a head, a ball head is versatile and easy to use, but it can be expensive. A pan-tilt head is less expensive, but it may not be as easy to use.
In recent years, there has been a trend towards using 3D printing technology to create custom camera tripods. This allows for greater customization and precision in the design and construction of the tripod. However, 3D printing can be expensive and may not be accessible to everyone.
2、 Building the legs and center column of your tripod
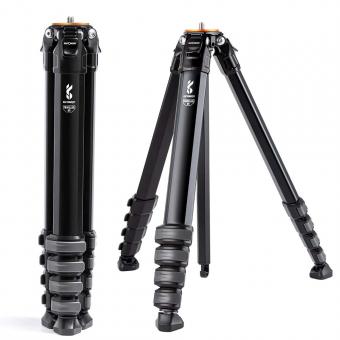
How to make own camera tripod? Building the legs and center column of your tripod is a crucial step in the process. To start, you will need to gather materials such as aluminum tubing, screws, and rubber feet. You can purchase these materials at your local hardware store or online.
First, cut the aluminum tubing to the desired length for your tripod legs. You can use a saw or pipe cutter to do this. Next, drill holes in the tubing for the screws that will hold the legs together. Make sure the holes are evenly spaced and aligned.
Once the legs are assembled, you can move on to the center column. Cut a piece of aluminum tubing to the desired length for your center column. Drill a hole in the center of the tubing for the screw that will attach the camera mount. You can also add a hook at the bottom of the center column to add weight for stability.
Finally, attach the rubber feet to the bottom of the legs to prevent slipping and add stability. You can use screws or adhesive to attach the feet.
It is important to note that building your own tripod requires some technical skill and knowledge of tools. If you are not comfortable with these tasks, it may be best to purchase a pre-made tripod. Additionally, make sure to test your homemade tripod for stability and safety before using it with your camera.
3、 Attaching a tripod head for camera support
How to make own camera tripod:
Making your own camera tripod can be a fun and rewarding project. Here are the steps to follow:
1. Gather materials: You will need a sturdy piece of wood or metal for the legs, a screw or bolt to attach the camera, and a tripod head for camera support.
2. Cut the legs: Cut three pieces of wood or metal to the desired length for your tripod legs. Make sure they are all the same length.
3. Attach the legs: Drill a hole in the center of each leg and attach them together with a bolt or screw.
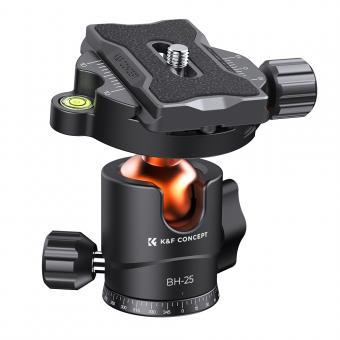
4. Attach the tripod head: The tripod head is the part that holds the camera. You can purchase a tripod head or make your own. To make your own, you will need a ball head, a quick release plate, and a screw. Attach the ball head to the top of the tripod legs and then attach the quick release plate to the bottom of the camera. Finally, attach the camera to the tripod head using the screw.
5. Test the tripod: Make sure the tripod is stable and can support the weight of your camera.
Attaching a tripod head for camera support:
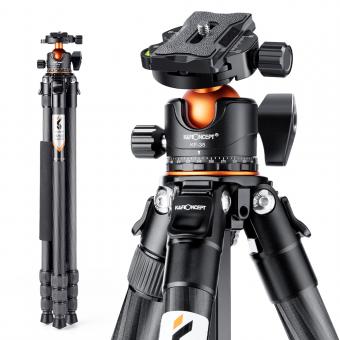
Attaching a tripod head to your camera is an essential step in ensuring stability and support for your camera. A tripod head is the part of the tripod that holds the camera and allows you to adjust the angle and position of the camera. Here are the steps to follow:
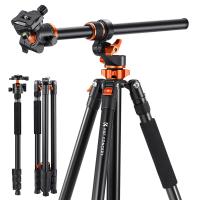
1. Choose a tripod head: There are many types of tripod heads available, including ball heads, pan-tilt heads, and gimbal heads. Choose the one that best suits your needs.
2. Attach the tripod head to the tripod: Most tripod heads come with a screw that attaches to the top of the tripod legs. Make sure the screw is securely tightened.
3. Attach the quick release plate to the camera: The quick release plate is a small plate that attaches to the bottom of your camera and allows you to quickly attach and detach the camera from the tripod head. Most quick release plates attach to the camera using a screw.
4. Attach the camera to the tripod head: Once the quick release plate is attached to the camera, you can easily attach the camera to the tripod head by sliding the plate into the tripod head and locking it in place.
5. Test the tripod: Make sure the tripod is stable and can support the weight of your camera. Adjust the tripod head as needed to get the desired angle and position for your shot.
4、 Adding stability with counterweights or sandbags
How to make own camera tripod? There are many ways to make your own camera tripod, but one of the easiest and most effective ways is to use PVC pipes. You can easily find PVC pipes at any hardware store and they are very affordable. Simply cut the pipes to the desired length and use connectors to join them together. You can also add adjustable legs to make it more stable.
However, just having a tripod is not enough to ensure stability. Adding counterweights or sandbags can greatly improve the stability of your tripod. Counterweights can be added to the center column of the tripod or to the legs themselves. Sandbags can be placed on the legs or hung from the center column. This will help to prevent the tripod from tipping over or shaking in windy conditions.
It is important to note that the weight of your camera and lens will also affect the stability of your tripod. If you have a heavy camera and lens, you may need to use heavier counterweights or sandbags to ensure stability.
In addition to adding counterweights or sandbags, it is also important to properly set up your tripod. Make sure the legs are fully extended and locked in place, and that the center column is securely tightened. Also, avoid touching the camera or tripod while taking photos to prevent any unnecessary movement.
Overall, making your own camera tripod can be a fun and affordable project. Adding stability with counterweights or sandbags can greatly improve the performance of your tripod and help you capture better photos.
